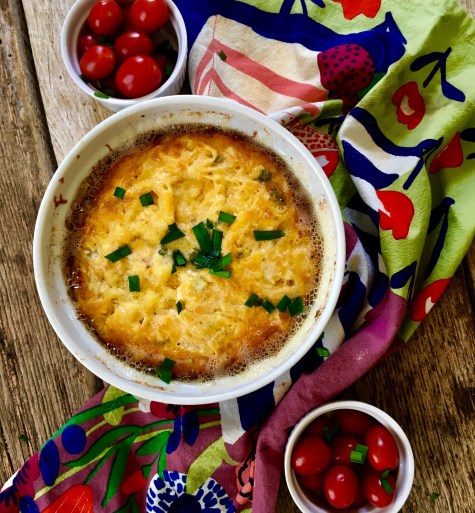
 Mimi’s Macaroni and Cheese is a wonderful memory in my life. Southern food is like that. Southerners have a strong emotional attachment to the methods, the flavors, the ingredients in our heirloom food. My grandmother’s recipes surprised me. As I became more aware of the cultural influences on Southern food, I realized her heritage influenced her food choices. Depending on where our ancestors came from, who their people were and the food that was available to them in this country. It depended on who raised the food or who cooked the food, too. If you look at the ingredients in her Macaroni and Cheese, you might note that her family probably had lots of chickens and probably raised dairy cattle too. There’s lots of eggs, butter and cheese, she always used these in her version.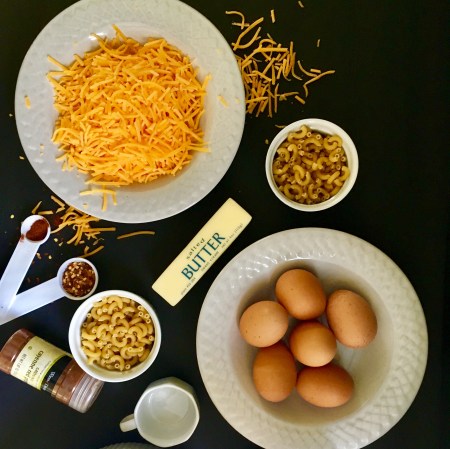
I also know her uncle managed a large family farm. Mimi knew that French Huguenots were part of her ancestry. Her cooking, whether she knew it or not, is decidedly similar to rustic French cooking. The method for making Mimi’s Macaroni and Cheese is like a soufflé made with eggs rather than with a cream sauce. Béchamel is a more refined sauce of French cuisine, heavier I would insist.
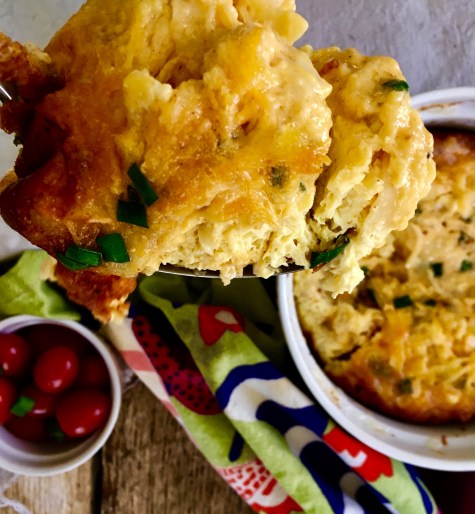 Look at the close up- Mimi’s Macaroni and Cheese is light…almost fluffy from the eggs- yet with deep flavor of strong cheddar cheese and includes the spiciness of cayenne pepper, even red pepper flakes if you choose. The spicy heat in this recipe is also found many southern recipes, especially in the Coastal South. Okay. I’m sorry to be getting into a primer on the history of southern food! Without further ado, here’s how you make Mimi’s Macaroni and Cheese-
Mimi’s Macaroni and Cheese
This version of the classic Macaroni and Cheese has a light, spicy cheesy quality almost like a soufflé and is in fact best baked in a soufflé dish.
- 6 Eggs Large
- 1/3 Cup Whole Milk
- 2 Cups Freshly Grated Sharp Cheddar Cheese (Plus more for topping)
- 1 3/4 Cups Cooked Pasta (Elbow, Linguine, Small Shell)
- 1/2 -1 Teaspoon Cayenne Pepper (Spice is to taste)
- Red Pepper Flakes (Optional)
- 1/2 Stick Butter (More for buttering the baking dish)
- Preheat oven to 375 degrees. Generously butter an 8 inch soufflé dish or 8×8 glass baking dish. In a deep mixing bowl, whisk eggs lightly with whole milk and cayenne pepper. (May add cracked black pepper and a pinch of salt also). Gently add shredded sharp cheddar to combine. Add cooked pasta, combining well, but with a light hand. Pour mixture into a buttered soufflé dish. Bake for 45 minutes or until puffed and golden. (less time for a more shallow baking dish) Serves 6 generously.
It must be said, Macaroni and Cheese was never served as a main dish. Our famous vegetable plates usually included Macaroni and Cheese, it was served along with Baked Ham and fresh Green Beans too. Macaroni and Cheese is an iconic southern dish. I love Mimi’s version of Macaroni and Cheese- it’s loaded with cheese, it’s low on pasta and doesn’t have the creamy texture many modern recipes do. I won’t argue you down if you prefer your family’s version of Macaroni and Cheese. Though, I do hope you will try Mimi’s version!
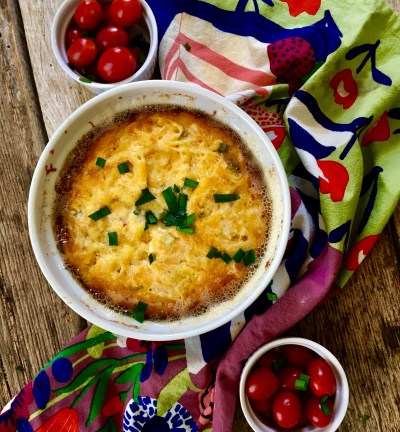
While you’re at it- hold on to the recipes of your memories. Mimi’s Macaroni and Cheese and other Heirloom Recipes were a motivating factor-when I began writing this blog! Good food, good memories and gracious southern living. You know, in the South- we never say ‘goodbye’ – We say… ‘Y’all come back.’ I think the southern food, was always the reason they did. Now, let me know how your mommas and grandmommas made theirs!
Love y’all, Camellia
* All photographs are obviously mine.
 These 10 Beautiful Ways to Stay Hydrated have given me the motivation I needed to meet one of my goals this year, and I’ve got 10 tips to help you get started too! I’ve challenged myself to stay hydrated and… and well, drinking all that water is healthy and all…for a few weeks, it was going great. Still. As I got into this whole staying hydrated thing, I needed a bit of incentive. Here’s what happened- I was taking part in something else- a food photography challenge. For that, I needed a photograph of citrus fruits. Running out of time…no time to bake, no time to cook – a deadline was looming. Here’s what happened-

 One of my favorite ways to stay hydrated was an iced tea with lime and mint. Beautiful don’t you think? This time, I made a simple sugar syrup infused with mint. Mint Tea was a beautiful way, my grandmother made iced tea. All the best Sweet Tea in the South starts with a Simple Sugar Syrup– which is – Tip 3: One cup of water simmered with One cup of sugar…until the sugar has dissolved. With Mint Tea, the process is the same except fresh mint is infused into the sugar syrup. Kept chilled, sugar syrups last a long time. See that little jar sitting next to the glass of Iced Mint Tea? That’s the simple syrup made with mint! Which we seem to grow prolifically! Tip 4: Mint Simple Syrup is also wonderful to pour in your morning coffee!

 Tip 8: Add flowers to your water! Here and the opening photograph, I’ve used flowers- little violas or rose petals are so beautiful, just make sure they are pesticide free! Not just for your water, they sure look pretty floating in a cup of hot tea!


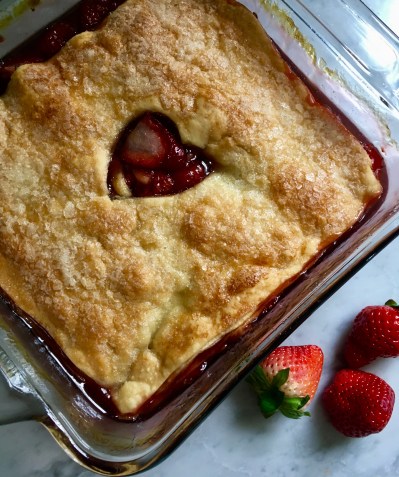
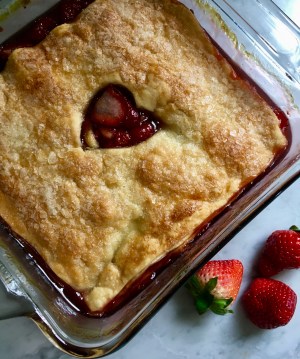
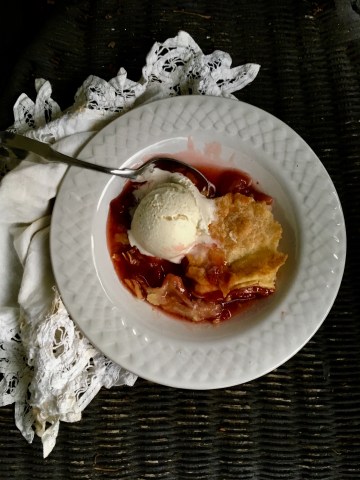
 As soon as I see little wild strawberries springing up in the yard, I start thinking about making a Strawberry Cobbler! Now, you know I love almost any kind of Cobbler, though in the Spring, it just seems festive to bake a fresh Strawberry Cobbler.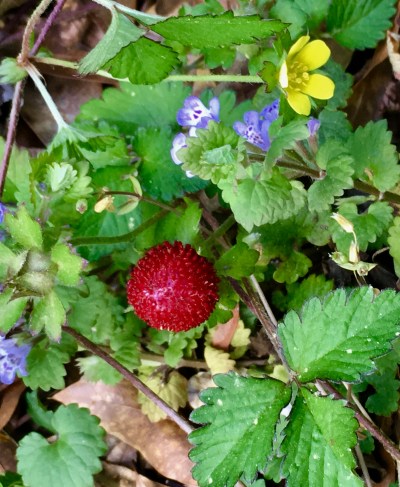


 Three years ago, when I first started writing – I was sorely lacking in photographic skills. A bit better now and have learned a thing or two… still, back then- award winning photographer Jeremy Miniard took pity on me and provided some stunning photographs, then generously offered to let me use them! One of the first groups of photographs I asked him about were Doors; Jeremy has a treasure trove of photographs taken during his ramblings throughout Alabama. The doors he sent to me were amazing. They still are! I posted ‘Doors of Alabama’ using some other photographs offered to me- also out of pity I’m sure. This time… I’ve put together a poster worthy collection of Doors of Alabama, which are all Jeremy Miniard’s work… be prepared to be impressed!


 Thank you Jeremy! This journey just wouldn’t have been the same without you! Now. Y’all. I hope you’re inspired as I was by Jeremy’s photography – and also the beauty and history that surely was behind these old doors…peeling paint and all! Now….on your mark, get set and.. Get out there and take some photographs wherever you are! I’d love to see what you come up with! By the way, can you believe we’re still around after three years? Me either. Thank you from the bottom of my heart, for your support, for following this blog and for your kind words; and yes! the funny comments too! And as always…

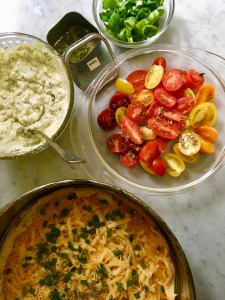
 I’ve said it before- the closer you live to a Tomato Vine, the better your life will be. As soon as the weather begins to warm up, southerners start dreaming of summer tomatoes. Camellia’s Spring Tomato Tart is an early start on summer- while we wait for our tomato vies to bear. Tomato sandwiches are on our minds. Simple sliced summer tomato slices make an appearance on almost every southern plate. We do everything we can, to preserve the taste of summer as long as we can. I think planting cherry tomatoes offers a head start on the taste only a fresh tomato offers, and yes- the closer you live to a tomato vine the better your life will be.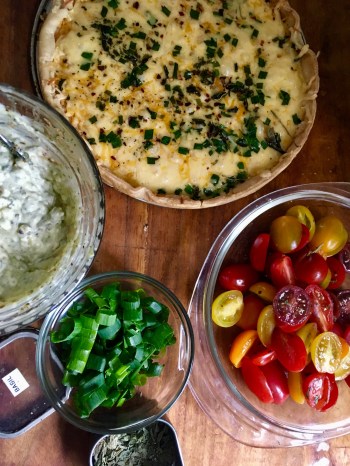

 .
.
