 There’s no doubt that Winter takes it toll on our skin; and while Spring is on it’s way…our thoughts turn to the time when we’ll shed these winter coats in favor of lighter weight clothing…which means- do I have to say it? Our skin will be revealed! Even after years of working in the fragrance and cosmetics industry- I must say, I’m always learning new things and paying closer attention to the largest organ in the human body- our Skin. It actually takes a lot for me to be inspired by new treatments and products- yet, I do think these tips are worth sharing!
- Dry Brushing: This is my first and best skin care tip! The photograph you see is a dry brush that I purchased after reading about the benefits of dry brushing. I had to convince myself that it actually worked, and I’m here to tell you I’ve reaped the benefits! So, I ordered the full set of dry brushes. Not only is dry brushing a natural skin care product- it is also a practice every adult should be using! Dry brushing removes dead skin cells while at the same time – those nubs in among the bristles are stimulating the lymph glands to help rid the body of toxins, and… you’ll love this- it also aids in toning and tightening the skin! There are several different prices and products for dry brushing available, just make sure the bristles are of natural fibers. The dry brush set should come with directions also. The idea is to never get these brushes wet. Stand on a towel or a bath mat before you get into the shower or bathtub. When you brush your legs do it in upward strokes- always brushing toward the heart! The set I bought had a large body brush, a hair brush which stimulates the scalp and a side effect is it works to de-tangle. Also, in the set was a face brush which I was more reluctant to use, since I make an all natural scrub to exfoliate my facial skin. Y’all? this facial brush is wonderful! There is a ‘map’ that comes with my brush set to show you how to dry brush the face- so, it doesn’t just act as an exfoliator- it also stimulates my face and neck. I can actually see and feel the results after only a few weeks! So, if you add just this one thing to your skin care routine- it’s not a fad- it’s an ancient practice worth trying!

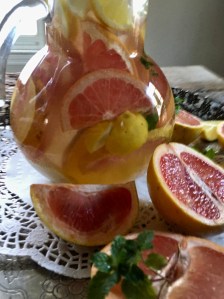
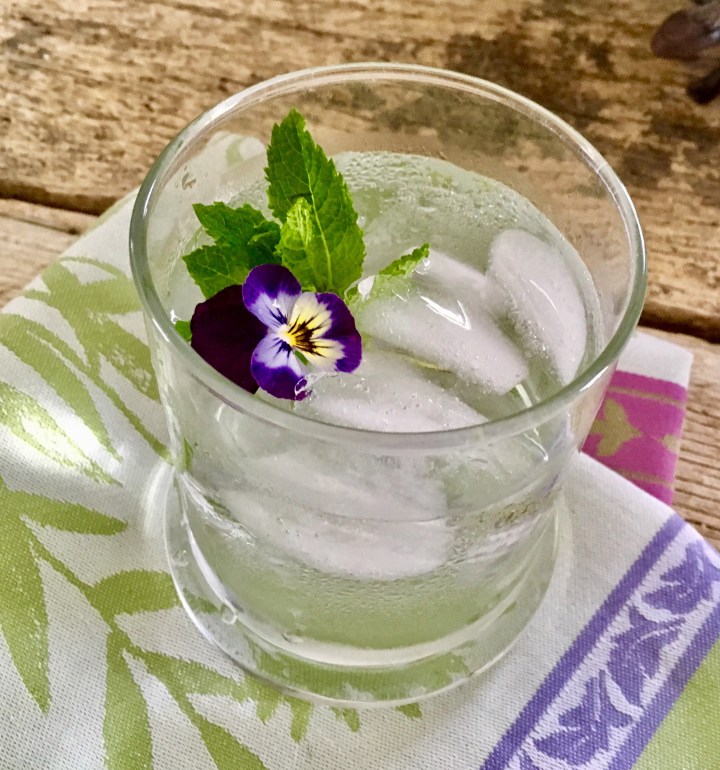
- Water: We all know about drinking more water and wintertime it’s critical to drink more fluids. I’ve been trying to make pretty water to entice me! Here’s one I made recently-with cucumbers, mint and lime! As great as it is to consume more water- if we’re dehydrated in the first place, our internal organs are making the best of liquids we consume well before the benefits reach our skin! So- here’s a tip to make a good long soak do double duty- add ingredients to the water. The old remedy for aching muscles is Epsom Salts and yes it does work. However, adding any natural salt will bring precious moisture to the skin surface and make that just brushed skin look and feel wonderful. The other thing you may want to add to bath water is dry milk in granular form. Now…if Cleopatra knew this was good for her skin, who are we to second guess her? The science behind milk baths- is that lactic acid in milk is a natural skin softener!! Read that again! Lactic acid softens the skin! You can also add dry milk to your favorite skin scrub and make it even better!
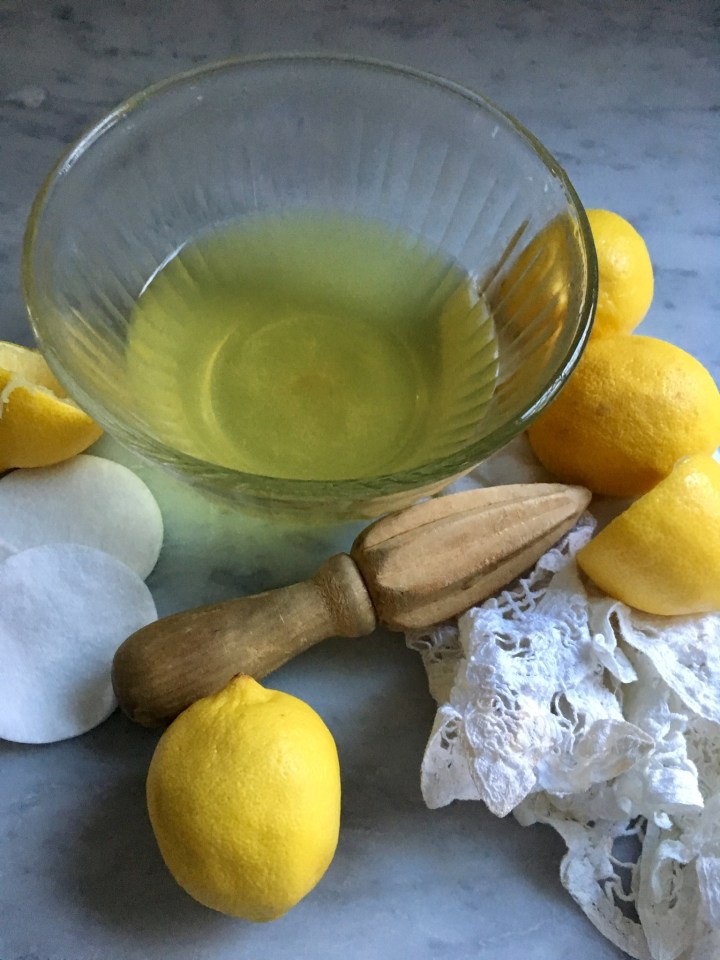
- Vitamin C Serum Touted by skin care experts as natural Botox®! You can pay almost any price you choose for Vitamin C serum. Now, you may be consuming loads of Vitamin C in tablet form or drinking lots of citrus juice, which is terrific for your overall health- again…it would take masses of orange juice before the benefits actually reach your skin! So, here’s what I’ve done in the photo above- I saved lemon peels, put them in 2-3 cups of water and brought the pot to a boil (the house smelled wonderful!) Cover and turn off the heat. Allow this mixture to steep for a few hours, then discard the lemon peels and keep lemon water serum chilled. The result is a lemon water, which is a homemade Vitamin C Serum. Orange peels will work as well. Vitamin C is water soluble, so it’s delivery system to the body, and also why it doesn’t remain in the body very long! With the homemade lemon serum- Dip a cotton pad into the lemon water serum, then saturate your face and neck. You will be surprised to note a skin tightening effect. This skin treatment is delightful, can be repeated as often as you choose and is practically free! The essential oils in citrus have been proven to reduce fine lines, fade sun spots, minimize wrinkles and have an excellent track record on delivering antioxidants to the skin. And that’s not all, lemon and orange oils are very potent- so potent in fact that used in furniture polish, they restore dry cracked wood, what do you think the effect that lemon serum would be on the skin? They do work on fading age spots, minor skin tags and even reduce scarring after surgery. Now, to be honest, there are wonderful Vitamin C Serum products on the market, some are very expensive and not all that much better than the less expensive ones- just look for at least 20 % vitamin C serum in the product!
What I want you to take away from these tips, is that they are safe, natural and proven. And, please use a good face and body moisturizer on the skin after these treatments, all natural moisturizers abound. Just make sure the term ‘all natural’ is actually true and is plant based. If you want to deliver an all natural moisturizer from your pantry, you can’t do much better than straight Olive Oil- which has a healing effect on the skin. If you want more skin care tips- send me an email- I will be happy to tell you the name brand of the dry brush system I am currently using- it is economical and all natural bristles; I will also recommend a few Vitamin C Serum products I am currently testing and seeing the results, quicker than I would have believed possible. We are not being compensated in any way for these recommendations, however, I do feel they are high quality and for a very reasonable price. Email us for this information, our address is: brenda@camelliascottage.com
I believe good skin care helps us feel better, improves our overall look- first take care of the skin, then apply the makeup- is the rule! One of the best ways to age gracefully is to take care of ourselves inside and out!
Love y’all, Camellia
*All information is gleaned from my own background in the industry and personal testing and research, if you experience any side effects, rashes or other skin problems- discontinue use. I never recommend a product that we haven’t tested first!
*All photographs are obviously mine.
 Have you ever heard of Doting? Here’s what I think most folks believe it means….
 Did you know that spending 15-30 minutes outdoors everyday is recommended for all round good health? I find just walking around my garden to see what I can see is my favorite way to get in some time outdoors. To my delight I recently found Ice Folly Daffodils and the precious- Snowbells!


 Now, you know I have a story… when I first began making homemade marshmallows… I was just tickled with myself and decided to take them to a holiday gathering… when I explained what this confection was… someone said- ‘Why bother?’ Actually the answer is in the handcrafted marshmallow- it’s soft and sweet, it melts in a cup of hot chocolate like a cloud and let’s face it- If anyone ever makes you a batch of homemade marshmallows? Well! that’s the Fine Art of Doting!
 When I was in grammar school, George Washington’s birthday was apparently an opportunity to teach students about our very first president, to have us do a coloring sheet of Washington’s profile or standing beside a cherry tree with an axe in his hand and to teach a basic value- truth telling.

 If there’s one thing about February that always delights me- it’s that camellias are in bloom, chocolate is on the menu or in a heart shaped box and love seems to be in the crisp cool air. This year, the red camellias are showing out, a bumper crop of ruffled blooms, and this tickles me because they’ve taken their own sweet time about getting to a point of consistent blooms- the shrub was chosen for it’s double ruffled petite blossoms- in honor of my mother in law- who I loved with all of my heart- who was petite, beautiful and …well, it just seemed fitting to plant a camellia to honor her life with our state flower, the Camellia.
 Valentine’s seems to be an oddly conflicting holiday. Oh yes, it’s supposed to be all about flowers and chocolate and romance, yet it’s often a disappointing holiday, even with all of the gift ideas, hearts and beautiful sentimental cards- disappointment often stands in the shadows. Still. Love itself comes in many forms- romantic love, yet also love of family, love of friends and yes, love of place. Other than my own home- there is possibly no place on this earth that I love more than a beautiful historic hotel in Point Clear, Alabama which combines all kinds of love… camellias bloom profusely and a certain form of chocolate stole my heart many years ago.
 The Grand Hotel is her name. Close by is Mobile Bay and a quaint town called Fairhope; just down the road is a beautiful small town named Magnolia Springs…now if fair hope, beautiful sunsets, camellias, magnolias and a grand old lady doesn’t give you a clear point of view… I don’t know what possibly could. The pace is slower, Afternoon Tea is served every afternoon, the grounds are filled with huge live oaks that have long gray beards of Spanish moss- under their spreading branches- camellias, azaleas and all manner of distinctly southern plants bloom in profusion around a mossy lagoon. I have visited there during every season of the year, yet February is the time of year I’ve probably enjoyed most- in the lower coastal south- it might get chilly but never so cold as to discourage the camellias or the guests. I’ve been there in formal dress several times in February- it seemed to me, the most glamorous place anyone could be!
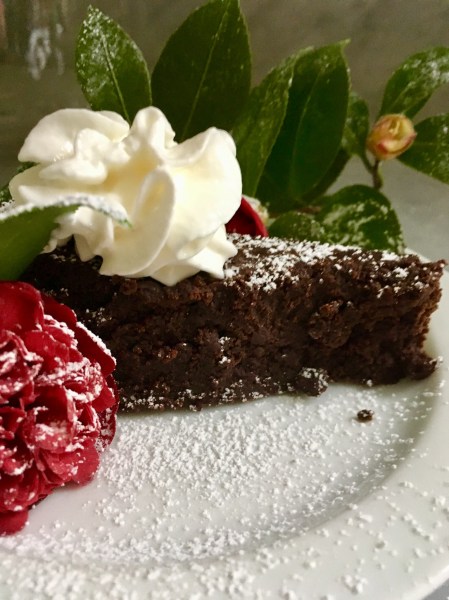
 The first time I ever tasted- Flourless Chocolate Cake was at the Grand Hotel, and I recall thinking- ‘What an elegant dessert! Surely, someone could have come up with a more decadent name!’ Somehow, over the years- I was given their recipe for this decadent chocolate dessert. For years, I’ve thought I couldn’t recreate it- and the truth is? Without the backdrop of the Grand Hotel it would no doubt ever taste the same. So! I took the recipe and tweaked it to make the recipe my own – and while our camellia’s are blooming their fool heads off? I decide to try my hand at making it and decorating it with those festive red blooms! So, it was only appropriate to name it- Camellia’s Flourless Dark Chocolate Cake. It’s way easier to make it than I’d ever have thought- and decorated with red camellias grown right here at the cottage- it was downright gorgeous and…well, it took me back… Here’s how you make it-

 Health and Beauty tip: Tea Tree Oil is an amazing oil for skin treatments and comes from the same family as the Camellia. And did you know? Dark Chocolate has been known to soothe a cough more readily than hot tea or chicken soup? Of course, that a bite of dark chocolate that slowly melts in your mouth! And, if the weather permits at all- the best health advice I can give you this week- is to try to spend 15-20 minutes outside everyday- it lifts the spirits and fresh air is a total body treatment!
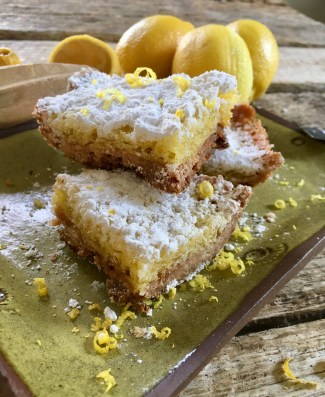
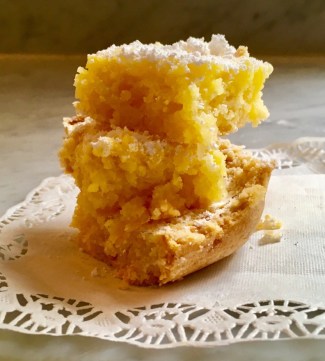
 I do recommend using three small kitchen hand tools when making lemon squares- a wooden lemon reamer – less cleanup for just one or two lemons, a small hand held specialty lemon zester for those pretty little strands and curls that add a zip of flavor, done as a flourish right before serving and- a small fine mesh strainer in stainless steel to seed and pulp the lemon juice for the filling and again for the pretty finale- the sifting flourish of powdered sugar! And we do love to add a flourish, accessorize if you will. And if there’s one thing Southern women know how to do- it’s to accessorize! Oh me, hope you’ll try them some dreary winter day soon!