 We could have called it a Fruitcake Party, though fruitcake rarely makes an appearance. We could have called it a Caroling Party. We tried that one year- no one wanted to go. Ever. Again. Come to think of it- we could have called it the Bourbon Ball. Okay, that’s a bit pretentious and we’re better at eating than dancing. The truth is- fruitcake, bourbon balls and eggnog tend to be … let’s just say- under appreciated holiday fare. For over two decades, we’ve been going to an Eggnog Party, hosted graciously in the home of friends; attended by families and friends who are loved and cherished as the ‘family we have chosen for ourselves’. It’s uniquely southern, so it’s a traditional party, with the dining room table set buffet style and yes, family china and silver makes an appearance.
The Eggnog Party is sort of an unorganized , uncategorized gathering of folks bound by generations of communal experiences. Besides the heirloom recipe for Eggnog- what makes this party so charming is the Program, the Favors and the planning for it- often months in advance. There are children of… all ages and highly anticipated by all. The Program always includes Readings for children and one or more Readings which embody the Season and always includes Music. Sometimes the program is as zany as The Sister Act, a goofy rendition of Santa Baby or an airing of jovial grievances through Festivus, which, by decree shall never be repeated again. One of our talented guests might sing Ave Maria or an old fashioned Christmas Carol which would have been introduced by a Reading of the history of the hymn – always accompanied by a classical Guitar. Last year a Reading of Dylan Thomas’s ‘A Child’s Christmas in Wales’…followed by the old Lullabye- ‘All Through the Night’ with a soloist, the haunting strains of soft music as the rest of us sang the sweet Chorus- that one definitely brought forth a few sweet tears. The favor that year had the theme of Angels.
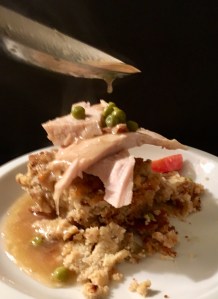
Always, regardless of the theme, the program is a mix of the significance of the season and the joy of it too. Any gifts are token and quietly exchanged – to be opened later, since this party isn’t centered around gift exchange, instead its more about exclaiming, getting caught up, enjoying the program, the music and always the bubbling effervescent love and laughter. And my oh my! the food! A Christmas Ham and a thinly sliced fragrant Turkey. The sides always include a relish plate, our beloved southern casseroles, a cheese ball, roasted and salted pecans, cheese straws, tiny rolls and a buffet laden with desserts. Groaning might be a better word.
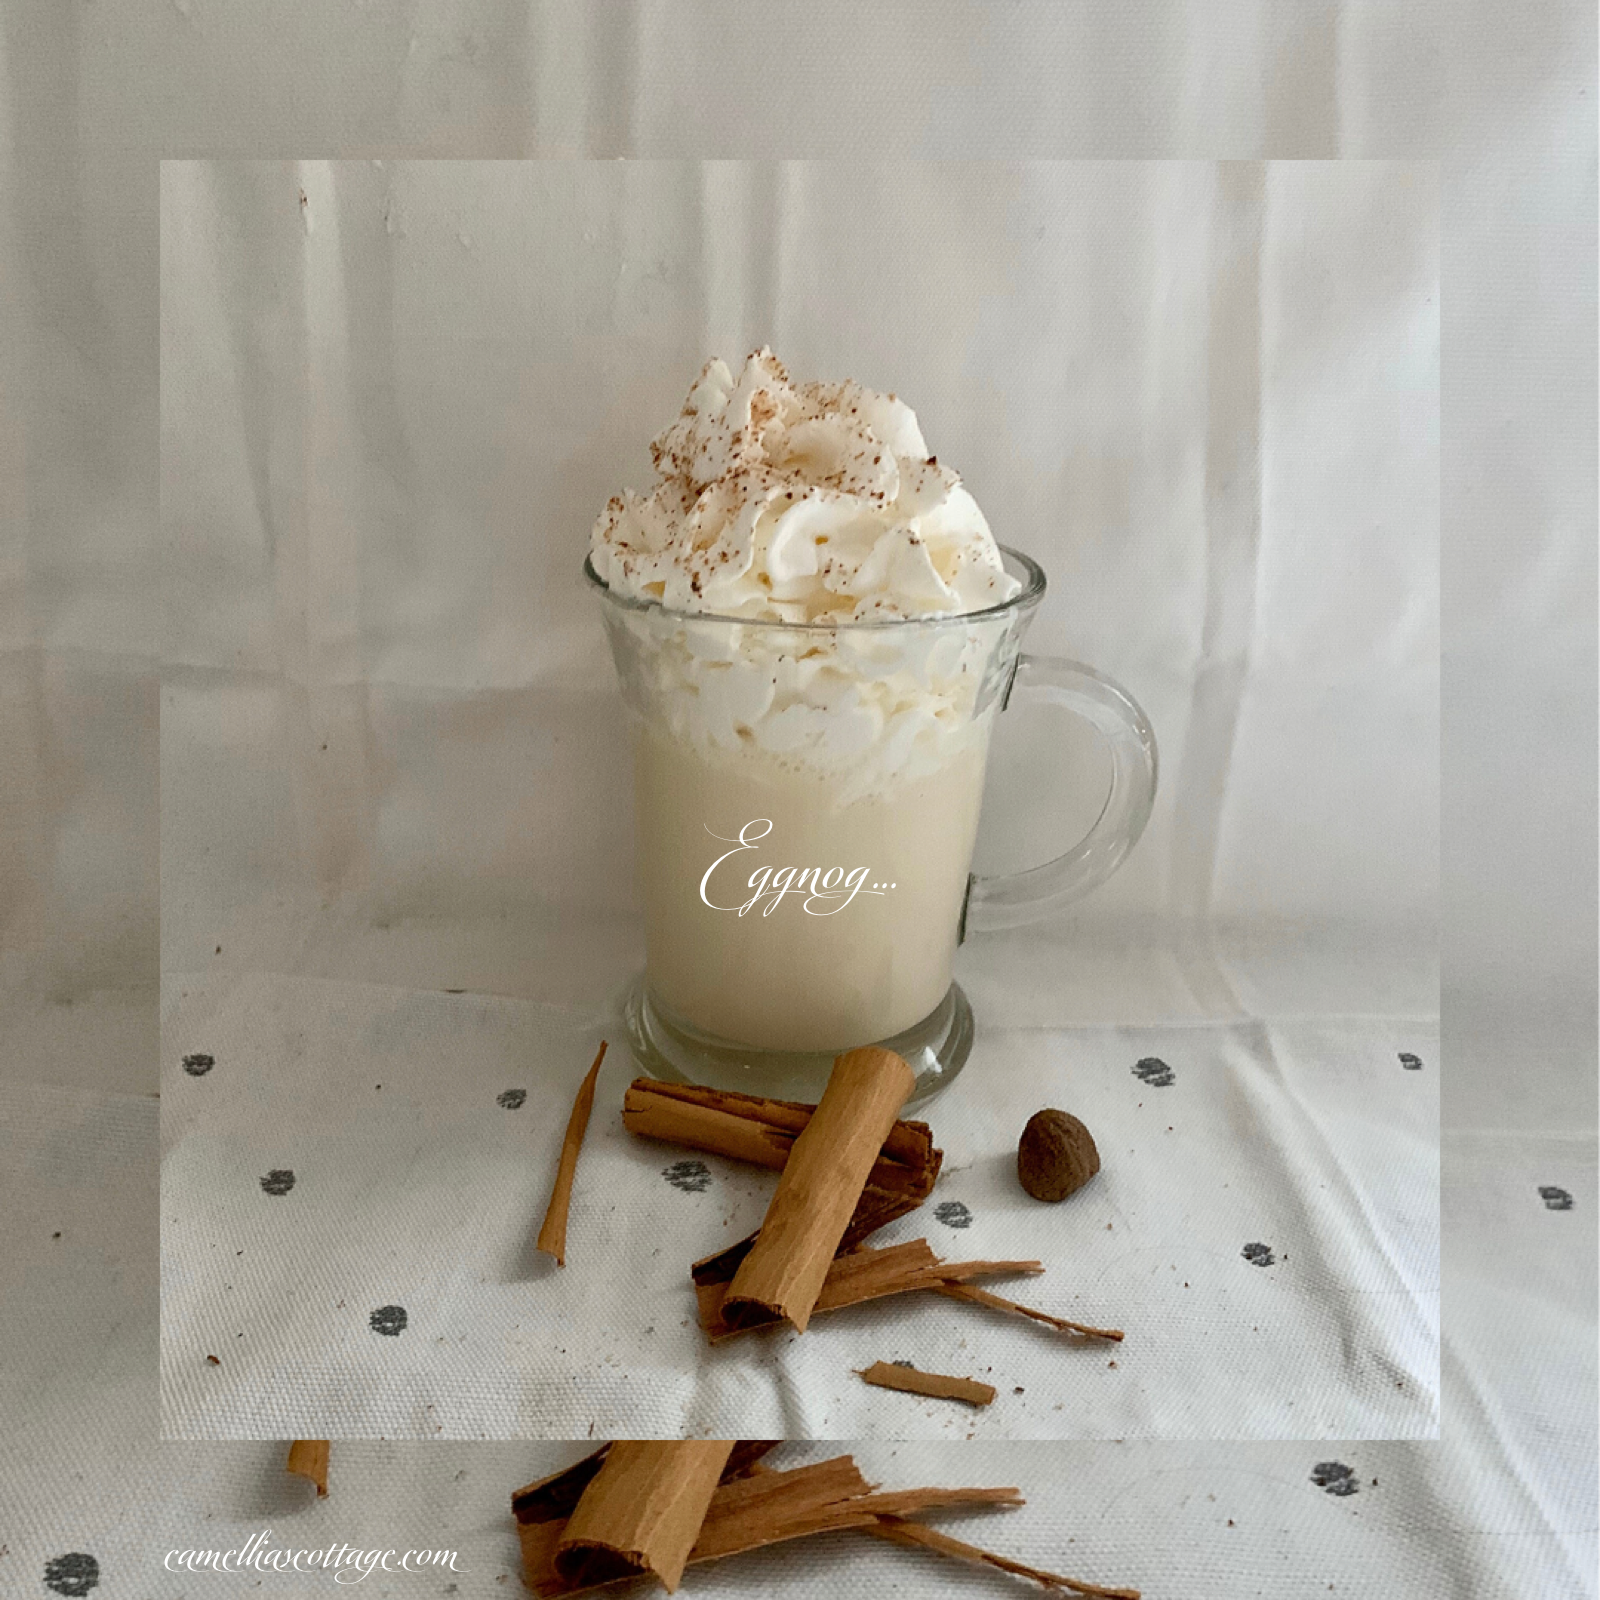
Of course, there’s a silver punch bowl filled with a frothy full bodied Eggnog-
- The creamy color of magnolias and gardenias,
- Light as a feather plucked from an angel’s wing,
- Thick with cream and
- Freckled with fragrant nutmeg.
In the South, we tend to claim Eggnog as our own, since George Washington of Virginia enjoyed it and recorded a recipe for it. In the southern tradition of leaving out a critical bit- in Washington’s case he left out the number of eggs! Eggnog really isn’t southern at all- it’s British, it’s European, it’s American- yet what makes this recipe Southern is the ‘spirits’. We tend to replace ale or sherry with ‘brown whiskey’ … Kentucky Bourbon or Tennessee Whiskey- some add Rum, to honor our southern proximity to the Sugar Fields and Caribbean flavors. Take a sip of Suellen’s Eggnog and ‘darlin’ you’ll talk southern to me.’
Here’s how you make this old classic which we know as Suellen’s Eggnog…
- 14 Large Eggs, separated
- 1 pint Jack Daniel’s Brown Whiskey
- 14 Tablespoons Cane Sugar
- 1 Quart and 1/2 pint Whipping Cream
Separate eggs and reserve egg whites at room temperature. In a large mixing bowl, beat egg yolks until pale yellow. Slowly add whiskey, one silver teaspoon at a time, at first. Increase additions of whiskey beating continually until egg yolks and whiskey are combined thoroughly. Add sugar slowly, one silver tablespoon at a time. Whip cream and add slowly to mixture. In another bowl, whip egg whites until stiff peaks form. Fold gently into whiskey mixture. Sprinkle with fresh grated mixture. Keep thoroughly chilled. It is preferable to ladle from a silver punch bowl. Enjoy!
This Eggnog is an adaptation of an old recipe from a Talledega cookbook, one county over from where we live. *Please note that an essential tool is a silver spoon. This isn’t a pretentious tool- old recipes tend to specify silver spoons since other materials could affect the taste, generally metallic.
I’ll admit, I sip only one small punch cup, it’s a thick, rich holiday mixture unlike anything else. Eggnog is also something I taste just once a year at this amazing party. If you’re wishing you had a less spirited eggnog, I’ve had good success slowly melting homemade ice cream, adding a bit of whipped cream on top with a grating of fresh nutmeg.
Here’s the thing- I’ll always associate Eggnog with the exquisite color of creamy magnolias, strengthened with the years of friendships sustained for such a long time… soft strains of music, gentle laughter, so much love, genuine acceptance, concern freely expressed and the joy only this season can bring. Here’s hoping your gatherings are as spirited as Bourbon Balls, as nutty as a Fruitcake, as fragrant as a Gardenia and full of Comfort and Joy!
Love y’all, Camellia
* All photographs are obviously mine. Eggnog contains raw eggs, it’s best to use pasteurized eggs, and it should not be consumed by children due to alcohol content.
 Pecans are a cash crop in Alabama, indeed all across the South, folks love to have their own pecan trees. Pecan Pies are the iconic southern dessert, and while we wouldn’t turn down a piece of pecan pie any time of year- a pecan pie always makes her appearance on holiday tables. The truth is? It’s hard to imagine southern food without this wonderful nut. Some of my favorite cooks tend to enjoy- shelling pecans. Could I get a hallelujah for these fine ladies? I’ve had a few tell me they find it ‘relaxing’ to shell pecans… I wouldn’t know about that, it’s frustrating to me. To each his own. I do know this- to receive a bag of fresh shelled pecans is better than getting a bag of gold!
 Getting ready for the holidays is often overwhelming, there doesn’t seem to be enough time to get it all done- much less enjoy it! Thanksgiving is hands down my favorite holiday. It’s not about the perfect gifts. It’s really about being thankful for more things than one single day can contain. And let’s face it, getting ready for the holidays means good food and lots of it. So! I’ve put together a few things you can do quickly and easily while you’re getting celebration food ready for the holidays…

 I make cheese balls ahead and freeze them- there’s always an event I’ve forgotten and believe me, they may not be the most exciting thing- yet somehow a cheese ball is always welcome! Speaking of cheese, I buy sharp cheddar in bulk also…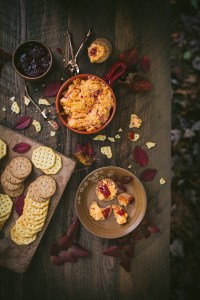


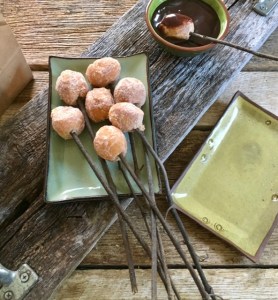
 Plan fun and easy treats- this is one of my favorites- Purchase donut holes, warm the donut holes, spear with long sticks. Then dip donut holes i your favorite fudge or caramel sauce, which may purchased as well. A platter of varied fruits, pound cake chunks and the donut holes makes a festive fun treat for children of any age!
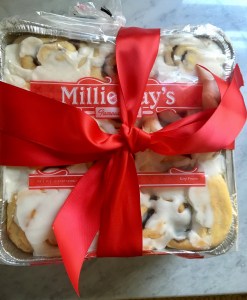
 I wish I was a wonderful yeast bread baker- I’m not. Still. In my area, there are wonderful rolls such as Millie Ray’s, Sister Schubert’s and even little Marshal’s biscuits! I buy ahead, freeze and bake fresh rolls for holiday meals and leftovers too! I’ve even been known to buy several pans of rolls, cinnamon rolls and orange rolls- stack them up, tie with a bow and it’s a wonderful gift or hostess gift!
 one of the 3 ingredients in Sausage Balls, which make an annual appearance! With one pound of sausage, one pound of shredded cheddar and 1 1/2 to 2 cups of biscuit mix formed into balls..baked at 350 until they’re done.. easy appetizer and! You can make up a double batch, freeze uncooked in a single layer on a sheet pan; stored in freezer bags- you’re almost ready for anything!
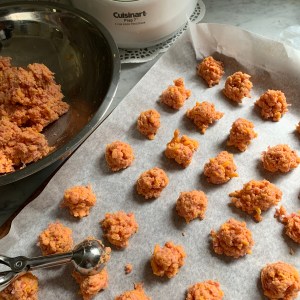 If you have one or two favorite casseroles or sides- double or triple the recipe and freeze or as in the case of Mimi’s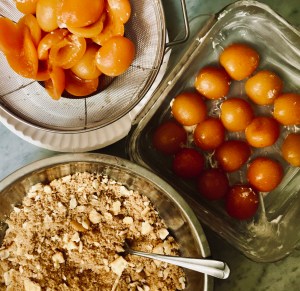
 Simple Sugar Syrup is a must have for Southern Sweet Tea lovers. In a saucepan, using a 1/1 ratio of water and sugar, gently heat until the sugar is melted. That’s one cup of water simmered gently with one cup of sugar- in more plain English, darlin’ Cool and store in a tightly capped jar until you’re ready to use. Simple Sugar Syrup is also welcome for other sweetened drinks.
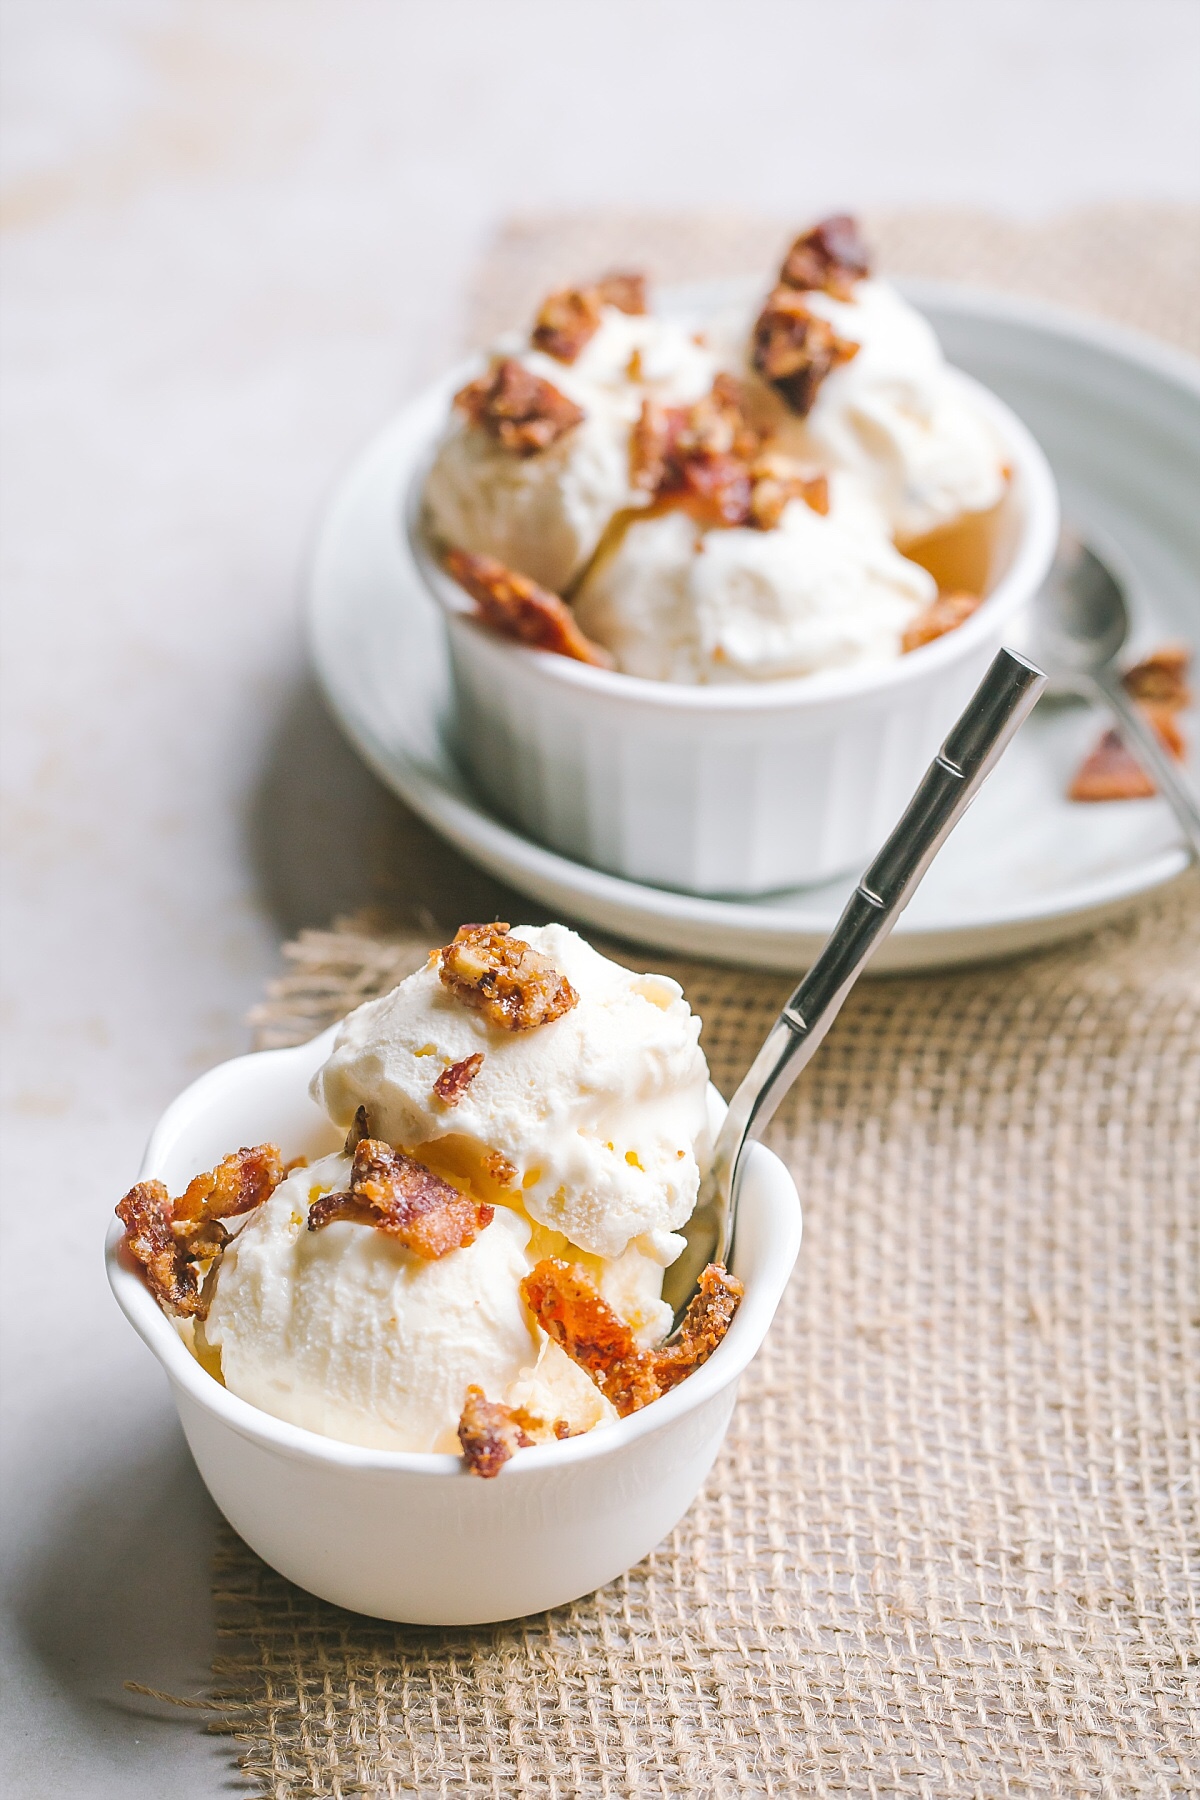
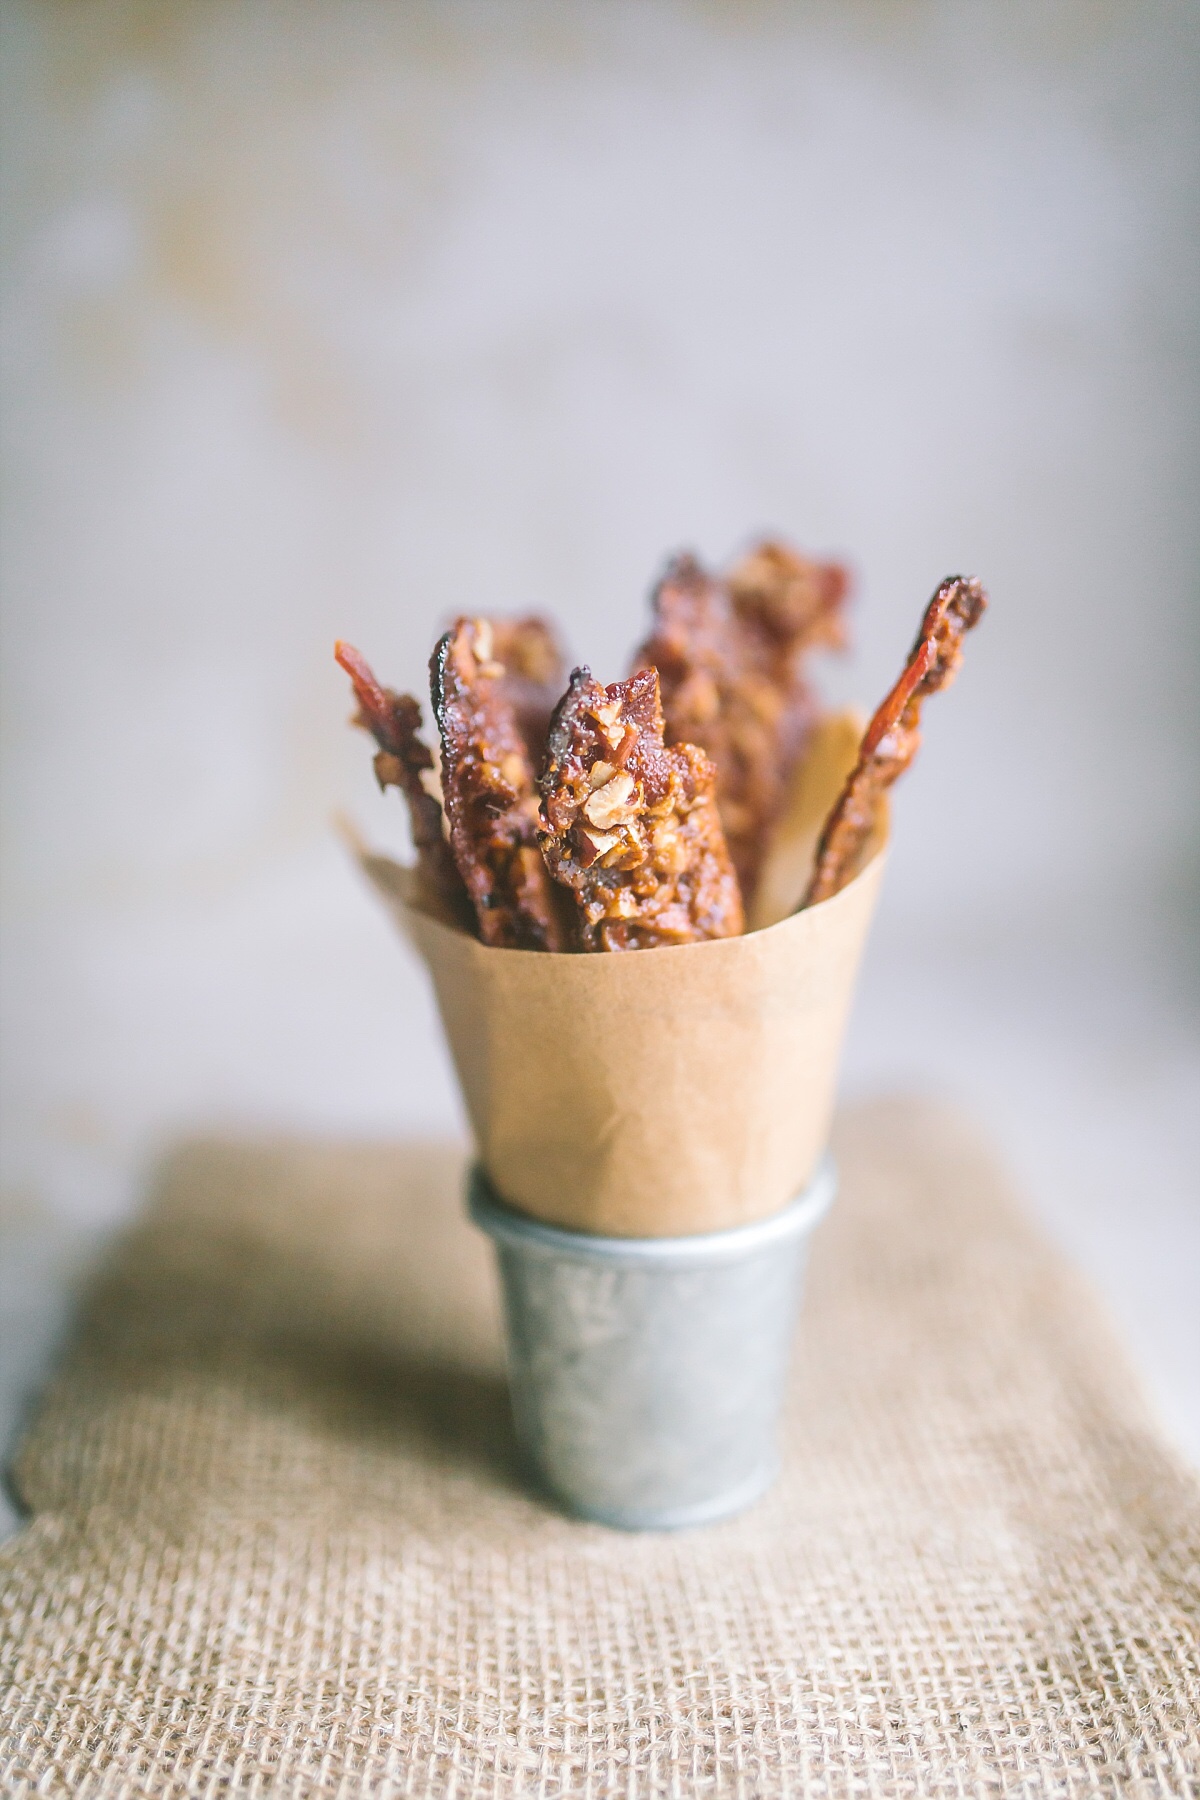 It is nearly impossible to make enough of Pecan Crusted Candied Bacon! That’s eating high on the hog! And… the reason for this Special Edition is because our candied bacon has been featured on the podcast and blog of the beautiful, talented Becky Hadeed @thestoriedrecipe! Her photography is ‘cookbook quality’ beautiful! I sent Becky a general recipe of how to make Pecan Crusted Candied Bacon, yet we wanted the recipe tweaked a bit- so, here’s the specific version with a few tips for making –