 I didn’t set out with Memory Gardens in mind… though the idea began to form when my grandmother shared some Hosta and Spiderwort, then an old gardener sent Daffodil bulbs and another shared Bearded Irises. My father in law, sent a few Redbud saplings from the family farm and my mother showed up one day with a sapling called Glory Bower, which blooms in the dead of summer when nothing else will. The Glory Bower is in bloom near one of our daughter’s birthday and always reminds me of her, beautiful and generous. Each year it seemed, I had memories of my family and others who had generously shared plants. Here’s a closeup of Spiderwort-
Tip #1 Memory Gardens can be scattered throughout the landscape or in a designated place. I do both.
I had an idea of purchasing a tree or a shrub on special occasions or in memory of a loved one…So, a memory garden was forming as I was learning about where, what and when to plant. On several occasions I gave a living plant instead of sending flowers and often bought one to be planted here at the cottage. Without really planning a Memory Garden, my garden was making memories for me.
Tip #2 Think perennials. Memory Gardens aren’t just about trees and shrubs- Herbs, like Rosemary- for Remembrance, Lavendar for Love and Devotion,Sage for Long Life and Wisdom- are great memorable additions. The bearded irises weren’t given to me by my grandmother yet, she loved them, so they remind me of her, always. Bulbs, Ferns, Hosta, Shasta Daisies are wonderful and can be planted in the garden, near a loved one’s birth date. Perennials as bereavement plants which die down but return year after year are a hopeful reminder of the resurrection.
 When we re-did the front yard- a parking area in front of a picket fence changed things. A family member gave me two heirloom roses- New Dawn, they are the ones at the end of the fence. Every year, I’m reminded of her beauty, her thoughtfulness and her kindness. The pale pink roses still grow proudly at each end of the picket fence, And they bloom close to her birthday! A tiny gardenia shrub was bought on sale… it reminded me of a dear friend, who had loved a fragrance with a distinct gardenia note, the shrub is now so big- it has to be cut back! I planted a hedge of holly, that was perfect behind a garden bench given to me by my sister, it reminds me of her everyday. On and on it seemed, I was given plants or buying plants that evoked memories. The garden began to mature… What I found as the years went by… is that Light changes everything.
Tip #3 Even if you have established a specific area as a Memory Garden- be prepared to divide, move or even replace plants. When this occurs, I try to use memory plants in another more appropriate site, especially with adequate light.
 Trees grow. Sun loving plants find themselves in the shade. Trees fall. Shade loving plants shrivel in the sunlight. Trees even age and die. The soil is disturbed or other trees crowd them out. And, these elements affect our yard to this day. So! It became important to me to establish areas where my memory plants had the best chance of survival. And some memory plants need dividing. I didn’t want to lose the old heirloom plants, so I divided them and spread them throughout the garden areas; still purchasing memory plants along the way.
Tip #4 Memory Plants are all occasion! Births, Milestones such as graduations, Weddings, Anniversaries, in addition to the Loss of a Loved One, are the perfect opportunity for memory plants. The main criteria is choosing a plant which evokes a memory of the occasion and the loved one.
 Little Gem Magnolias were planted in memory of my Aunt Iva and my precious grandmother, Mimi. Yet the occasion when the magnolias were purchased commemorates our daughter’s wedding. They were used as a large display in urns at her wedding reception. I like to call these Little Gems- my ‘Steel Magnolias’; which Mimi and Aunt Iva certainly were, as were other southern ladies for whom I purchased the same small magnolias. Those magnolia trees and a few camellias I had purchased evoked to wonderful memories throughout our garden, not to mention the beautiful large blooms!
Tip #5 For very special occasions you may choose to plant a specimen tree or large shrub. Be sure to site the tree for its own specific needs for soil and light.
 If you’re getting the idea that my memory plants were placed at whim, you wouldn’t be far from the truth, I planted for the conditions the plants and trees required. A freeform Memory Garden was more like it… until 2006.My mother in law died. I was devastated. I worked furiously in the garden in the days following her death. Being on my knees, seemed the right place to be; brought to my knees by this blow of her death- I could be alone, I could dig, yank weeds, weep over the least tiny bloom- gardening helped. Have you ever felt like that? Immersing yourself in a hobby or physical tasks that free the mind? Gardening was therapy for me. Shortly after her death, to honor her , we were given a piece of statuary, an angel.
 It seemed too large to put on prominent display in the front of our house…. as I continued to work out my grief- a spot toward the back of our yard, kept catching my eye… it was a clump of dogwoods, they were in bud. It seemed to be the perfect spot! So, that’s where she is…my angel and my first attempt at a specific Memory Garden. At the base of the angel, were planted miniature daffodil bulbs from a funeral basket of spring flowers my sister gave our family. They have multiplied over the last decade. In the Spring since the Angel was placed, it still surprises me- if anyone glances this way, passing the cottage- down the side yard toward the dogwoods… there is an Angel. The spot for her Memory Garden was somehow, by some miracle- chosen for me, not the other way around. We have since lost some dogwoods, planted some roses and crepe myrtles.
Tip # 6 Be careful buying statuary. Use it sparingly. Place it appropriately, so that it’s shape and size work with your garden. Sometimes your site will tell you where it needs to be placed!
 So! I have continued my practice of buying memory plants. In 2017, I planted a camellia for my friend, Denis who died that spring.(photo above) I planted ten azaleas when my mother died, also in the Spring of 2017. Five azaleas for her grandchildren and five for her great grandchildren- she adored them all! Those were interspersed in the existing garden. Still. She has her own specific Memory Garden.
Friends and family bought hydrangeas for my mother as well, she loved hydrangeas and I do too! They are in shades of pink, white, green and blue that can only be called ‘hydrangea blue’. I planted them in groups by color, not mixing them so it’s more pleasing to the eye. There were a good many, so- for my mother… there is a hydrangea garden along a side yard and around the back deck- areas which were never intended as a memory garden. Yet it seemed to chosen for me. I plan to add and add to it until the hydrangeas say- ‘No more, please’. Memory Gardening has been a source of great joy to me. I tend to name the plants- Denis, the Camellia delighted me, when she was full of blooms this year!
Tip #7 Add to your memories all at once or, perhaps a better plan is to gradually add to it, as I am doing with the hydrangeas and camellias.
 Last fall, my beloved Walter, a Himalayan cat who had graced us with his presence at this cottage, died. I had to do something for Walter, I was almost inconsolable. My sister had given me a statuary cat, more than a decade ago, it had never found a permanent site. At age 17, I suppose, Walter had lived a long life- I never imagined the grief I would experience when he died. So, I created a very small Memory Garden for him… under one of the azaleas planted for my mother, the statuary cat was placed, with an engraved stone which epitomized Walter…it says, ‘Do no great things, only small things with great love.’ Rose petals fall on this small piece of statuary, it isn’t visible from the street, but I see him every day as I go to my car. Somehow it comforts me. I have recently planted a few scraggly violas near him hoping they will re-seed. There are lamb’s ears nearby too. Each one seems to be a bit of those small things only a family pet is able to bring to a household.
 Now, I’ve gone all sad sack on you and I don’t want you think Memory Gardens are just for bereavement- they aren’t! Plant memories for any occasion- name them or not, but as you plant- you are putting down roots, you are making a garden, you are making your home, your neighborhood, your world a more beautiful place!
Tip # 8 Don’t be afraid to ask for advice! Your local garden shop is a wealth of information. Ask them to suggest plants to use, what the plant will require, and how large it will get. You may need to have specimen plants installed, sometimes a garden center will be able to suggest a service. Ask for help- your plants willlove you for it!
Like I said, I didn’t set out to create a Memory Garden… now, that I have, the memories make me a better gardener. When a baby is born or a beloved friend passes on… I hope you will visit your garden center and pick out a special plant. And if the notion strikes or if there is a space in your garden, perhaps you will plant it and start a Memory Garden of your own… now, if you excuse me, I need to go outside and plant a Leyland Cypress named Wayne…
Love y’all, Camellia
* All photographs are obviously mine. The quote near the statuary cat is attributed to Mother Teresa. My husband’s dear friend, Wayne died right before Christmas, an evergreen was given to the family and the Leyland Cypress is to be planted here at Camellia’s Cottage.
 As soon as I see little wild strawberries springing up in the yard, I start thinking about making a Strawberry Cobbler! Now, you know I love almost any kind of Cobbler, though in the Spring, it just seems festive to bake a fresh Strawberry Cobbler.


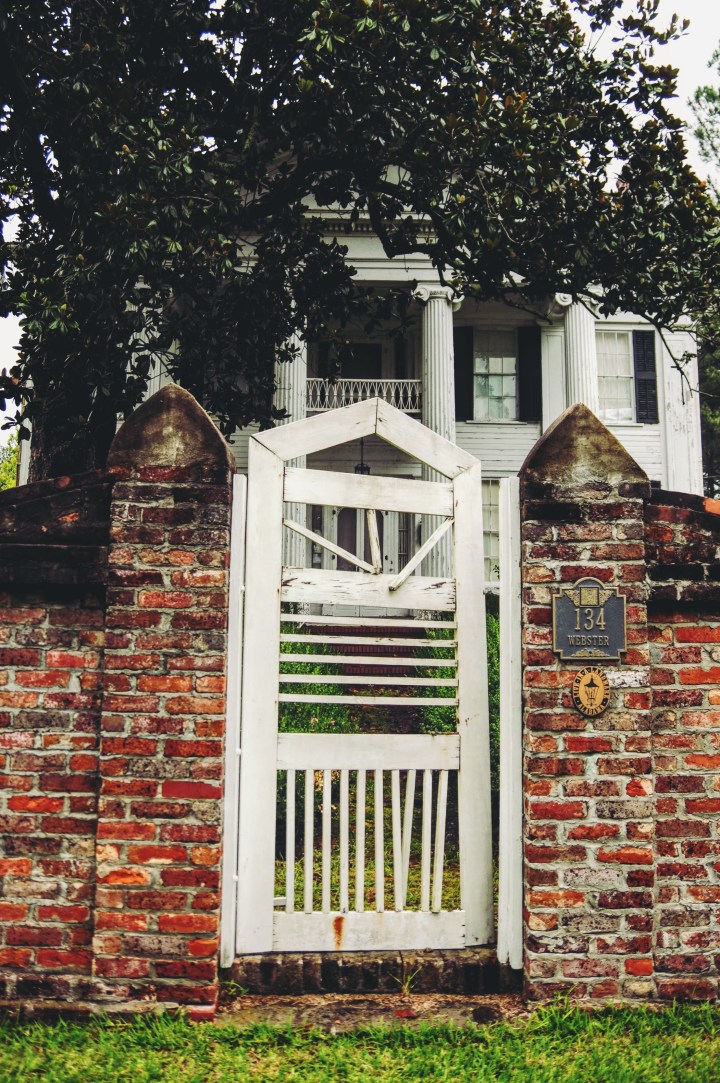
 Three years ago, when I first started writing – I was sorely lacking in photographic skills. A bit better now and have learned a thing or two… still, back then- award winning photographer Jeremy Miniard took pity on me and provided some stunning photographs, then generously offered to let me use them! One of the first groups of photographs I asked him about were Doors; Jeremy has a treasure trove of photographs taken during his ramblings throughout Alabama. The doors he sent to me were amazing. They still are! I posted ‘Doors of Alabama’ using some other photographs offered to me- also out of pity I’m sure. This time… I’ve put together a poster worthy collection of Doors of Alabama, which are all Jeremy Miniard’s work… be prepared to be impressed!


 Thank you Jeremy! This journey just wouldn’t have been the same without you! Now. Y’all. I hope you’re inspired as I was by Jeremy’s photography – and also the beauty and history that surely was behind these old doors…peeling paint and all! Now….on your mark, get set and.. Get out there and take some photographs wherever you are! I’d love to see what you come up with! By the way, can you believe we’re still around after three years? Me either. Thank you from the bottom of my heart, for your support, for following this blog and for your kind words; and yes! the funny comments too! And as always…
 I’ve said it before- the closer you live to a Tomato Vine, the better your life will be. As soon as the weather begins to warm up, southerners start dreaming of summer tomatoes. Camellia’s Spring Tomato Tart is an early start on summer- while we wait for our tomato vies to bear. Tomato sandwiches are on our minds. Simple sliced summer tomato slices make an appearance on almost every southern plate. We do everything we can, to preserve the taste of summer as long as we can. I think planting cherry tomatoes offers a head start on the taste only a fresh tomato offers, and yes- the closer you live to a tomato vine the better your life will be.

 .
. Light as a feather, filled with a rich lemony filling, Lemon Angel Roll is a match made in heaven. Impressive in looks, it’s surprisingly easy to make. Angel food cakes have enjoyed a love affair with southern cooks for a long time…I recall angel food cakes filled with strawberries and topped with whipped cream. Someone came up with the idea to cut an angel food cake in half, scoop out a tunnel on each half, filled…usually with a light and airy strawberry cream filling or peaches, when in season, paired beautifully with angel food cake.
 Now, I’ve made angel food cakes and of course, the Roulage which is a rolled flourless chocolate cake- however the Lemon Angel Roll, is a recipe that has been languishing in my recipe box for over 30 years. Okay, I don’t have a recipe box. Still, I do have recipes like this Lemon Roll, I run across about once a year, though I never seem to get ‘around’ to it. I mean come on- a rolled cake? I’m no pastry chef. This was the year I thought. If the Lemon Angel Roll failed? Who would know? Or care? So, while I had that jelly roll pan out to make the Roulage… I made a Lemon Angel Roll. What I found was this- if I can make it? You can!

