I’ve said it before- the closer you live to a Tomato Vine, the better your life will be. As soon as the weather begins to warm up, southerners start dreaming of summer tomatoes. Camellia’s Spring Tomato Tart is an early start on summer- while we wait for our tomato vies to bear. Tomato sandwiches are on our minds. Simple sliced summer tomato slices make an appearance on almost every southern plate. We do everything we can, to preserve the taste of summer as long as we can. I think planting cherry tomatoes offers a head start on the taste only a fresh tomato offers, and yes- the closer you live to a tomato vine the better your life will be.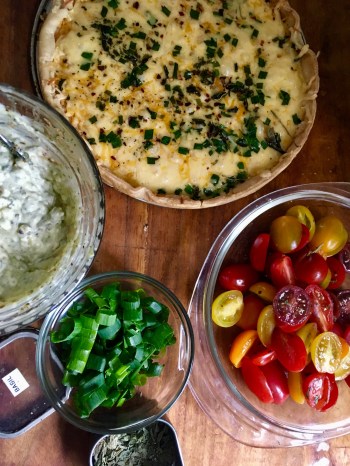
I believe that fresh tomato pies are a distinctly southern dish. When colorful heirloom cherry tomatoes showed up in my grocery store last week… well, after a bit of testing, we came up with a spring version of Tomato Pie- here’s how you make- Camellia’s Spring Tomato Tart.
Camellia’s Spring Tomato Tart
Using cherry tomatoes, this Spring version of the classic southern favorite, Tomato Pie, is light refreshing and delicious. Served with a mixed green salad and crumbled bacon for a luncheon or as a side for Spring and Easter Dinners, Camellia’s Spring Tomato Tart is a beautiful addition.
- 1 9 inch Prepared Pie Crust (Rolled, not in pie crust pan.)
- 1 Pint Cherry Tomatoes (Halved-Mixed colors preferably )
- 4 Ounces Gouda Cheese (Freshly grated, may use Swiss)
- 4 Ounces Sharp Cheddar Cheese (Finely grated)
- 2 Ounces Parmesan Cheese (Grated)
- 1 1/2 Cups Green Onions Tops (Chopped)
- 3/4 Cup Mayonnaise
- 1/4 Cup Sour Cream
- 2 Ounces Cream Cheese (Room temperature )
- 1-2 Teaspoons Chopped Garlic
- 1 Tablespoon Prepared Pesto
- 1-2 Teaspoons Dry Basil (Crumbled)
- 1-2 Teaspoons Red Pepper Flakes
- 1-2 Teaspoons Cracked Black Pepper (To taste)
- Preheat oven to 400 degrees. Unroll prepared pie crust in a lightly buttered springform pan. * the pie crust should come up the sides about an inch or less. With a fork prick bottom of crust. Bake 15-16 minutes or until lightly browned. While crust is baking, combine grated Gouda, cheddar and Parmesan cheeses. Sprinkle a teaspoon of red pepper flakes and 1/4 cup of green onion tops over cheeses and toss to combine. Place on warm crust and allow to sit until filling is ready. *Do not put filling on cheeses and warm pie crust. Mix mayonnaise, sour cream, softened cream cheese, chopped garlic and pesto until combined; mix in more red pepper flakes, 1/2 of remaining green onion tops, dry basil and cracked black pepper. * Salt is not added until Tomato Tart is served. Complete melting cheeses in tart Shell by returning to 400 degree oven for 3-5 minutes. Remove from oven. Allow to cool slightly. Smooth Filling over melted cheese while still in springform pan. Carefully remove filled tart and top generously with halved cherry tomatoes, * Discard an juices from tomatoes before topping tart.Top tart with additional green onion tops, a sprinkling of dried basil and cracked black pepper. Cut in wedges with serrated knife. Serves 4-6 generously.
We found – a 10 inch springform pan is the best and easiest to use for this tomato tart. The tart shell may be baked in a shallow 9” baking pan, however, this tart does not lend itself to a deep dish pie.
Perfect for Brunch, a ladies luncheon or even as a side dish on the Easter table, Spring Tomato Tart is great on its own for a meatless meal, however, ours was served with a mixed green salad with lots of crumbled bacon. Also wonderful alongside ham, roasted fish or shrimp-this tart is beautiful, cool and delicious. Easy enough to assemble that you’ll find time to get the ground ready for those summer tomato plants! Welcome Spring with an early Tomato Tart!
Love y’all, Camellia
* All photographs are obviously mine.
*Tip: For easy, quick assembly, we decided to use prepared pie crust, prepared pesto and pre-grated cheeses may be used as well. It makes an easy weeknight meal, if you blend the cheeses and the filling ahead of time and store in the refrigerator. You may, of course, make your own piecrust or grate your own cheese. Here’s another photograph of how ours came together- 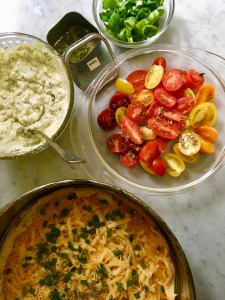 .
.
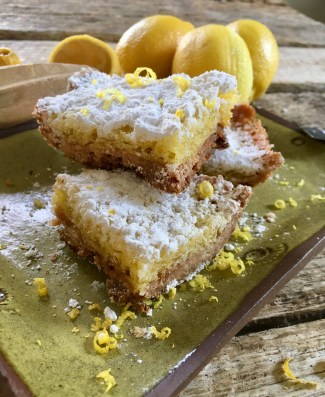
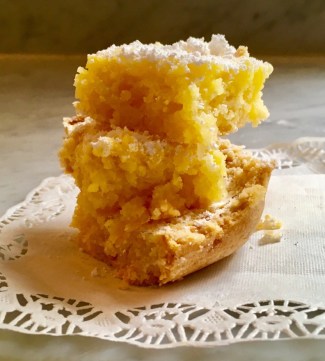
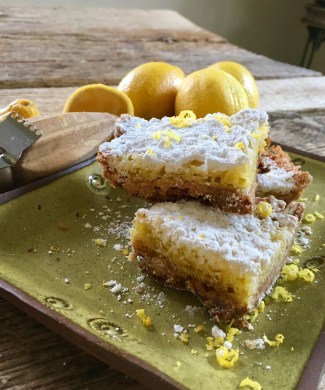 I do recommend using three small kitchen hand tools when making lemon squares- a wooden lemon reamer – less cleanup for just one or two lemons, a small hand held specialty lemon zester for those pretty little strands and curls that add a zip of flavor, done as a flourish right before serving and- a small fine mesh strainer in stainless steel to seed and pulp the lemon juice for the filling and again for the pretty finale- the sifting flourish of powdered sugar! And we do love to add a flourish, accessorize if you will. And if there’s one thing Southern women know how to do- it’s to accessorize! Oh me, hope you’ll try them some dreary winter day soon!
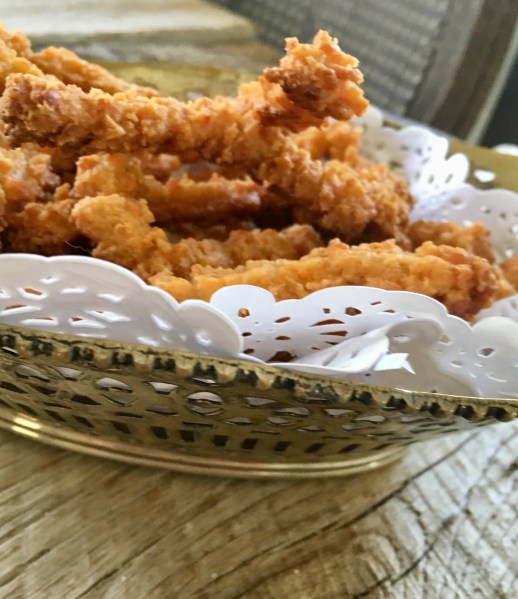
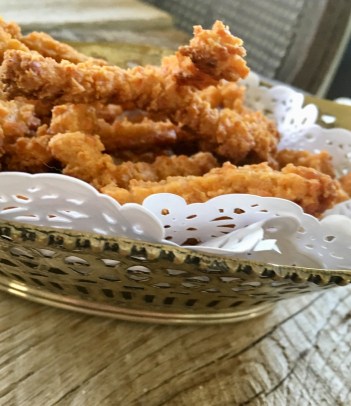 If there was a manual for Camellia’s Academy of Fine Arts for Polite Society, there would be an entire section devoted to the proper menus for afternoon teas, bridal showers, various receptions and occasional celebratory parties. And, you may count on Classic Cheese Straws making an honorary appearance on each and every menu. Southern Cheese Straws have been the subject of hot debate for decades…every town has at least one sweet soul who takes great pride in producing the very best cheese straws. Okay, it’s not a hot debate, it’s more like a warm undercurrent. Someone remarked recently, ‘Why, I haven’t made a cheese straw since Captain and Tennielle sang Muskrat Love, I never could get them to crisp up like Gaynelle always could.’ I can’t say I blame her!
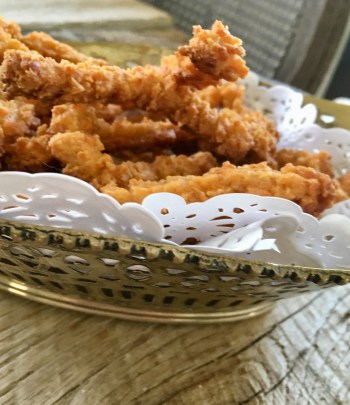 Join me in keeping this wonderful tradition alive- it’s an heirloom recipe. It’d be a shame for polite society if the tradition didn’t survive, especially if you live, like I do, where cheese straws are always welcome and the sugar cane still grows.
 If you’ve visited any great southern cities, particularly coastal cities such as Charleston, Savannah and New Orleans – chances are you’ve been drawn into a Praline Shop. We southerners call this sweet confection – Praw-leens, we’ll know right away you aren’t from the south if you call them Pray-leens. Since we’ve gotten the correct pronunciation out of the way, let me just say, however you pronounce Pralines, you will either love them or say- they’re too sweet! Eat enough pralines in your lifetime and you will become a praline critic- I complain that some pralines are too grainy- the sugar isn’t smooth enough or sometimes the pecans aren’t toasted enough to suit me. Yet even as I criticize- I will stand there and eat a praline until all of the sugary morsel is gone… Every. Single. Time. Why is the South so famous for Pralines?
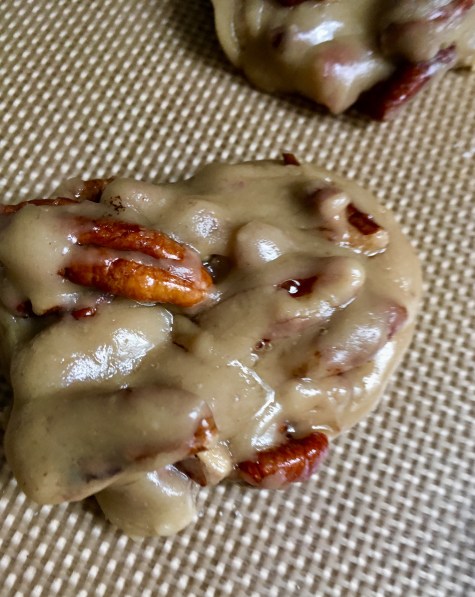 Alabama isn’t widely known for her pralines- the sweet confections of my youth spun sugar more often into Divinity, Peanut Brittle or a plate of Chocolate Fudge; all of which depended on the weather for success. Humidity is the enemy of granulated sugar in cooked candies. Sugar will do weird things like turn grainy or stiff or sit there and sulk- weeping. I know this to be true- I’ve rarely found a perfect day and have made enough mistakes to throw out whole batches of candy that weren’t fit to eat. Recently, I found, a yellowed and fragile newspaper clipping with a recipe for Alabama Pralines stuck in my grandmother’s cookbook. I don’t recall that she ever made them. Perhaps she was unskilled at candy making…though she did revel in making a white mass of sugar studded with pecans into Divinity- only on a crisp, cool and dry day sometime before Christmas. I recall Mimi saying-
 Toffee and Caramel are two successful favorites…I’ve rarely attempted making Divinity, for fear it might turn out like poor Edna Earles. I’ve tried making pralines a time or two and failed. Anyway, when I decided to make these Alabama Pralines, it was on the absolute worst day for making candy. It was hot and humid- dark clouds threatened rain. I thought this recipe would surely fail. I made them because of one change from the other recipes I’d tried… the Alabama Praline recipe doesn’t call for granulated sugar! Okay, my sweet tooth had flared up too. It didn’t hurt that I had all of the ingredients and a bit of free time. I am happy to report- the recipe for Alabama Pralines not only worked but as most real deal recipes will tell you- pralines can be stored in the freezer. Now, that’s important because faced with a dozen glorious pralines? Let’s just say- they need to be frozen for health and safety concerns! I know you’ll want to make a batch of-