 Pecans are a cash crop in Alabama, indeed all across the South, folks love to have their own pecan trees. Pecan Pies are the iconic southern dessert, and while we wouldn’t turn down a piece of pecan pie any time of year- a pecan pie always makes her appearance on holiday tables. The truth is? It’s hard to imagine southern food without this wonderful nut. Some of my favorite cooks tend to enjoy- shelling pecans. Could I get a hallelujah for these fine ladies? I’ve had a few tell me they find it ‘relaxing’ to shell pecans… I wouldn’t know about that, it’s frustrating to me. To each his own. I do know this- to receive a bag of fresh shelled pecans is better than getting a bag of gold!
Now, I have to admit that I love pecans and pecan pies, though I also tend to restrict myself to baking the classic pecan pies for Thanksgiving and Christmas. And I love variations on the classic too. Chocolate Pecan Pie and Sweet Potato Pie topped with Pecans is amazing too. I’d never turn down either variation. Still. I rarely make all three at the same time. I made a classic pecan pie and a chocolate pecan pie for Thanksgiving this year. The classic is my husband’s favorite and I had a special request for the chocolate pecan pie. These pies are amazing and might just be one of the easiest pies to make! The wonderful thing about the classic pecan pie is that it can be pre-baked now and thawed and reheated any time during the holidays! I’ll admit to having one lurking in the freezer right this minute! I haven’t tried freezing the chocolate one…yet I believe it also would work well. And, even though, making your own pie crust dough is a wonderful thing…with all the busyness of the holidays, why would you unless you’re very organized and made up pie crust dough ahead…I’d say go ahead and use it! It’s the holidays! You want to put your very best out for family and guests! Here’s how we make Camellia’s Chocolate Pecan Pie-
You will need:
- Single Pie Crust for Deep Dish Pie (unbaked)
- 2 Tablespoons Butter (melted)
- 3 Large Eggs
- 1 cup Dark Corn Syrup
- 1 cup Granulated Sugar
- 1 Teaspoon Instant Coffee
- 3/4 cup Semi Sweet Chocolate Chips (melted)
- 1 Teaspoon Vanilla Extract
- 1/4 Teaspoon Kosher Salt
- 1 1/2 cups Pecan Halves
- Prepare crust in a deep pie crust dish or 8 inch cake pan. Preheat oven to 325 degrees. For Filling Mixture- In a saucepan, on low heat, melt butter, then add chocolate chips to melt. Add Dark Corn Syrup, Sugar, Instant Coffee and Salt- combine well. Mix eggs in a small bowl and add to Filling Mixture, combining well. Stir in 1 1/4 cups of pecans, reserving a few to decorate the top of the pie, if desired. Pour Filling Mixture into prepared Pie Crust. Bake for 50-55 minutes until crust is lightly browned and filling is not completely set- *This is important- do not over bake the filling! When done, top the pie with reserved pecans in a circle to decorate if desired. Allow pie to cool completely on a wire rack.
- You will need:
- 1 Single Pie Crust for deep dish pie (unbaked)
- 1 cup Dark Corn Syrup
- 3 Large Eggs
- 1 cup Sugar
- 2 Tablespoons Butter, melted
- Pinch of Salt
- 1 Teaspoon Pure Vanilla Extract
- 1 1/2 cups whole pecans
-
- 1 Tablespoon Bourbon ( if desired)
- Preheat oven to 350 degrees. Prepare pie crust in deep dish pie pan. Line bottom of pie crust with whole pecans placed in concentric circles. Set aside to mix filling. Melt butter. In a mixing bowl, lightly mix eggs. Add corn syrup, sugar, melted butter, pinch of salt and vanilla extract. Combine well and pour carefully over pecans in unbaked pie shell. Bake at 350 degrees for 60-65 minutes, until pecans rise to top. Do not over bake. When pie is still hot sprinkle Bourbon over hot pecans (you will hear a sizzle!) Cool on a wire rack for at least one hour or until thoroughly cool and set. Keep chilled, before serving warm lightly if desired.
And, we’ve told you about another Pecan Pie that’s absolutely delicious!
It’s called Sweet Potato Pecan Pie… and is a wonderful twist on the classic pecan pie!

 Here at the Cottage, I don’t change out front door wreaths for every season or holiday; however: in the fall when the ferns are shriveled up from the heat, the chrysanthemums sit and sulk and refuse to bloom and… let’s face it, it’s still hot and flowering pants in the border are beginning to wane… so! a wreath seems to be a good way to freshen up the front door as we transition from summer to fall. And let’s face it- when the garden starts to look tired, and it’s hot and dusty; shining up the front door for a bit of curb appeal, even perking up the screen porch makes things feel like fall even if it’s still hot as the hinges on devil’s back door!
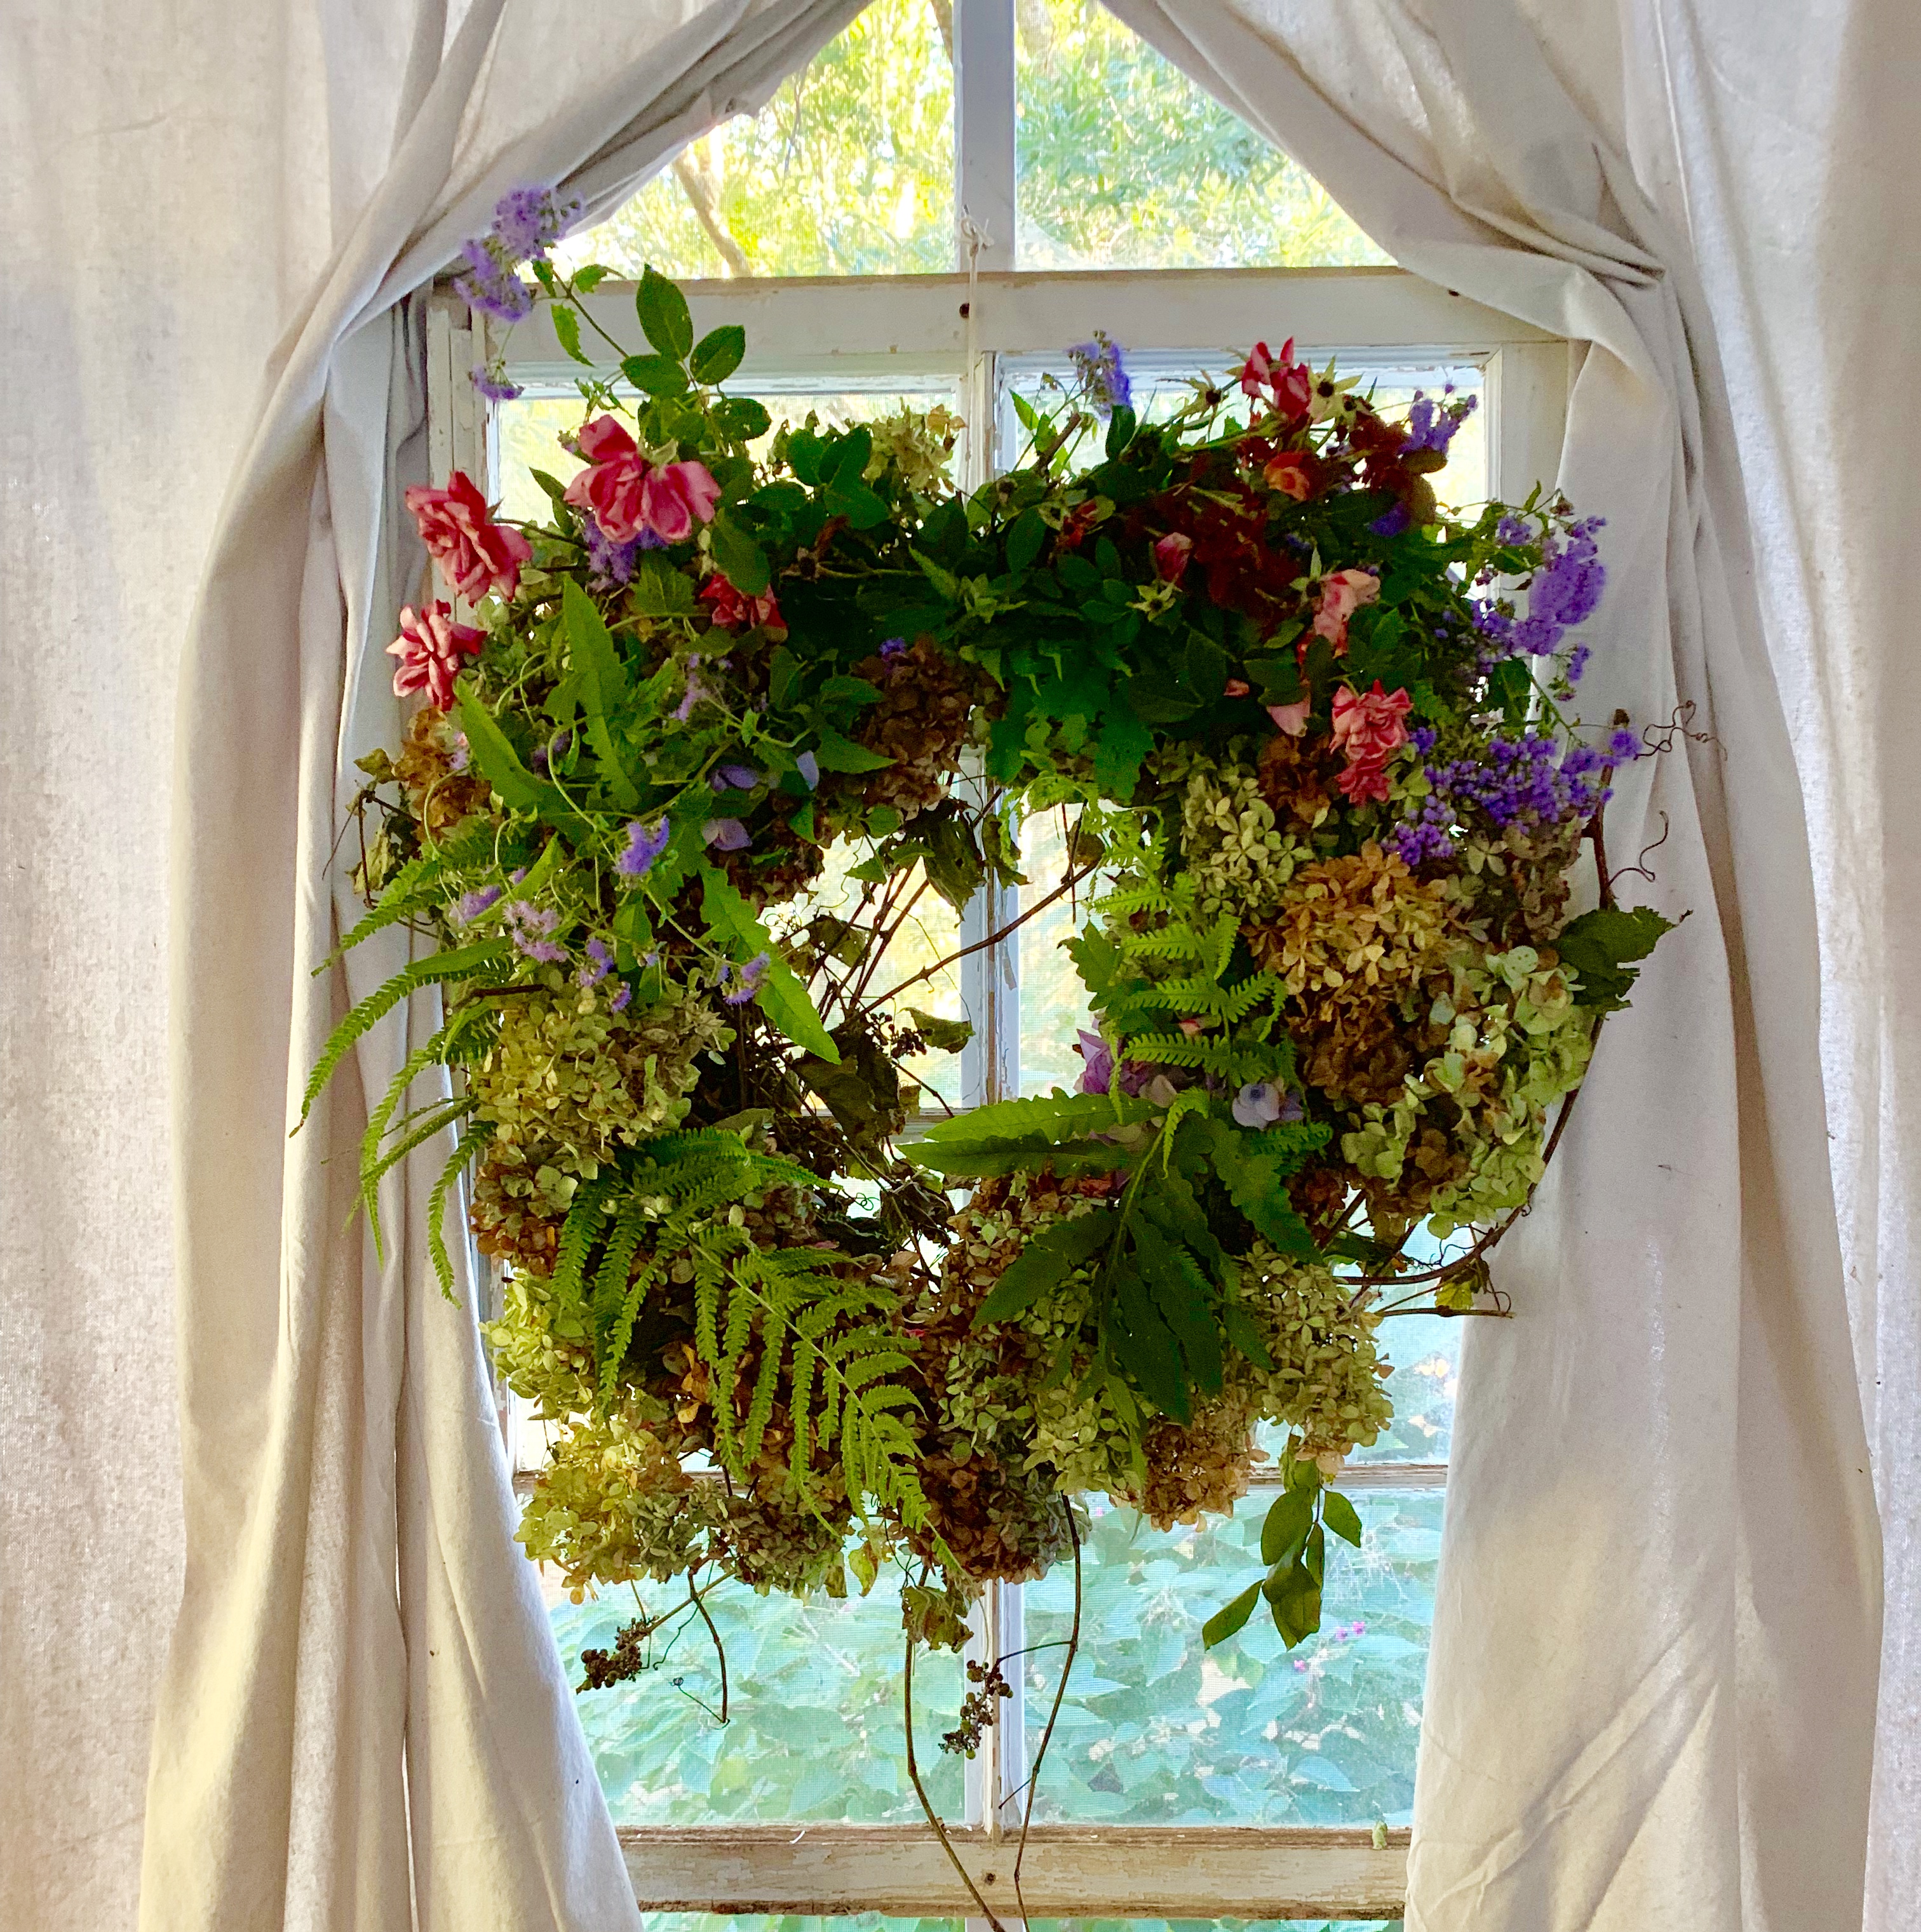
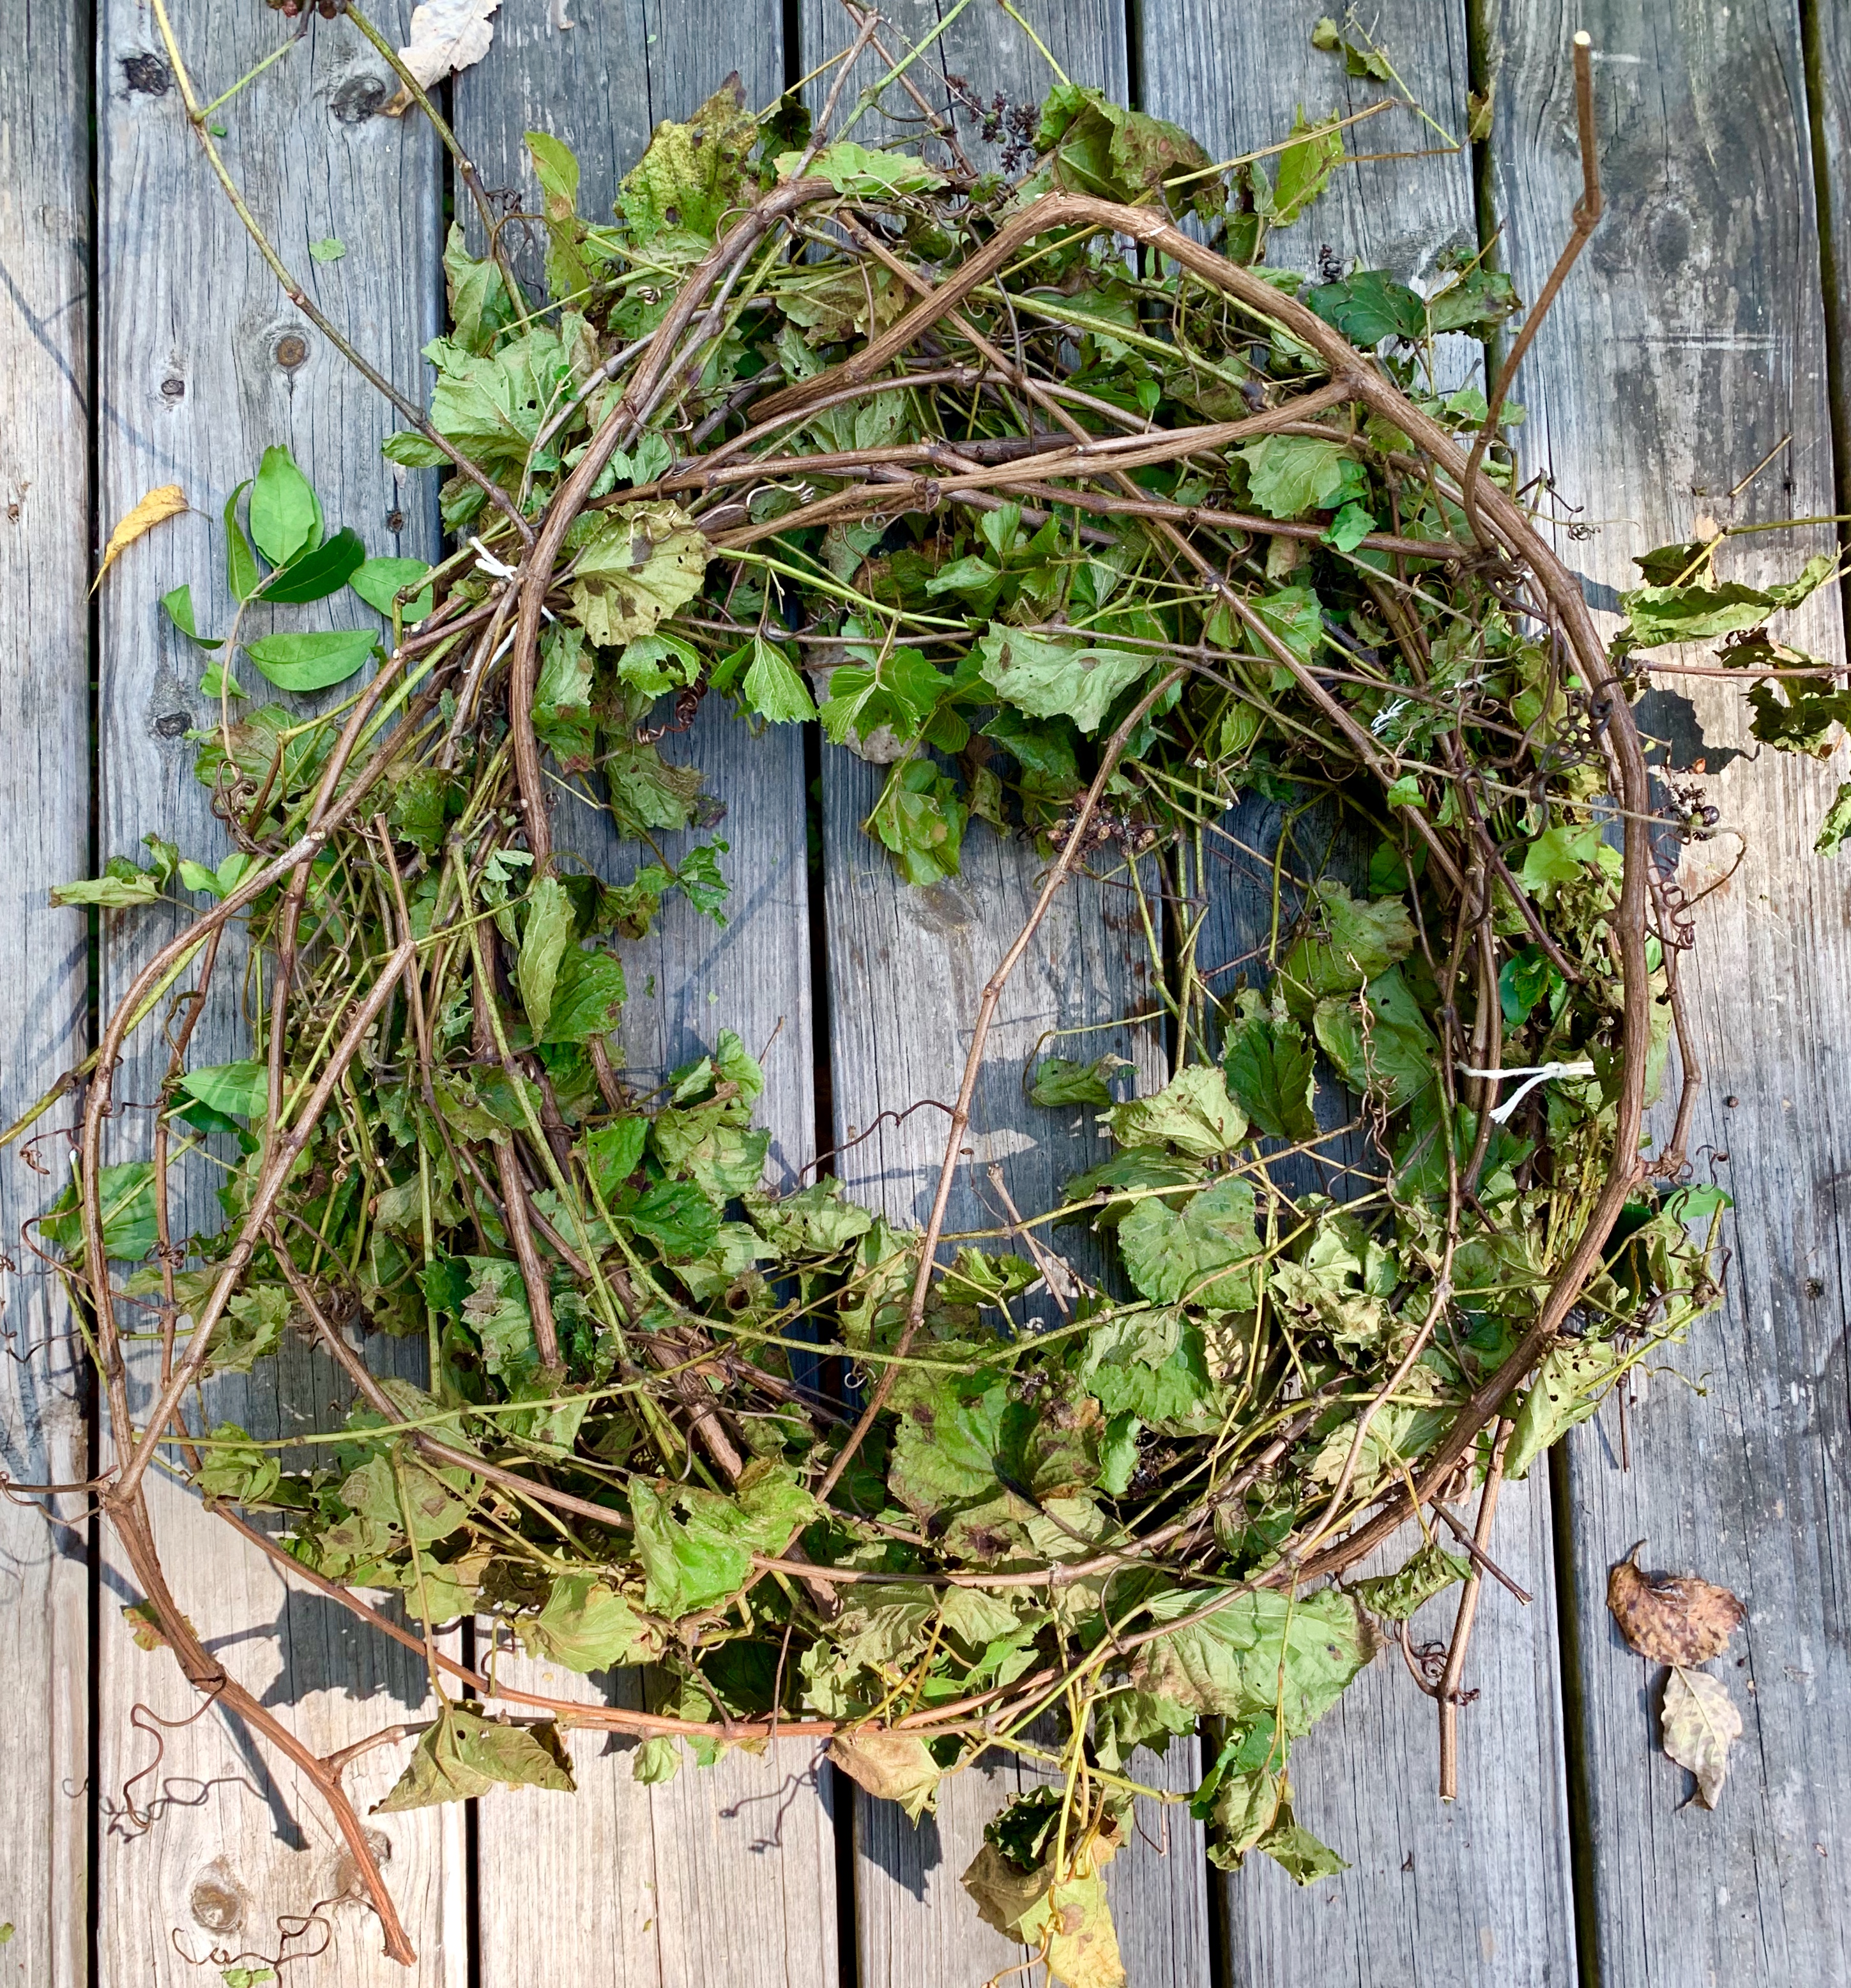
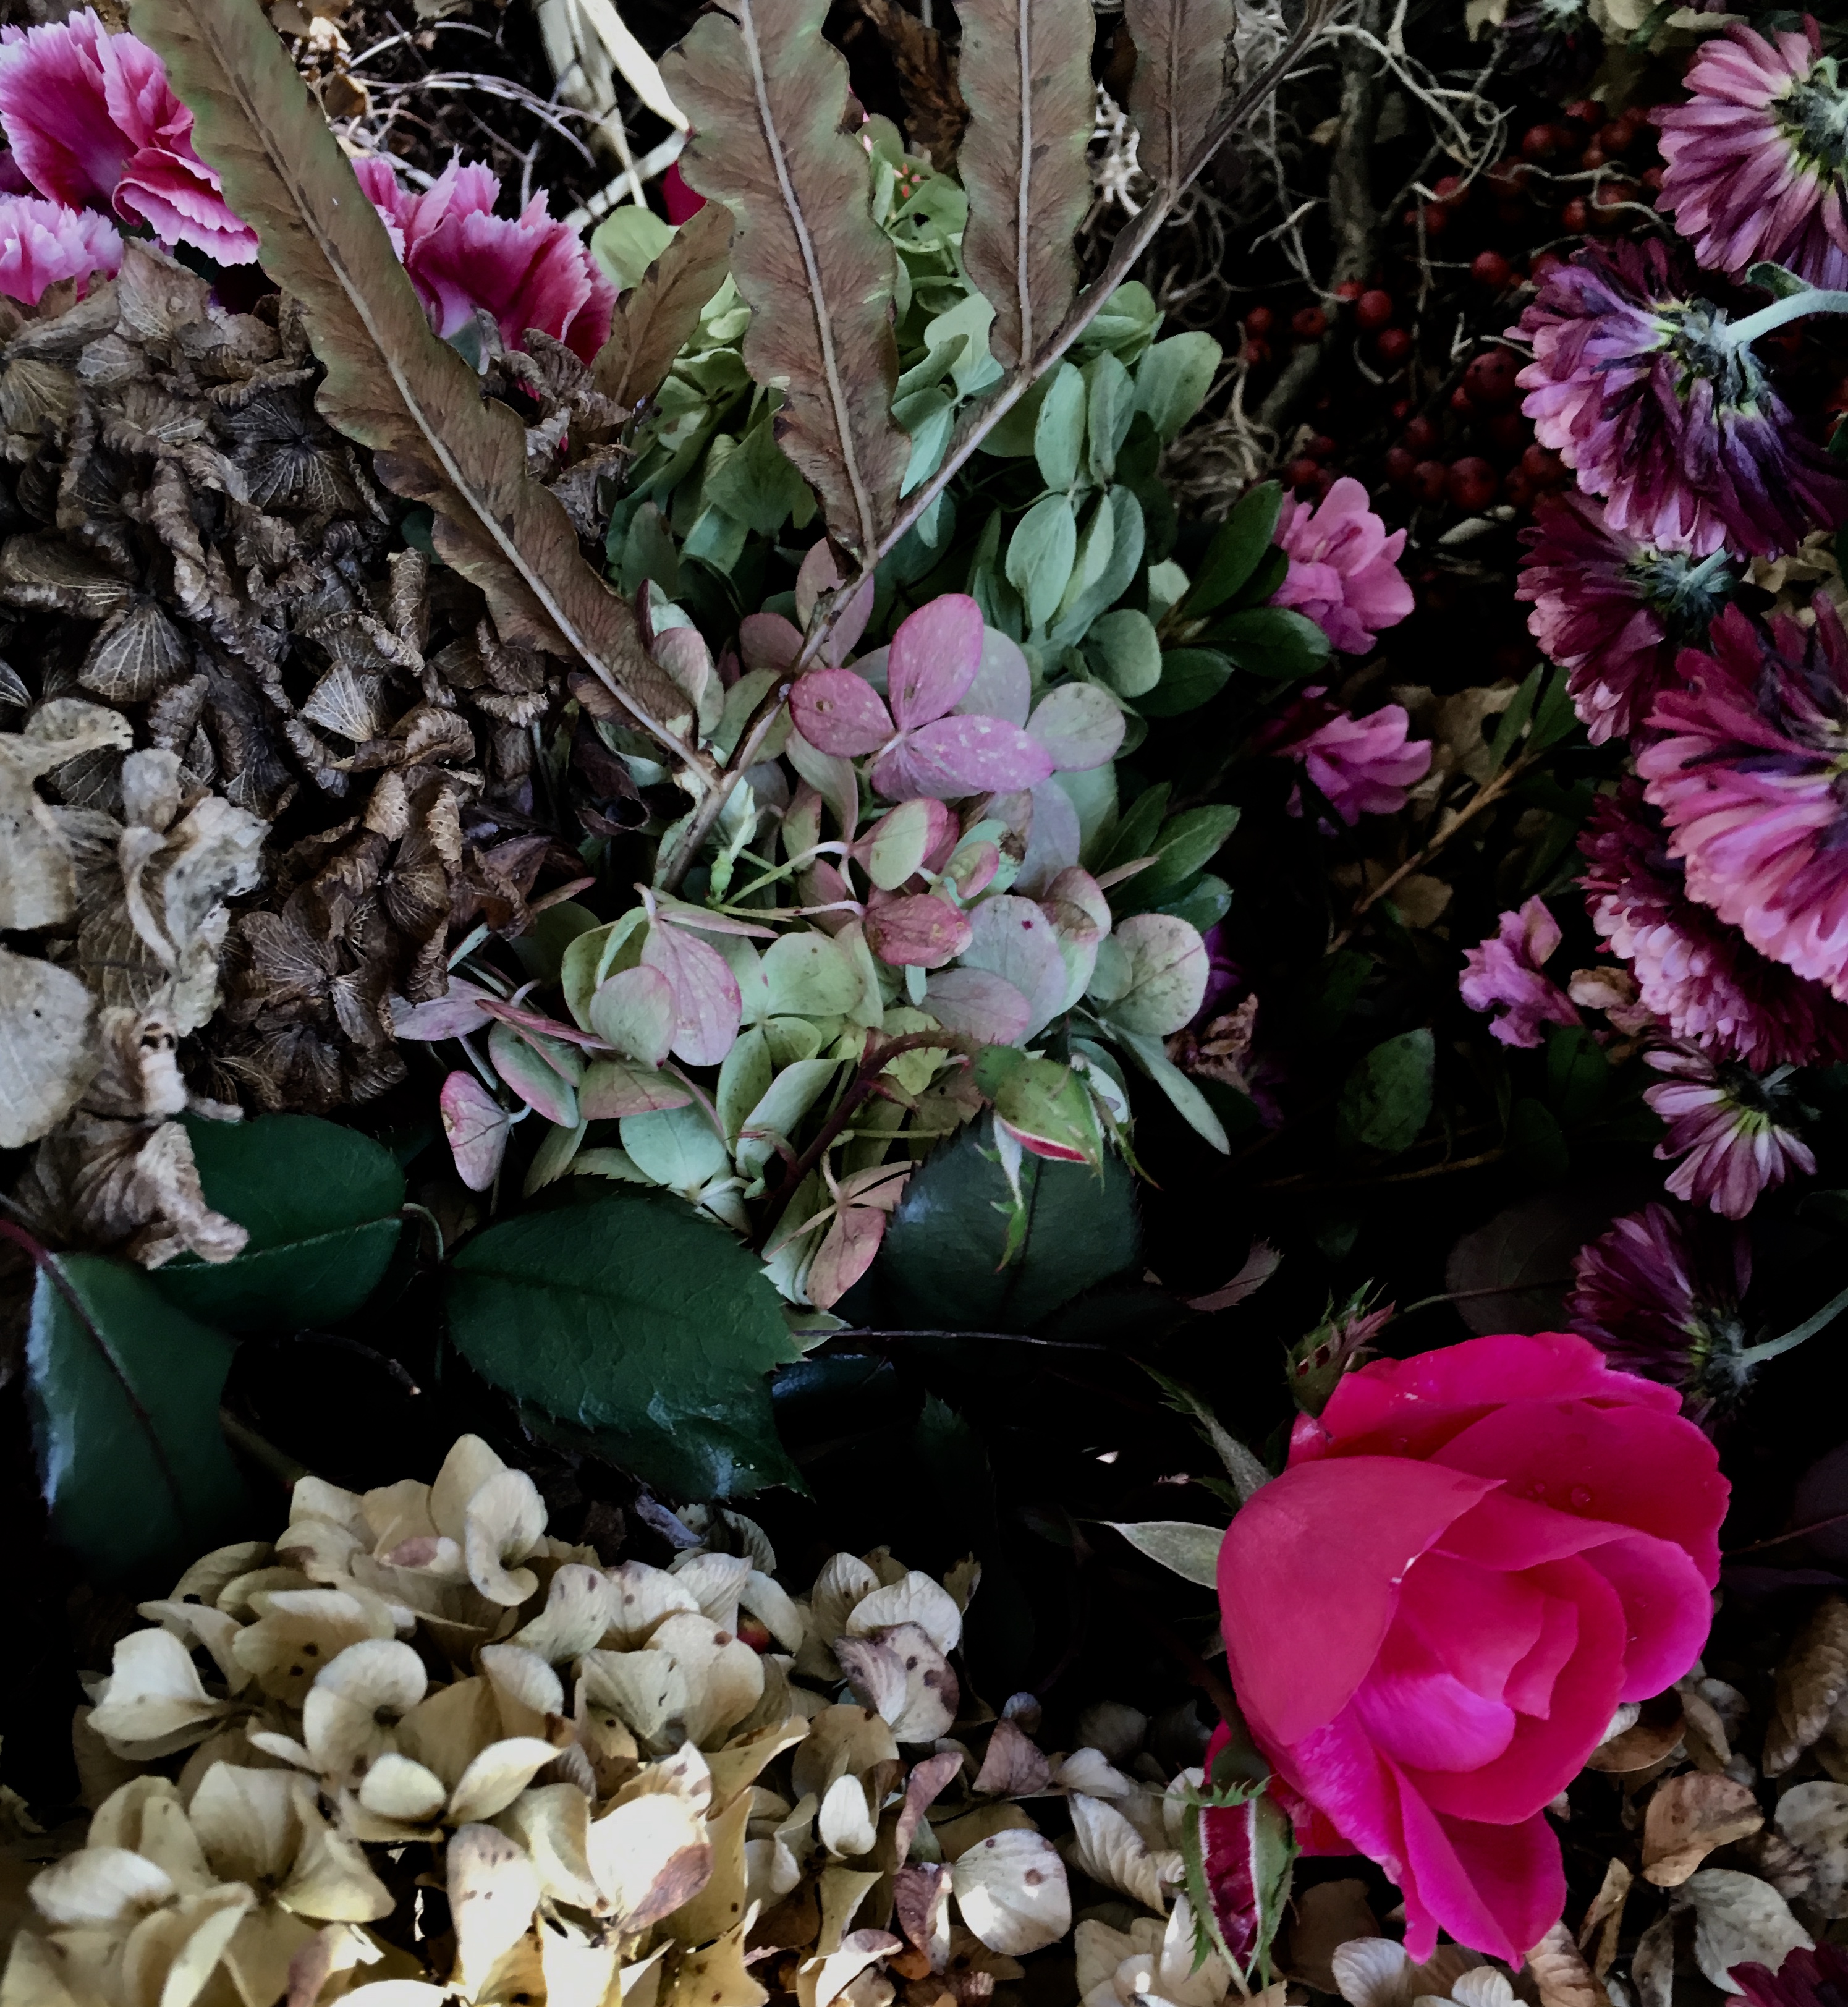 Then, there’s this- I think it’s fun to forage for blooms, vines and quirky things. I wind them up into a pretty wreath (see those pretty things above!). Now…. Fresh and dried materials won’t hold up forever, so… It’s better to enjoy the wreaths for a season, then put all except the base material in the compost pile.


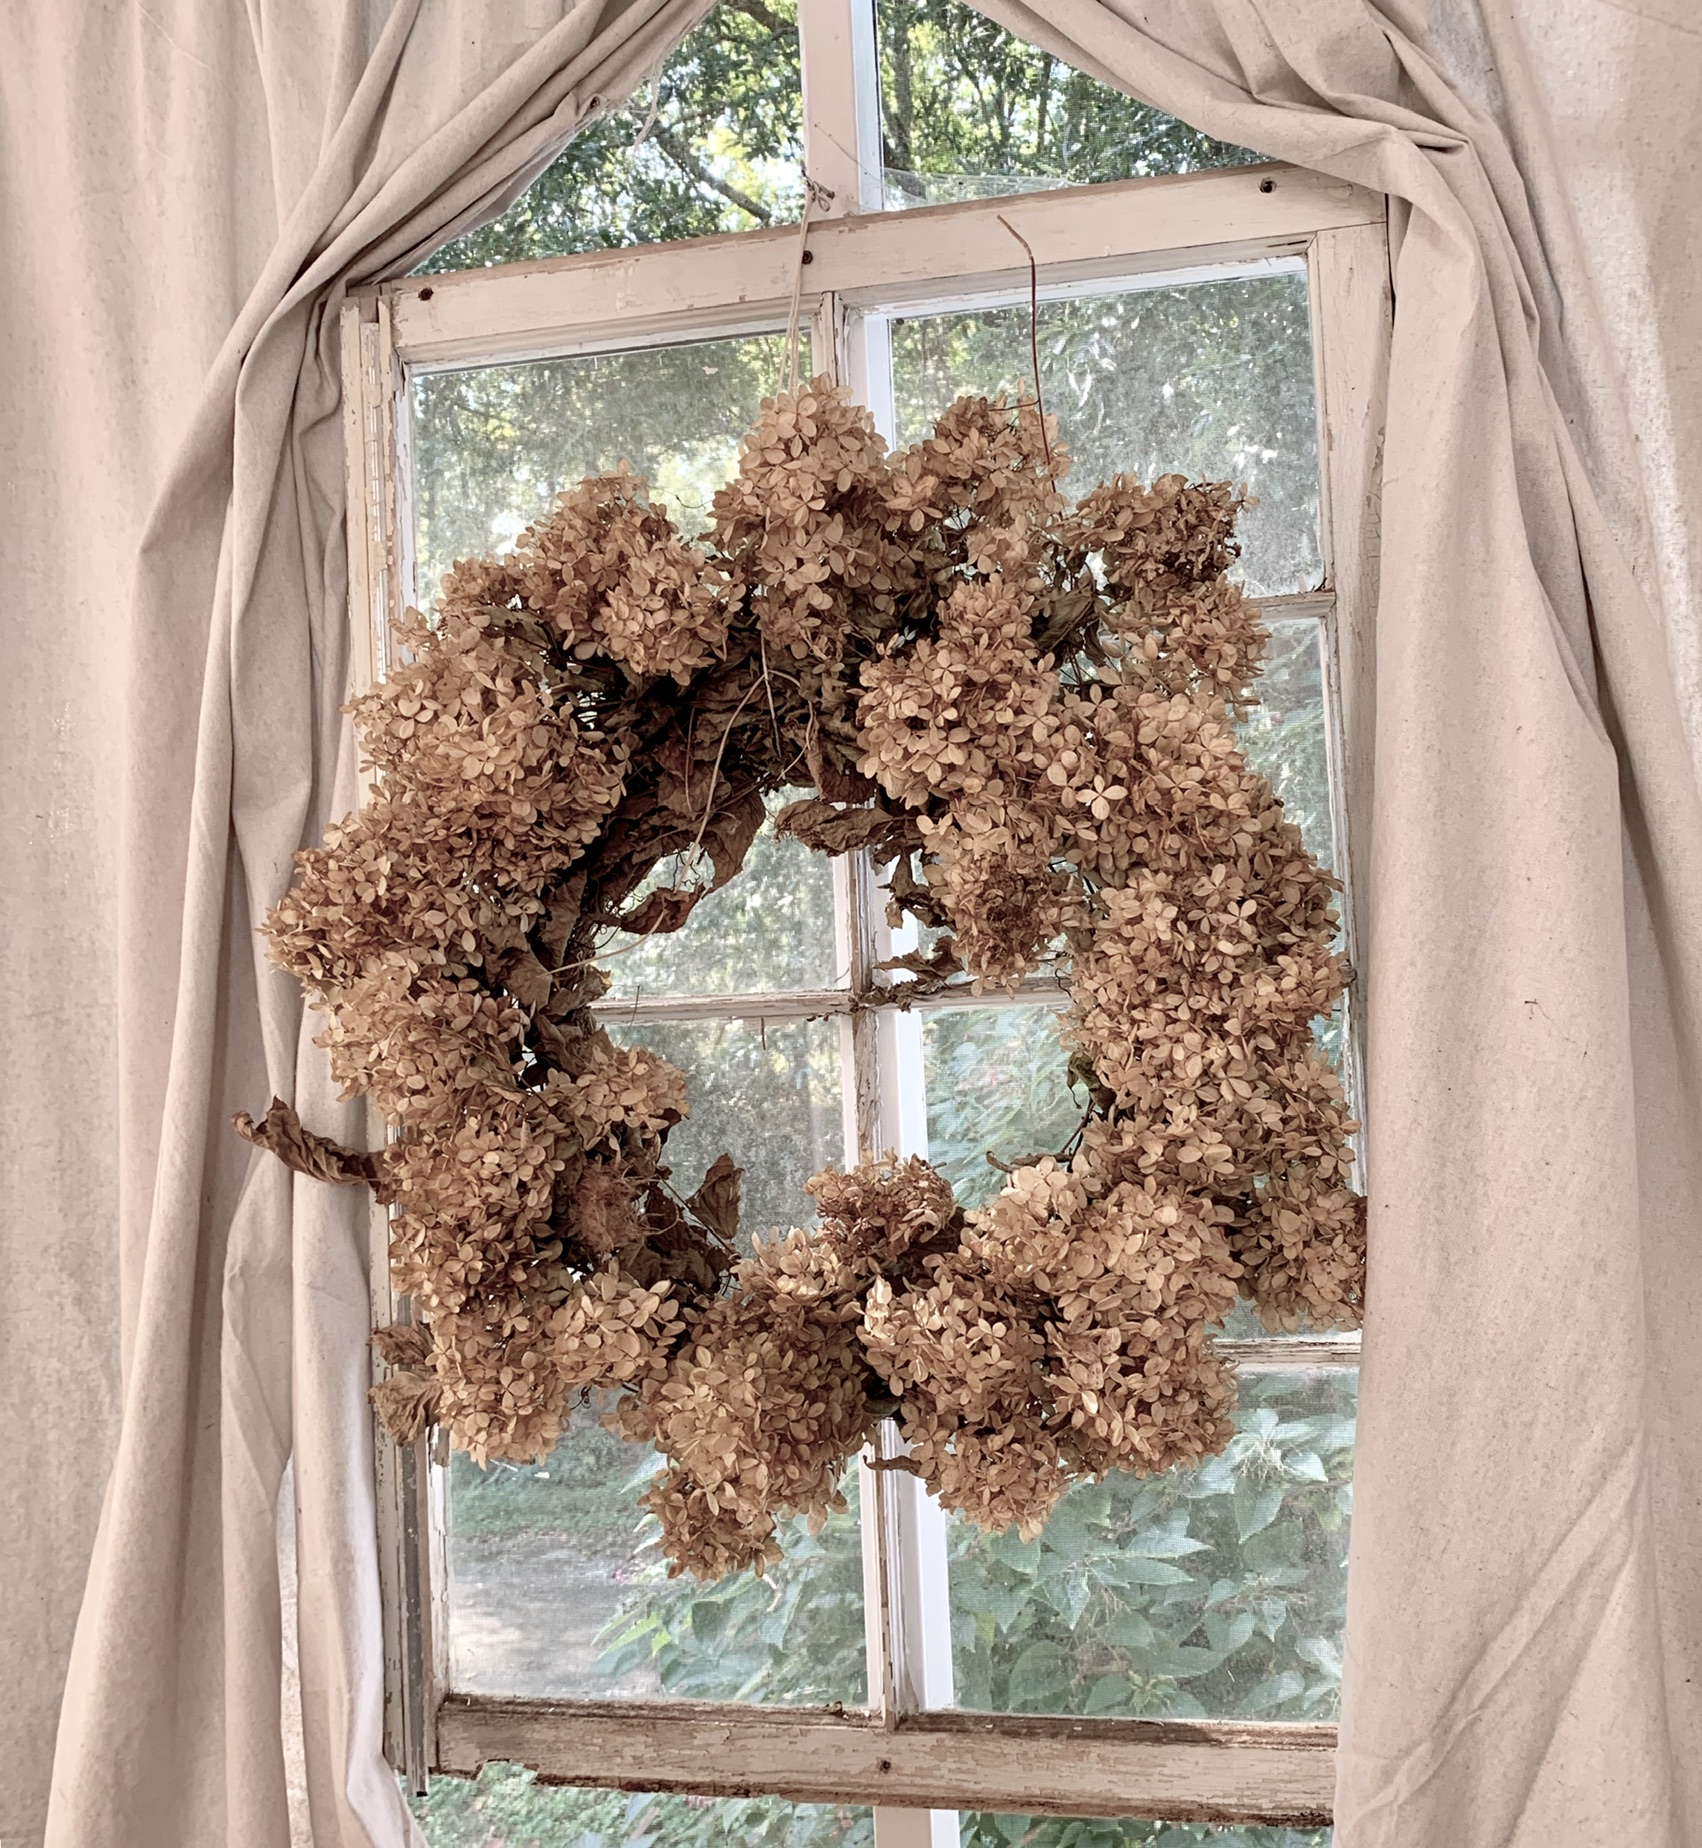 One wreath is made simply of Annabelle hydrangeas which usually dry to a pale green, then tinged with pink or if picked early will dry to a delicate pale cream. Here’s a close up of how mine dried this year- though sometimes they turn a light tan sort of like a paper bag!
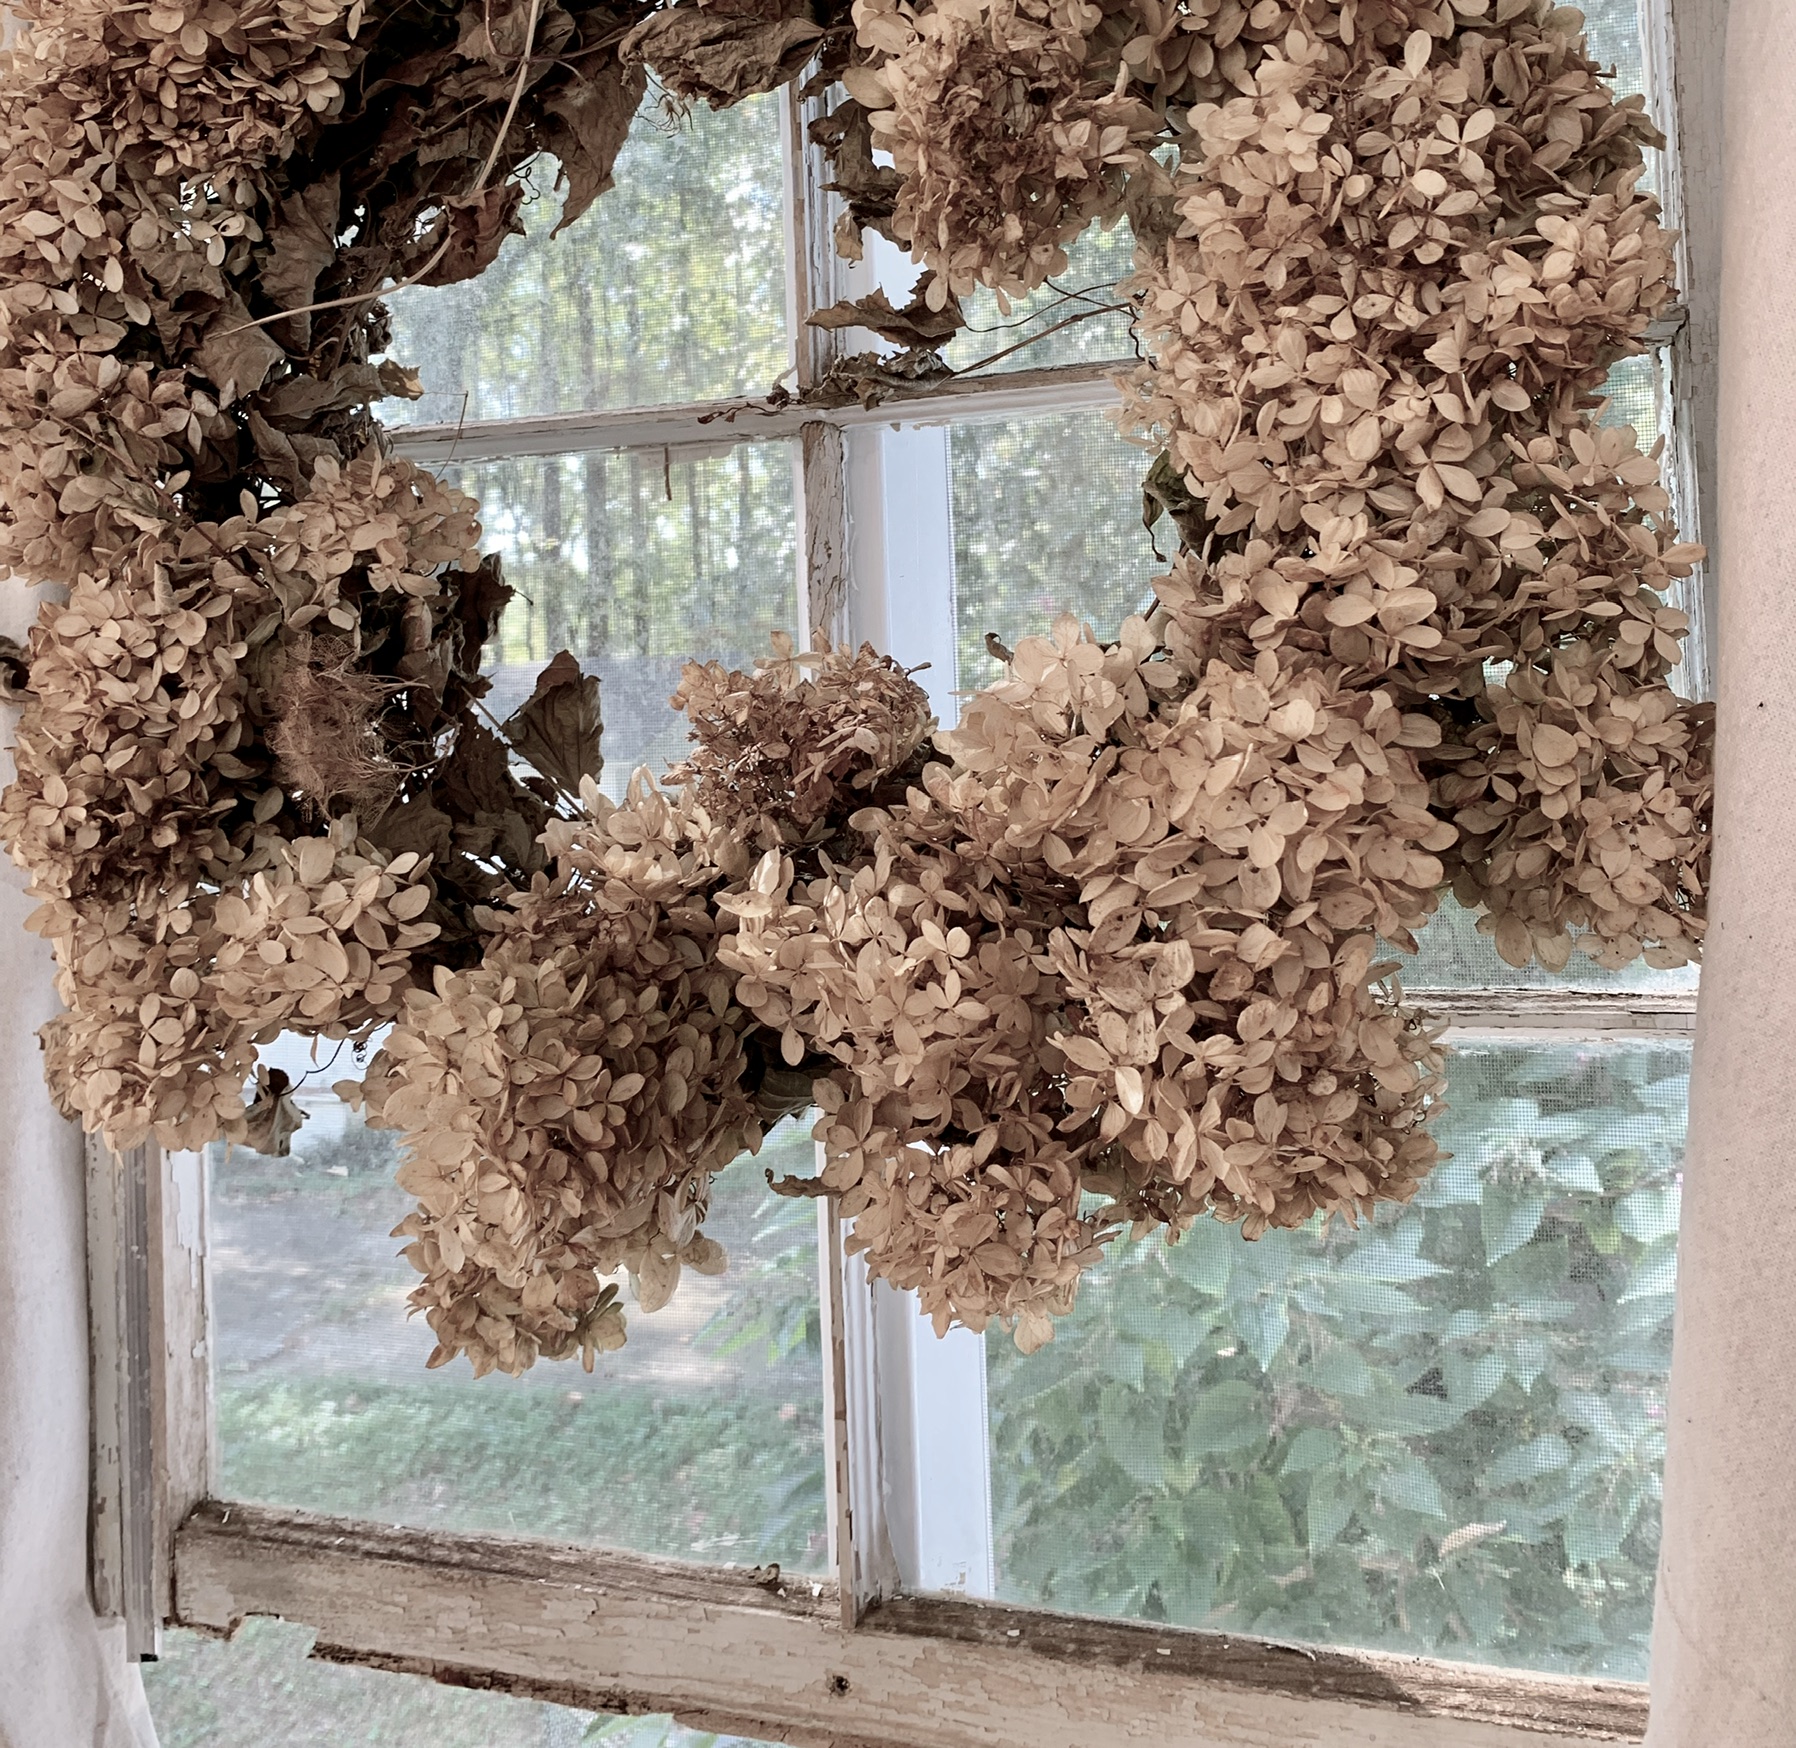 The mixed hydrangea wreath at the top and below is a foraged wreath with vines, wild flowers, fading roses and ferns. The first round of foraged flowers were too droopy by the time I made this wreath- so I just went out and snipped a few more things! Use your imagination and what you can find!
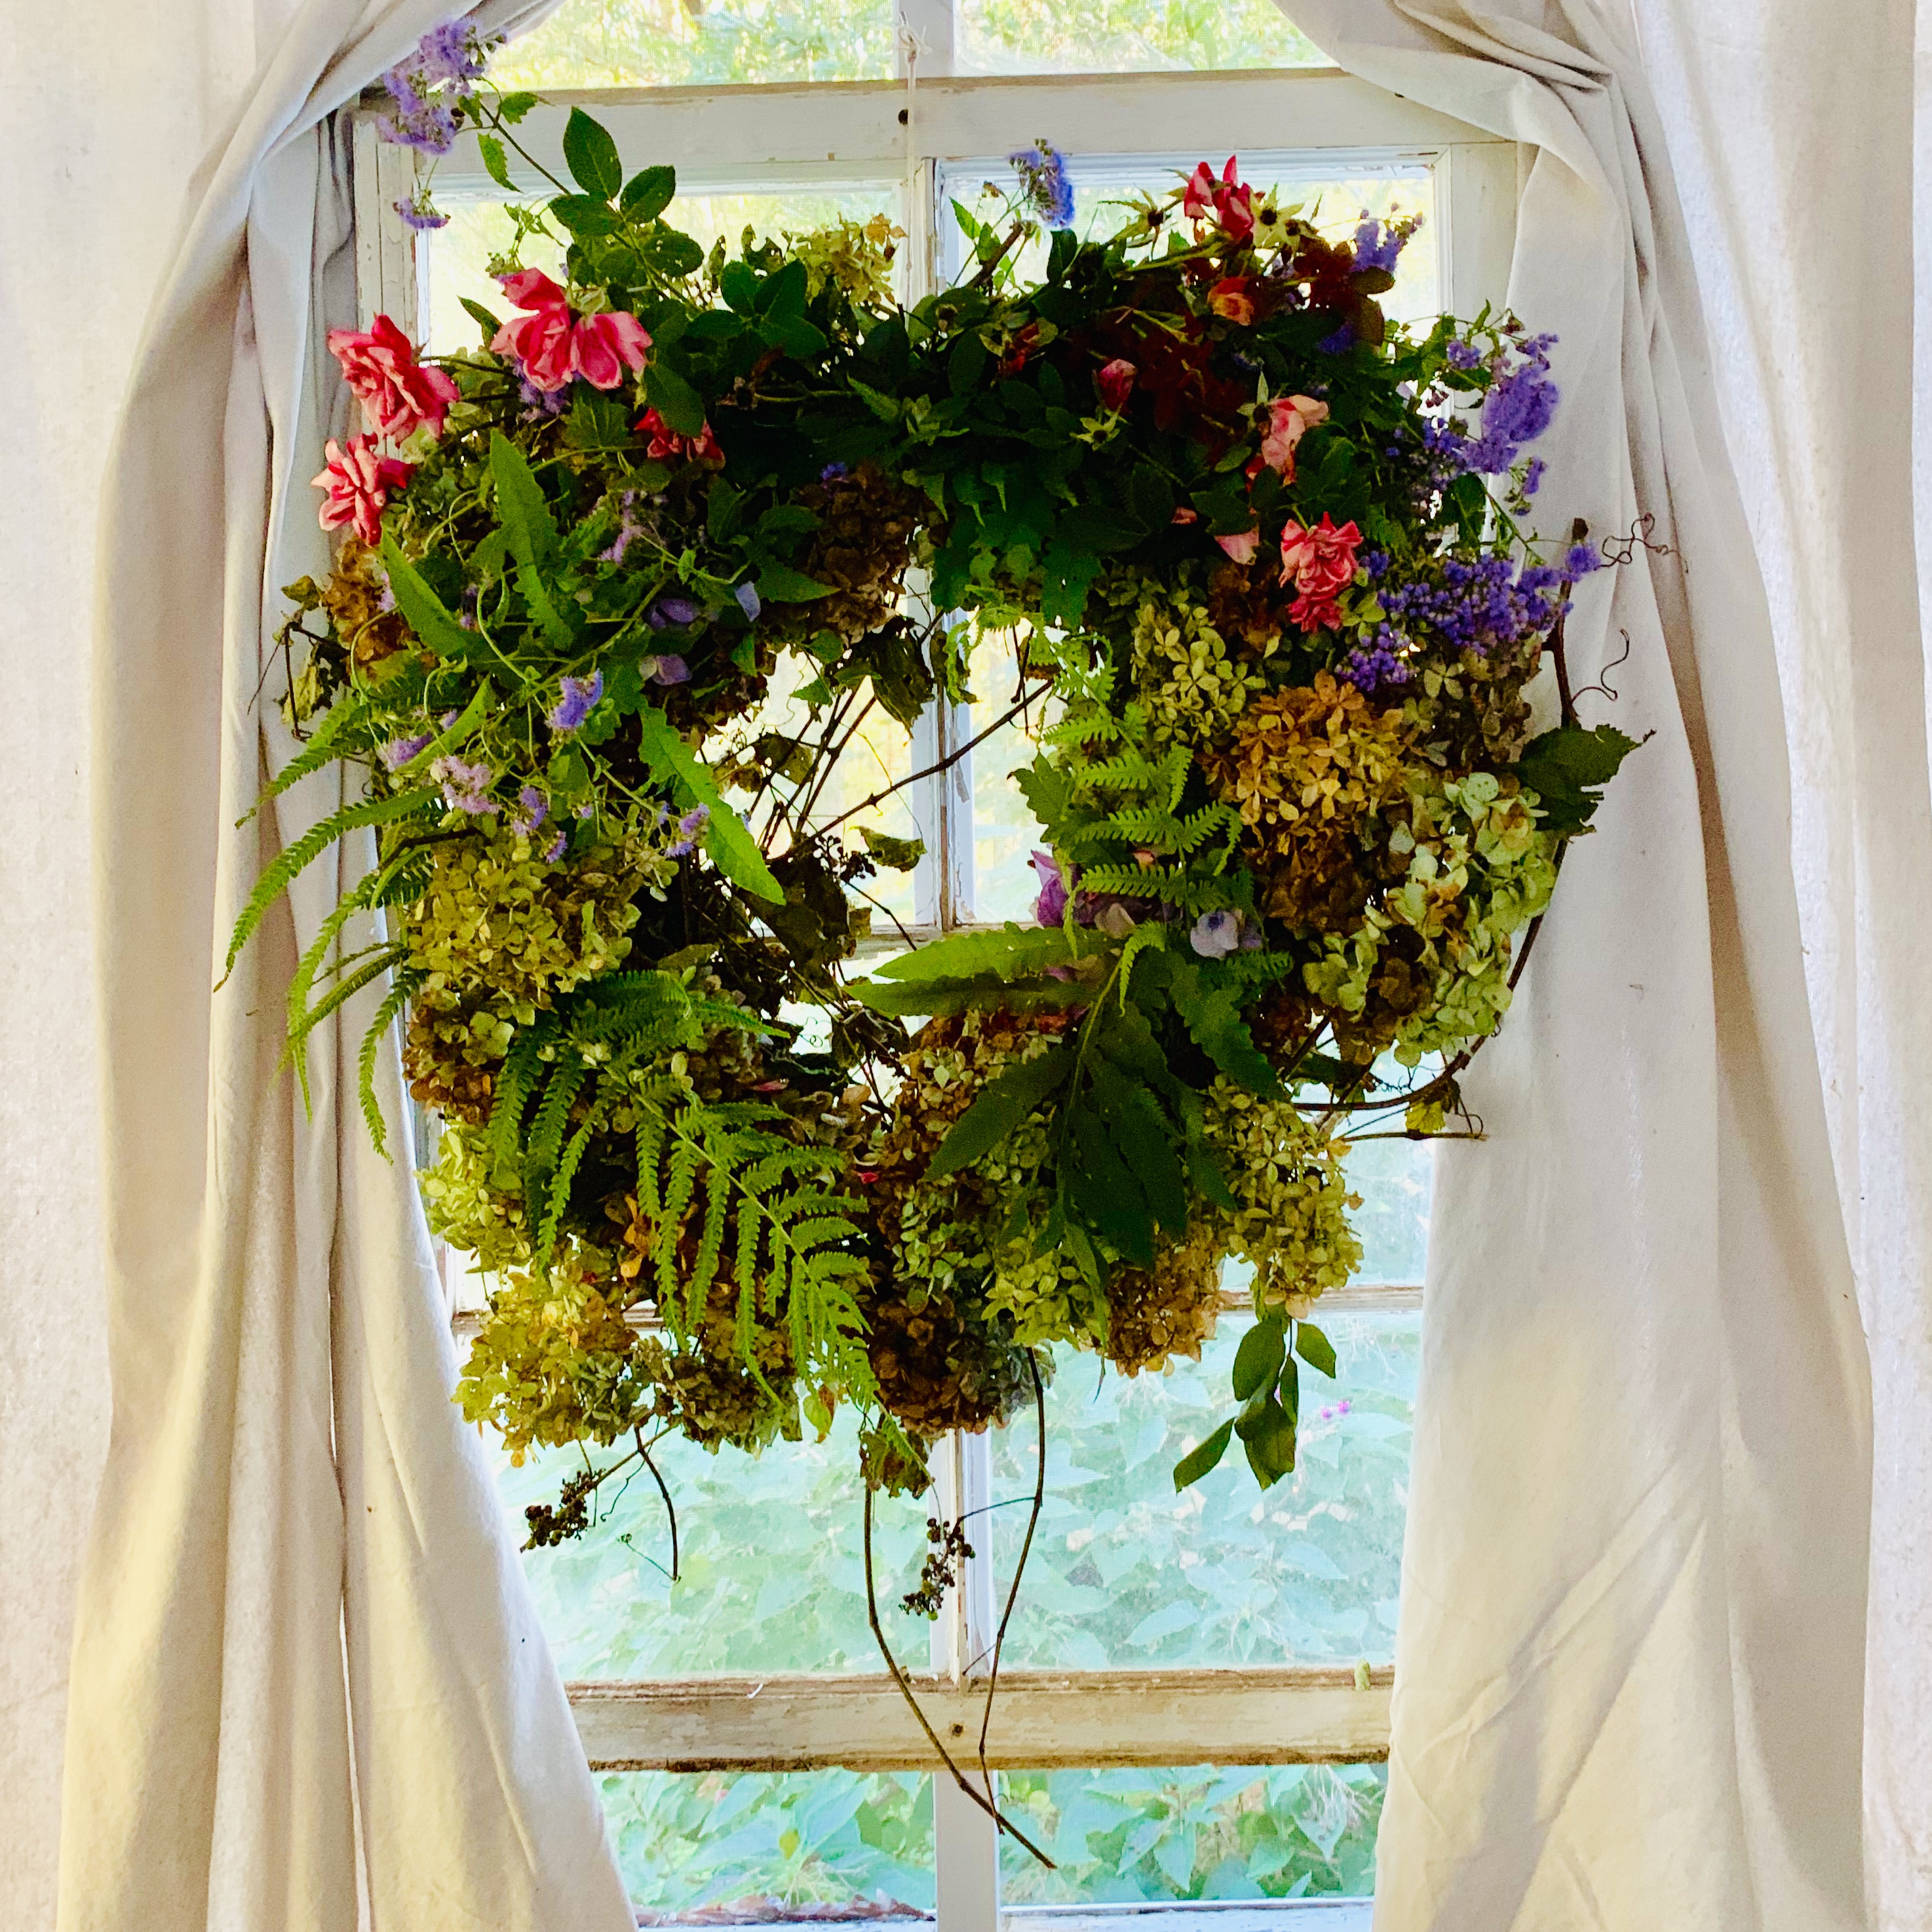 This foraged wreath is one of my favorites- yet I don’t expect it to be an everlasting one. I would mention, the fresh additions like the ferns generally don’t dry well- yet they could be refreshed and replaced. Feel free to remove anything past it’s prime and replace with some new things! And now for the natural fall wreath I’ve kept- drumroll please…
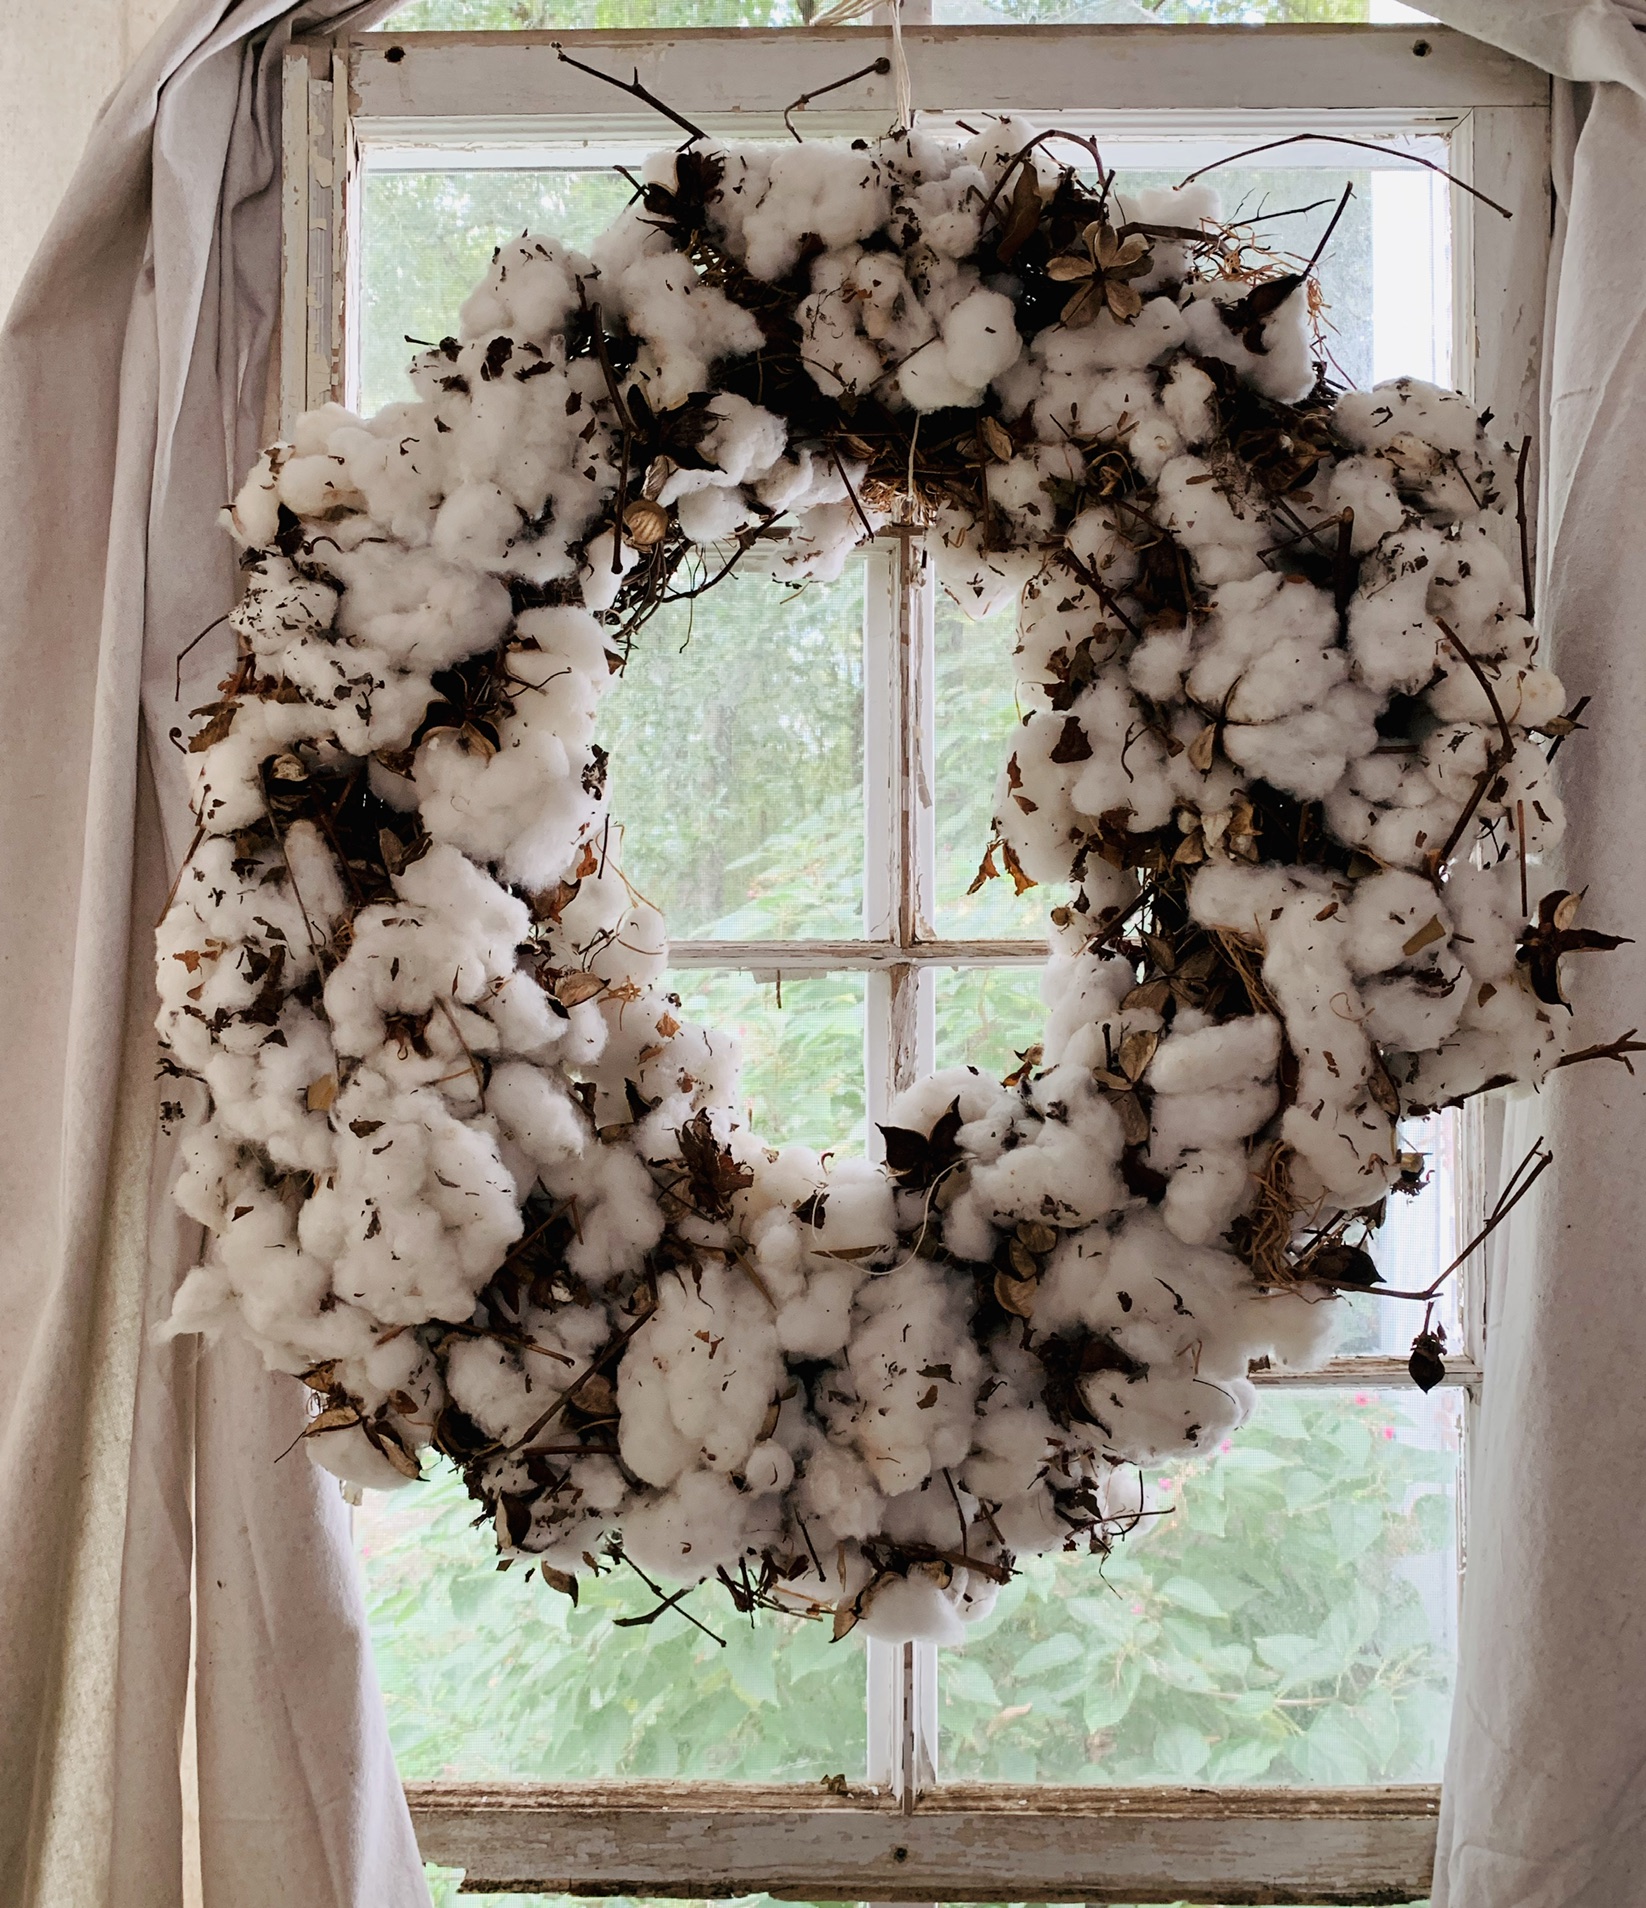 The other wreath is made of Alabama grown Cotton- this is the one I’ve kept from season to season- it’s very special to me. The cotton was grown at the Birmingham Botanical Gardens in the George Washington Carver garden, planted to honor this famous Alabamian whose work to enrich the soil with primarily peanuts, in depleted cotton fields through crop rotation. His research and work is legendary. This particular cotton was being pulled up at the botanical garden in the fall, so I asked the head gardener, who was about to discard the cotton stems and bolls-
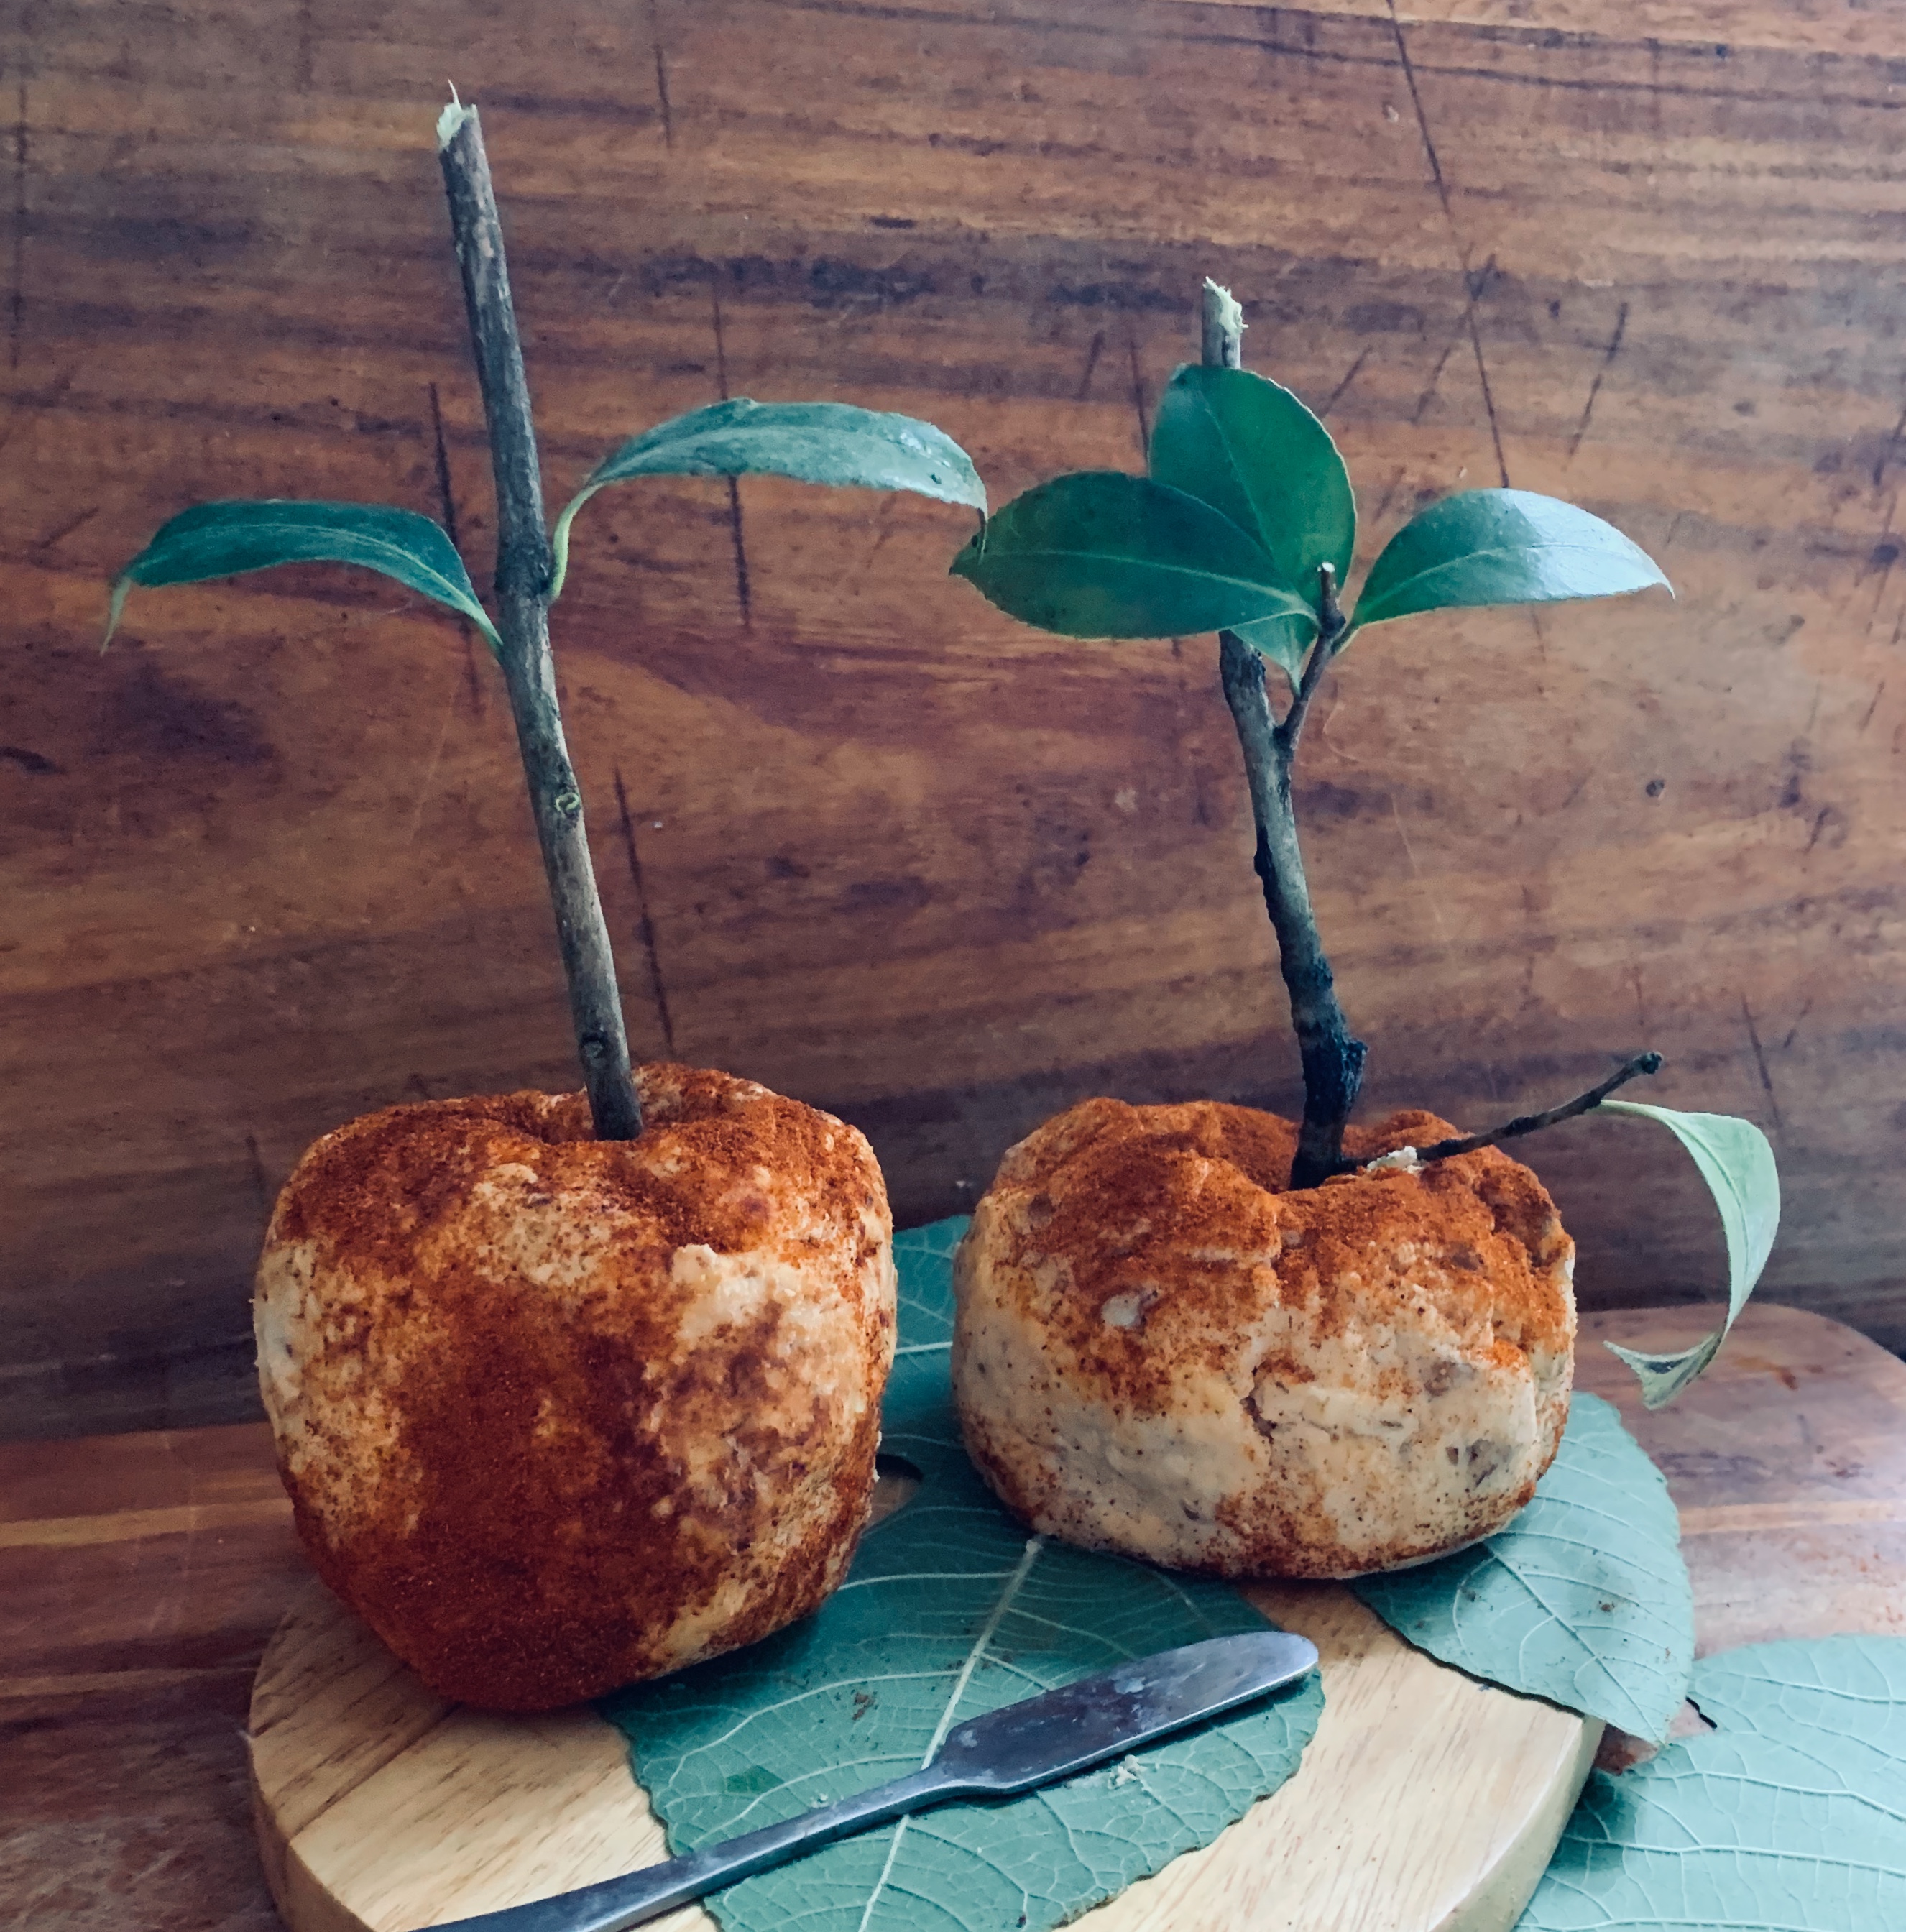 This Cheese Ball recipe is a real time saver. I love it because it keeps well chilled, is able to take on different shapes, even freezes like a dream! And ! A Cheese Ball seems welcome at any occasion! After school goes back in session, football season begins, then tailgating and fall gatherings and holidays seem to come one right after the other! We all know we’re going to need ‘something to take’ or serve! And let’s face it- hardly anybody passes up Cheese and Crackers! This recipe lends itself to as many variations as you can think of! Change up the variety of cheeses, add walnuts instead of pecans, even add dried cranberries- it’s all up to you! now, you have to admit, these cheese balls shaped like big apples would be fun in the Fall! And while you’re at it- make up several types of cheese balls, logs or rings and save a few in the freezer!

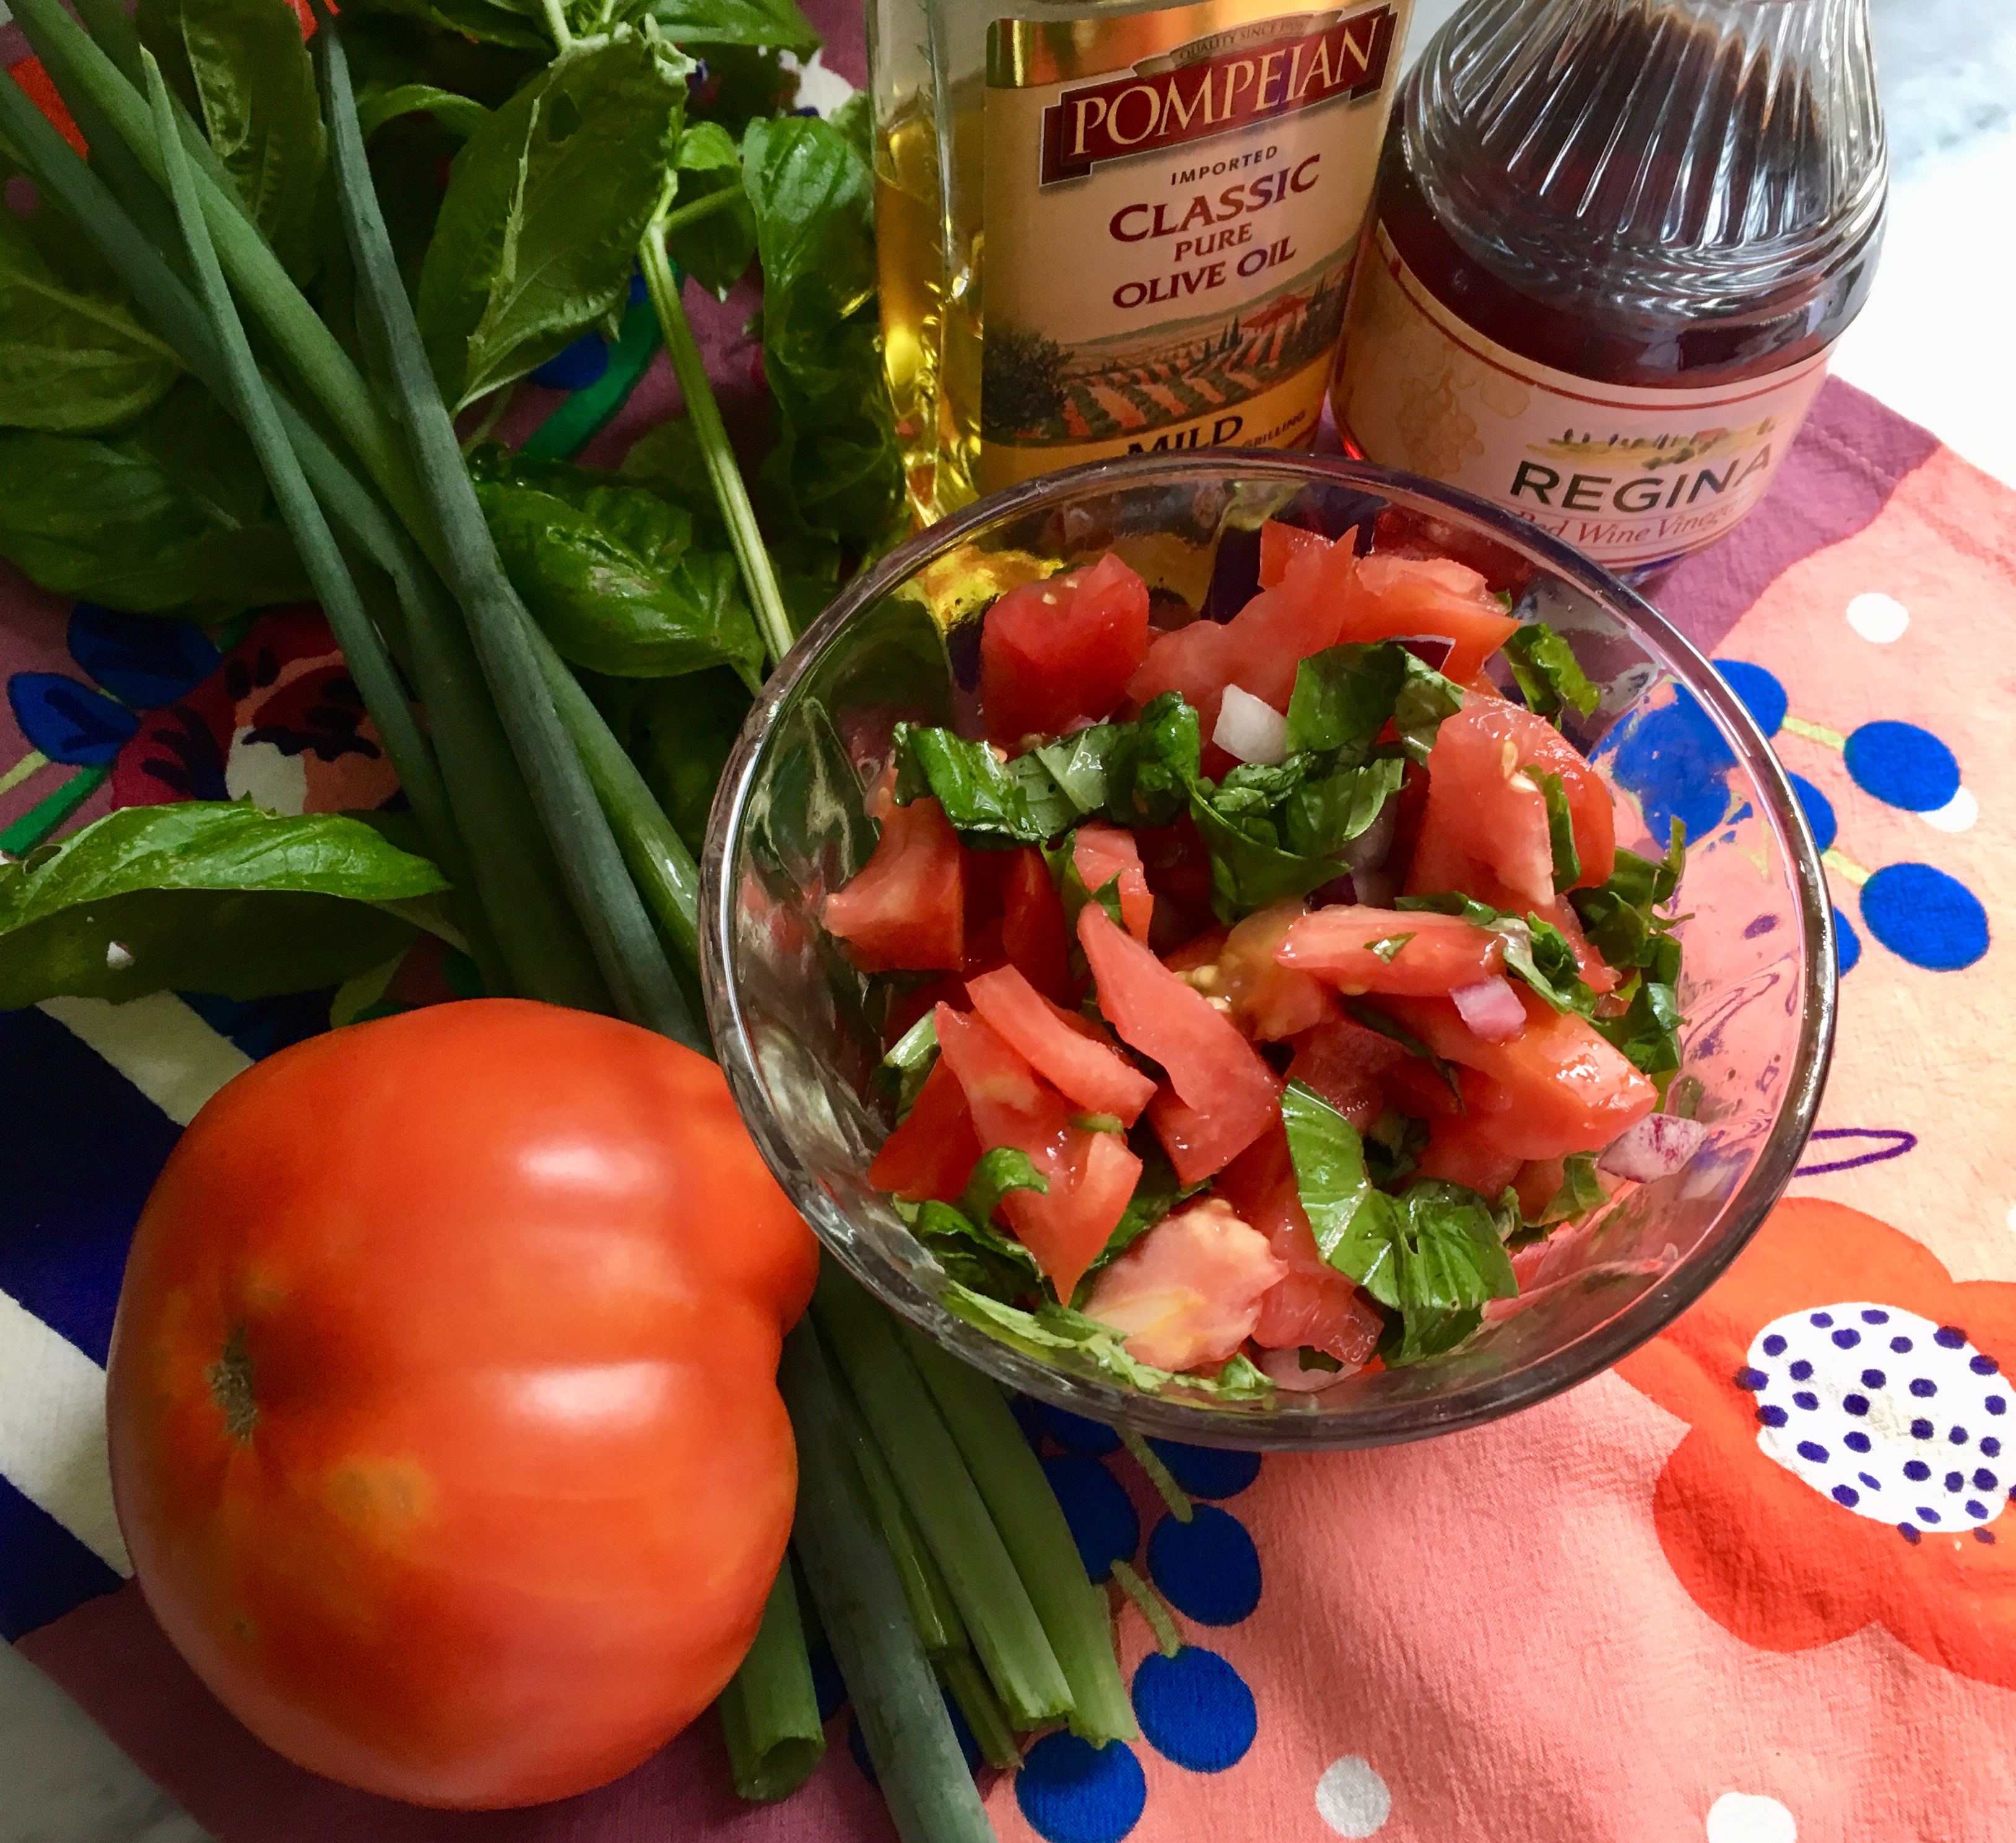
 Summer Tomato Cobbler is a new take on an already fabulous Tomato Pie! Last year, I shared with you how to make my sister’s tomato pie which has been declared by me and many others as the very best recipe for this unique delicious savory pie which is probably specific to Alabama! So why make a Summer Tomato Cobbler? Well…a classic tomato pie is juicy, oozing with cheese and the sour cream filling is amazing; so I wanted to see if making the same recipe into Cobbler form would make it easier to cut, hold it’s shape and also be served to a crowd. The result was the same flavors, yet with a taste all its own and I’ll admit- I want y’all to try both of these delicious pies! The Summer Tomato Cobbler is a bit easier to assemble and rustic- my sister’s Tomato Pie is a more refined and luscious one crust pie, yet both are sure to please especially when summer tomatoes are available! Actually, I’d never make either pie without vine ripe tomatoes!
 Here’s how you make Summer Tomato Cobbler- You will need:
 Take a look at that upper crust! It’s flaky yet dense with cheese flavor! And the tomatoes took on a roasted flavor! I’ll admit, I couldn’t stop at just one serving!
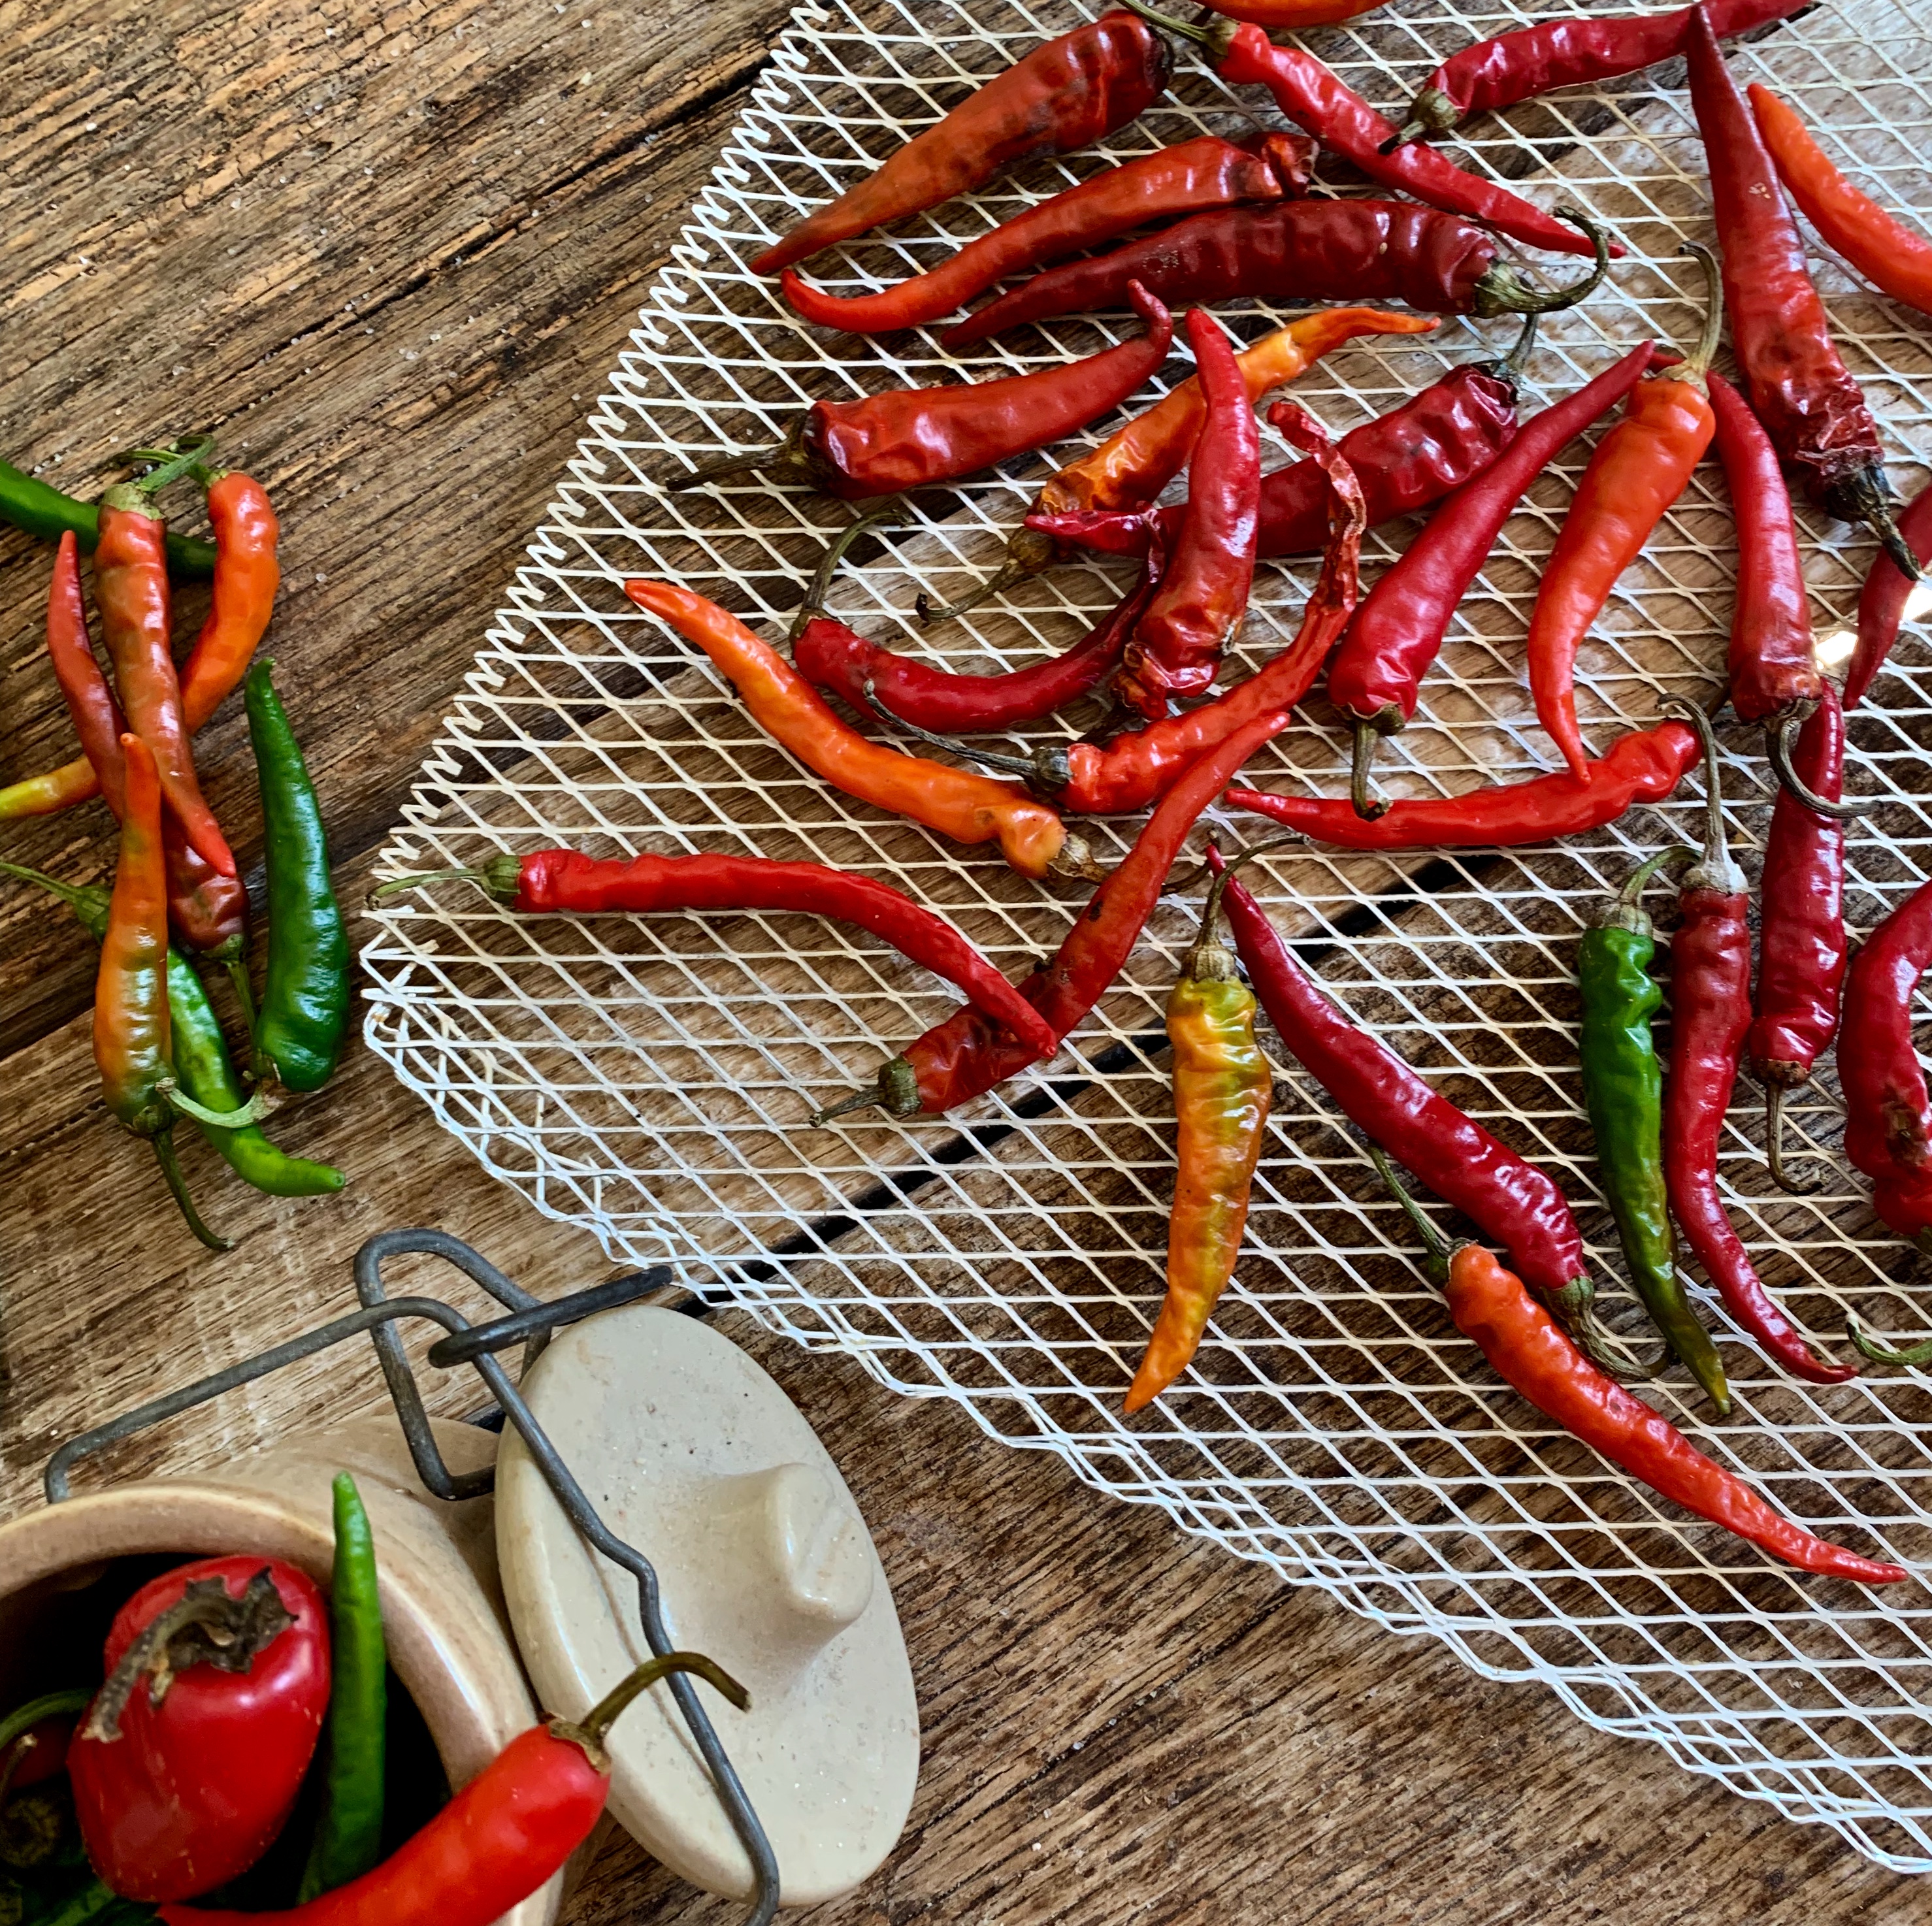
 It’s that time of year when everything planted in the spring seems to be ripe now! Folks used to say- ‘everything’s comin’ in at the same time!’ When it comes to Puttin’ Up the Garden’ if you get a minute to sit down, you’re shellin’ beans or shuckin’ corn or lookin’ through bushels of fruits and vegetables to cull out the ones with bruises or bad spots! Those bits and pieces are used to make up meals during ‘Puttin’ Up the Garden’ time… And every single able body is put to work!


 Combinations of extra vegetables were cooked, roasted or used for toppings. Grilled meats nestled with roasted and fresh vegetables are a new take, still with the thought of making use of every bit of garden goodness!

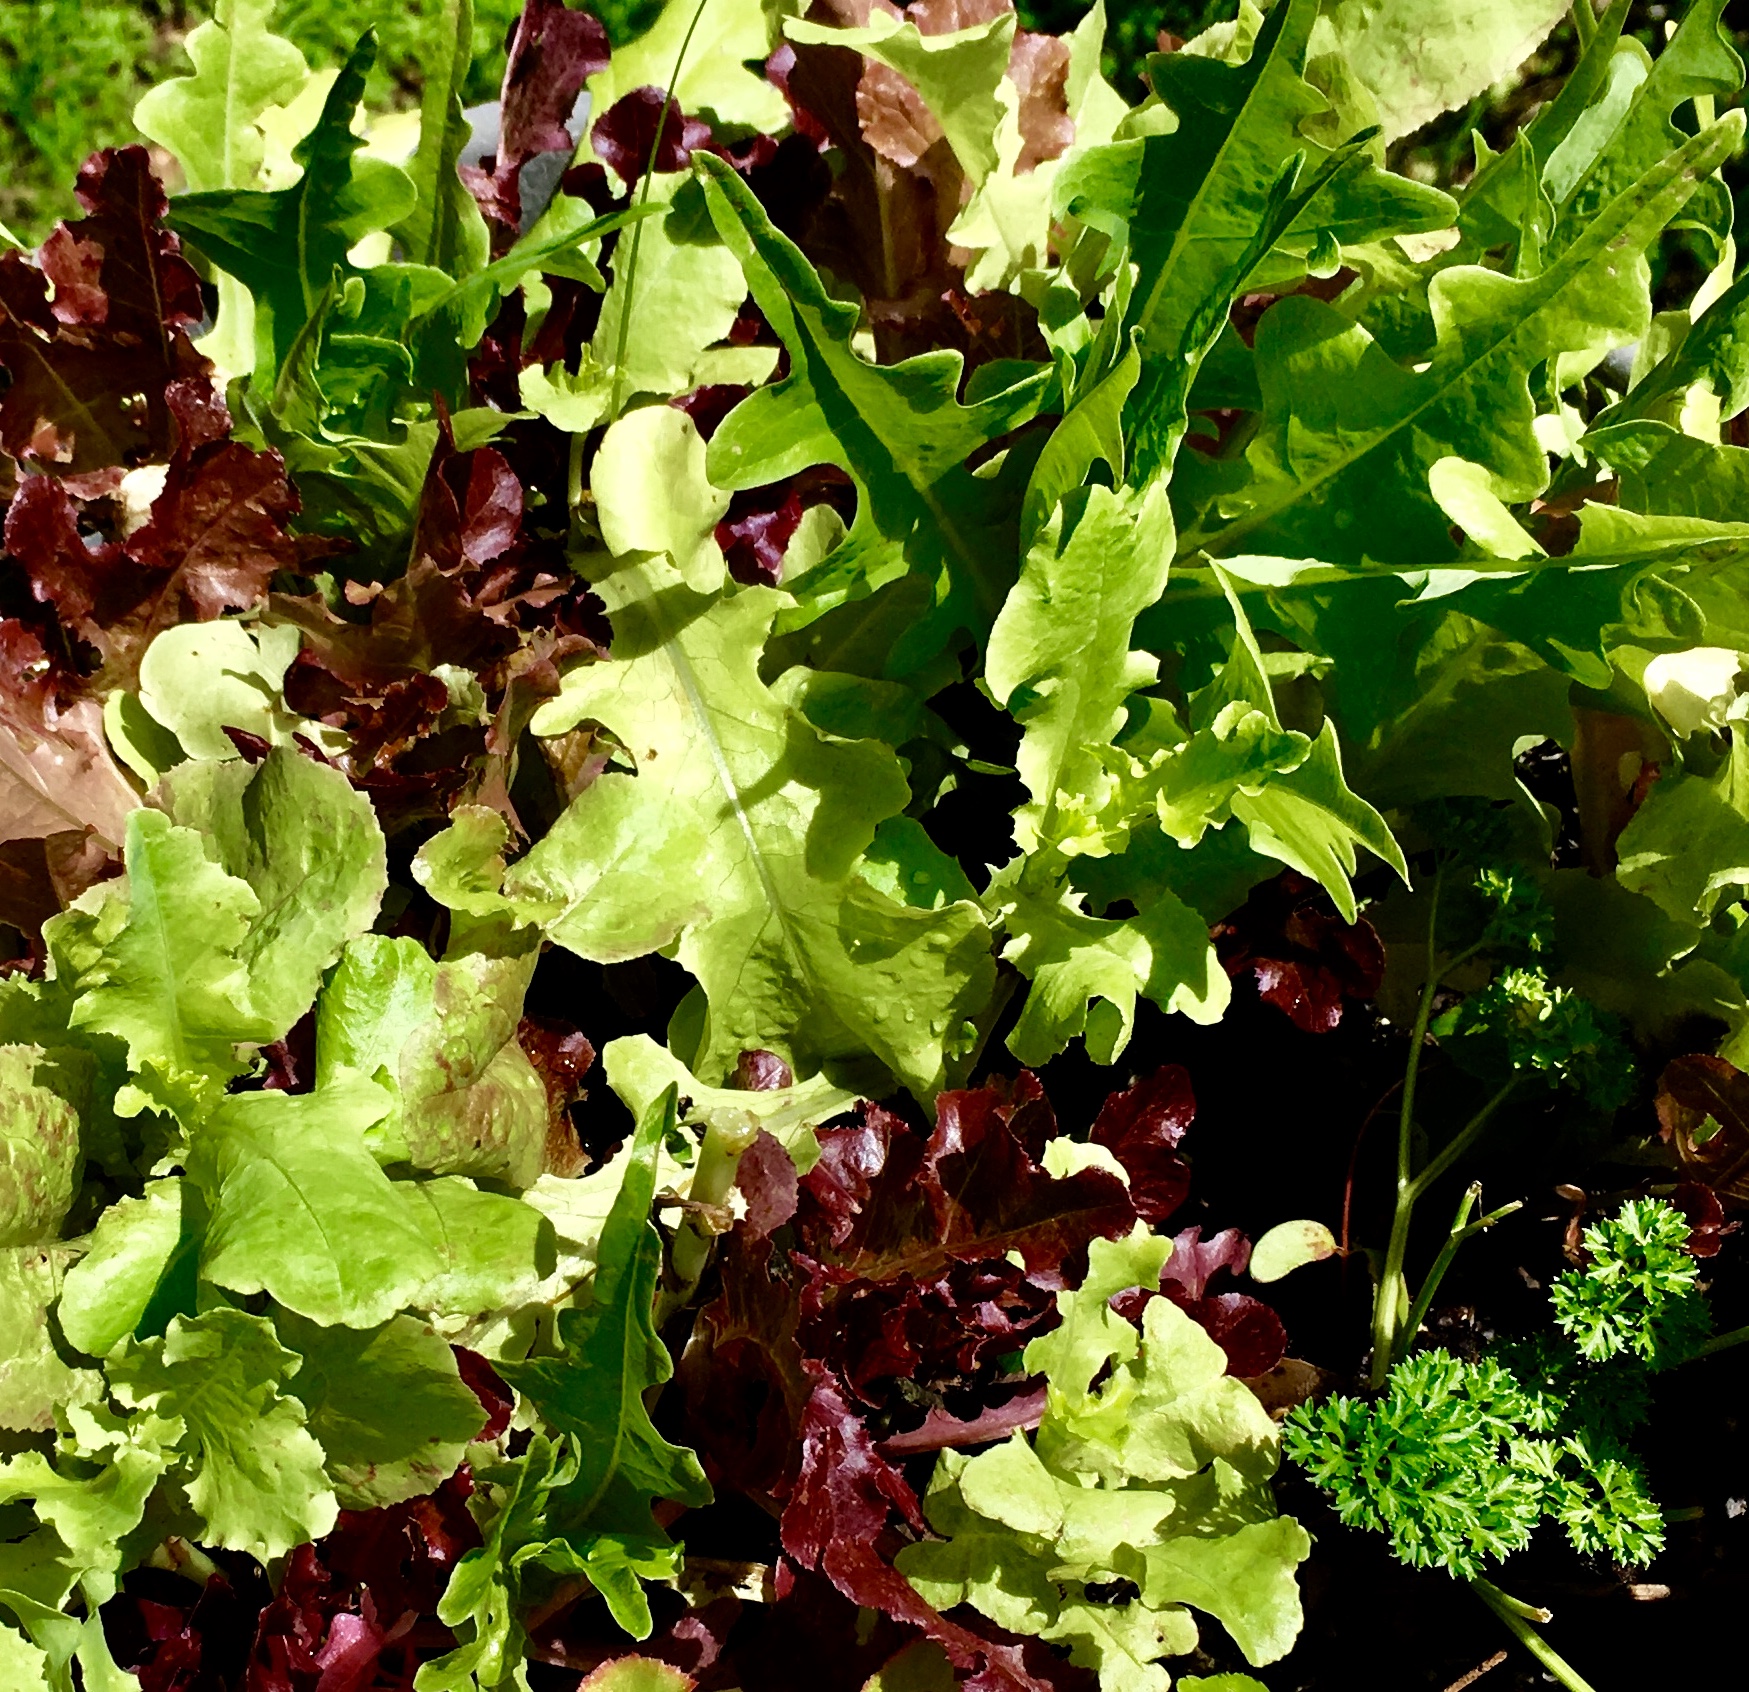
 And last but certainly not least is Shoe Peg Corn Salad… Simply made with several ears of corn cut from the cob, chopped or cherry tomatoes, purple onion, bell pepper and cucumber all small diced is a no cook salad that’s sure to please anyone!


