 Some of the finest cooks I have ever known often left out a step or two that enhanced their southern dishes. I’ve often thought about this as I’ve tried to hang on to the heirloom recipes so near and dear to my heart. Often, as I’m cooking a flash of memory streaks through my feeble brain and I can ‘see’ the dish being made and realize what it was that made a subtle or distinctive difference in the recipe- whether ingredient or method. I rounded up a few and they are so easy…no recipe required!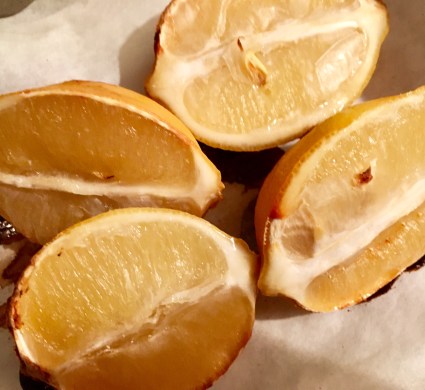
- Citrus elevates so many southern dishes, from appetizers to desserts- it’s hard to imagine cooking without it! Roasted Lemons are a sure fire way to add interest to your meal…soft and warm… squeeze the juice over almost any vegetable or seafood and it’s a sure crowd pleaser! Yet, the zest is often overlooked in my recipes. To add zest of any citrus, be sure and do it first before cutting or juicing!
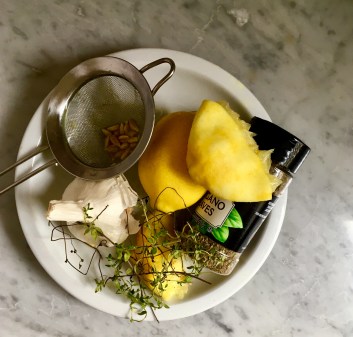 Here, the zest of lemon is added to a mixture of chopped garlic, dried oregano, fresh thyme leaves- all warmed in a mixture of melted butter and olive oil- then lemon juice and a splash of white wine. Added before roasting chicken, fish or shrimp- it’s amazing! Even added to new potatoes, green beans or asparagus it’s wonderful. Any recipe that calls for citrus juice is greatly enhanced by the addition of citrus zest.
 - Grow Your Own Southern cooks have been berated for years for their use of canned goods in many of our wonderful dishes, for instance while we grow and preserve our own tomatoes- we do often add a can of good quality tomatoes to chili or spaghetti sauce.
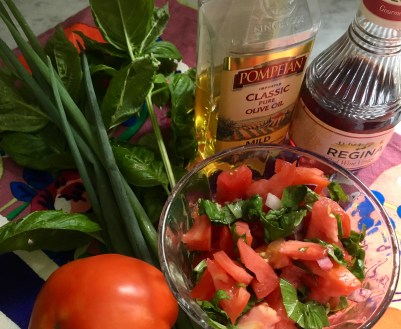
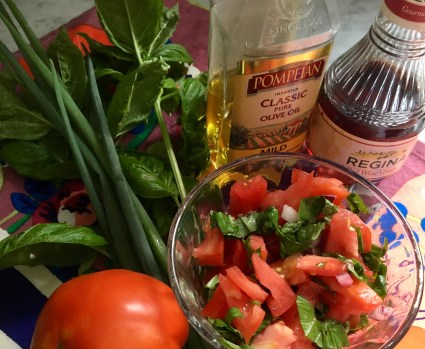 What rarely reported is that good southern cooks always add fresh, often home grown produce! Tomato Relish in this beautiful mixture of tomatoes, green onions, chopped garlic along with chopped basil. Combined with a bit of olive oil, red wine vinegar and allowed to sit while the spaghetti sauce is bubbling on the stove. This mixture is used as a cool topping much like salsa. You honestly won’t believe the flavor. And I’m here to tell you- in the summer when I make it- those tomatoes, green onions and basil are home grown!
 - Flour Power Ever wonder about the name Butter Balls? Well, you’re looking at them and those little balls of flour and butter are rarely spoken of- yet, they elevate pan juices into a silky glossy sauce,
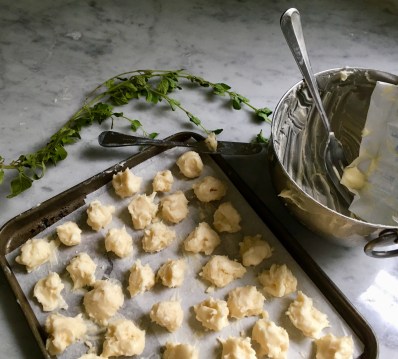 While everyone else is wondering why your sauce or gravy always tastes a bit better than anyone else’s. Mixture ratio is one to one- 1 Tablespoon of butter to 1 Tablespoon of Flour and rolled into little balls. I generally do an 8 to 8 ration and make up a whole sheet pan of Butter Balls- place in a single layer in the freezer, when frozen place in a freezer bag and when your pan juices are ready- add 1 or 3 or 5! Believe me, these little simple pack real flour power and elevate your cooking from delicious to amazing! Also, while we’re talking about Flour Power– many wonderful southern recipes start with this fear inducing phrase- ‘First you make a roux’… and the truth is? if you get making a roux wrong- throw it out and start over! Okay. No more fear of making a roux! On a sheet pan, put less than an inch thick layer of flour. Put in cool oven set to 375 degrees… when the oven is preheated, check the flour it should be browning nicely… however, you will need to bake the flour for up to 20 more minutes! It needs to be a rich brown and will smell toasted and warm. Remove the sheet pan from the oven and allow to cool. Store in a tightly covered jar. This brown flour is your head start to elevating your spicy thick gumbos or even rich brown gravies! Mix the brown flour in some sort of oil- we use butter or bacon fat! Stir until all of the oil is absorbed and the mixture is even darker and thick, commence with the recipe with your quicker version of a roux. Just look at that rich mahogany color! That color is what you’re looking for when you’ve made a roux.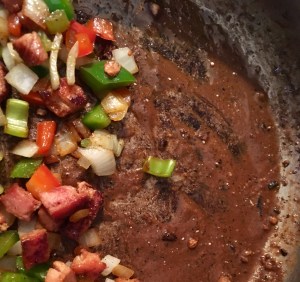
- In a Pickle Almost every truly southern table is almost groaning with the addition of pickled this or that. Pickled Beets might be one of my all time favorites! Canned beets (yes, feel free to roast your own!) are mixed with thinly sliced sweet onion- Vidalia if available- and often in the summer months we also add homegrown cucumbers too!
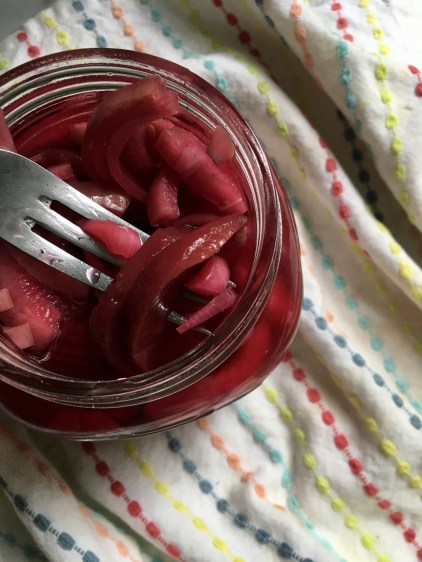 Pack them in a heat proof jar. Heat apple cider vinegar to boiling and pour the beets and onions. Cool down before adding the lid. Chill in the refrigerator for at least 4 hours or overnight. They’re amazing with almost anything- let’s face it field peas, greens and summer squash with a side of pickled beets might be a match made in culinary heaven! And that’s not all! We tend to pickle almost anything that stands still long enough- especially our hot peppers! This is the best way to get that all important Pepper Sauce- so make lots!
 - Turn up the Heat Folks outside the South tend to think the Southern diet is almost exclusively- fried. Not so, I rarely fry chicken… it’s a treat when I do- yet certainly not an everyday food.
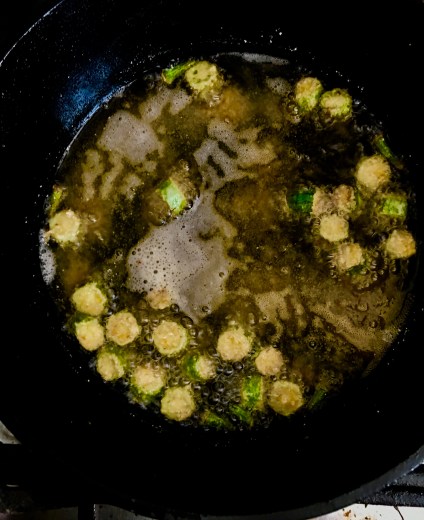 And Fried Okra is a glorious treat, yet that also is an occasion. When I do? There’s a secret to that this as well. Please don’t batter okra and certainly not with flour- oh no, blend 2 parts self rising cornmeal with 1 part cornstarch! Read that again- dredge fresh cut okra (don’t rinse!) in a blend of self rising cornmeal and cornstarch! Get the frying oil hot! Add in dredged okra, but don’t crowd! Hot oil and self rising cornmeal give the okra that beautiful battered look, the cornstarch keeps it light and crisp!
Now, the next time you’re wondering if that dish ‘needs a little something’ or you want to save a bit of time- you may find these 5 ways to enhance southern cooking will work with almost any other cuisine too!
Love y’all, Camellia
* All photographs are obviously mine.
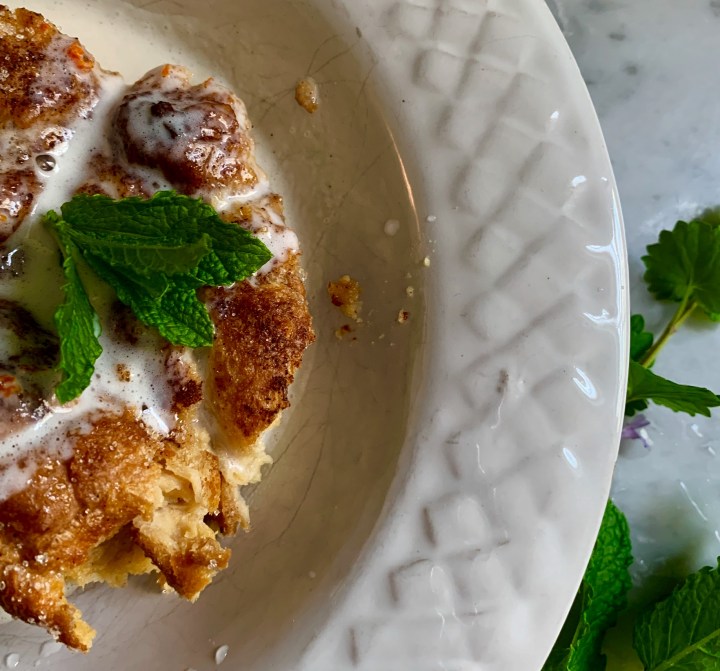 With all of the beautiful cakes, the decadent chocolates and luscious pies, it seems to me that Bread Pudding deserves a place on the dessert table, especially at Easter. Many holy days serve symbolic food and Bread Pudding seems to be a teachable opportunity. It’s ‘the Bread of Life broken for you…’ It’s a rustic dessert- reminding me of that oft sung hymn ‘The Old Rugged Cross’ … Bread Pudding is a dessert made by hand with love, served humbly and simply among friends and family, even stretched to feed a crowd.
 The Pudding and Sauce are enriched and softly scented- a very comforting combination. Wrapped in orange zest, cinnamon, vanilla and freshly grated nutmeg, the classic Bread Pudding is then dusted with unrefined cane sugar. Who would disagree that plain old broken bread is elevated to an entirely new life, beautifully sweet and dear. Just in time for Easter with its gloriously easy Southern Creme Anglaise… Here’s how you make – Classic Bread Pudding with extra easy Southern Creme Anglaise!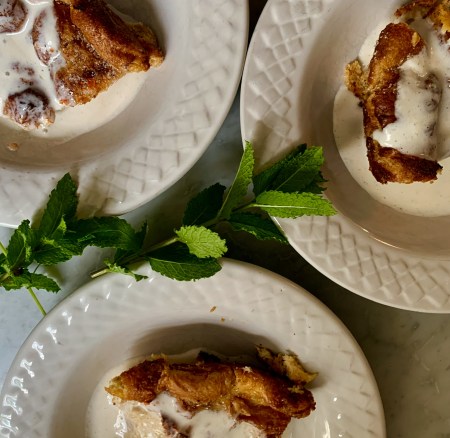
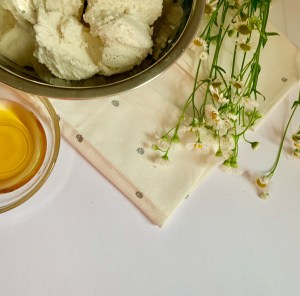 Also, you may choose to omit the Bourbon and use pure Vanilla Extract ( one of the notes in bourbon), if you do, add Rum or Almond flavoring, adjusting the quantity to taste. The ‘sauce’ is wonderful on its own as well, if high quality ice cream is used. The Orange Zest adds a crisp citrus note for Spring; and it’s worth noting that spices played a role in the Easter Story as well. This classic bread pudding has an abundance of eggs which are also plentiful now. Eggs are symbolic in holy celebrations. And, I omitted the butter except for buttering the baking dish, if you prefer- melt a few tablespoons and pour over the pudding right before baking. If you don’t have access to raw cane sugar, use sanding sugar, you’ll definitely want the glisten when you pull the puffed and golden Classic Bread Pudding from the oven! Here’s wishing you a beautiful meaning filled Easter!
 Three years ago, when I first started writing – I was sorely lacking in photographic skills. A bit better now and have learned a thing or two… still, back then- award winning photographer Jeremy Miniard took pity on me and provided some stunning photographs, then generously offered to let me use them! One of the first groups of photographs I asked him about were Doors; Jeremy has a treasure trove of photographs taken during his ramblings throughout Alabama. The doors he sent to me were amazing. They still are! I posted ‘Doors of Alabama’ using some other photographs offered to me- also out of pity I’m sure. This time… I’ve put together a poster worthy collection of Doors of Alabama, which are all Jeremy Miniard’s work… be prepared to be impressed!


 Thank you Jeremy! This journey just wouldn’t have been the same without you! Now. Y’all. I hope you’re inspired as I was by Jeremy’s photography – and also the beauty and history that surely was behind these old doors…peeling paint and all! Now….on your mark, get set and.. Get out there and take some photographs wherever you are! I’d love to see what you come up with! By the way, can you believe we’re still around after three years? Me either. Thank you from the bottom of my heart, for your support, for following this blog and for your kind words; and yes! the funny comments too! And as always…

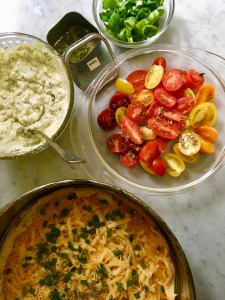
 I’ve said it before- the closer you live to a Tomato Vine, the better your life will be. As soon as the weather begins to warm up, southerners start dreaming of summer tomatoes. Camellia’s Spring Tomato Tart is an early start on summer- while we wait for our tomato vies to bear. Tomato sandwiches are on our minds. Simple sliced summer tomato slices make an appearance on almost every southern plate. We do everything we can, to preserve the taste of summer as long as we can. I think planting cherry tomatoes offers a head start on the taste only a fresh tomato offers, and yes- the closer you live to a tomato vine the better your life will be.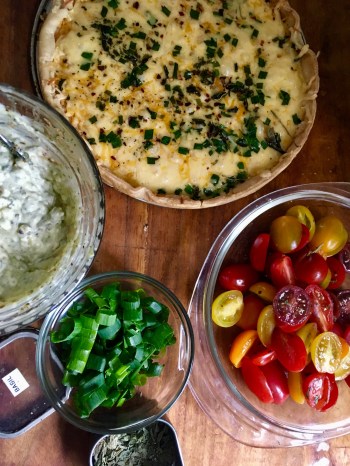

 .
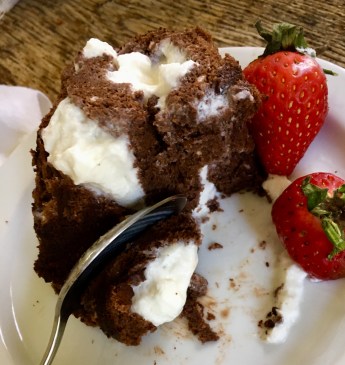
. My first serving of Roulage was at a tiny tea room where ladies met for elegant brunch, where mother-daughter luncheons or bridesmaids’ met the day before a wedding to dine with the bride and her female family members. This beloved place was down a cobbled lane on Southside, a place aptly named Cobb’s Lane. When I was a mere teenager, yet I believed I had never tasted any dessert that was more decadent. A deep rich chocolate roll around a cloud of whipped cream. Yes, there were other dishes we enjoyed there, a beautiful salad plate, a chicken imperial, if not in name- regal in taste, though as someone recently recalled- ‘We went to Cobb’s Lane for the roulage.’ And we did.